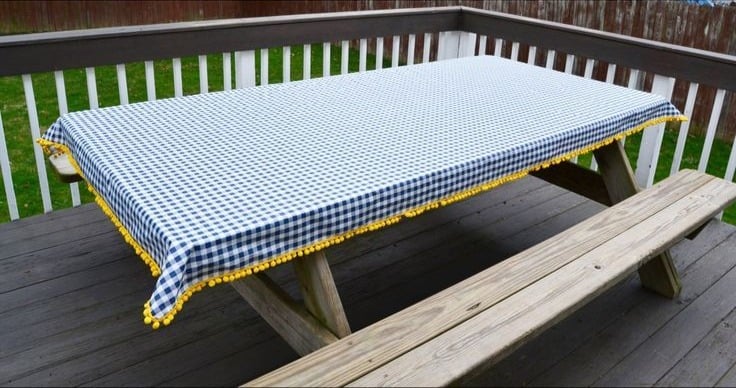

Want to learn how to sew a tablecloth of your own? You’re in luck! We will be sharing with you this great video that will help you do this project easily. Let’s proceed right now!
TL;DR: How to Sew a Tablecloth: A Step-By-Step Guide
- Walks you through making a custom tablecloth by measuring your table, adding the correct drop length, and cutting fabric to size.
- Teaches clean hemming techniques; folding, pressing, and stitching edges, to create a polished, professional finish.
- Uses beginner-friendly materials like cotton, linen, or décor fabric, making the project doable even for new sewists.
- Encourages personalisation with seasonal fabrics, prints, trims, or decorative stitches to match your décor or holiday theme.
How To Sew Your Own Simple Tablecloth | Home Sewing Projects

How To Make Your Own Tablecloth For Everyday Use
Sewing a tablecloth is one of the most wonderful ideas that you can do for your home. Give your dining room or your living room a quick, simple and fresh make-up transformation by dressing your tables with your self-made tablecloths, You can make different tablecloths with a variety of fabric designs that you can use.
And right now, we will be sharing with you the steps on how to sew a simple tablecloth so that you can make your own anytime!
Here are the things that you’ll need:
Materials
Tools:
- sewing machine
- metal ruler w/ right angle
- scissors
- pencil
- straight pins
- measuring tape
- pencil

Procedure:
1. Measure and cut your face fabric
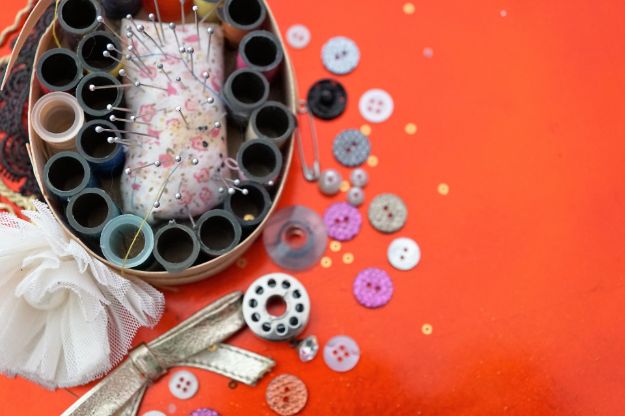
Figure out how much length of fabric you want to hang off at the sides and make sure to add an inch for the 1/2″ seam allowance. Then take your pencil and start marking. For the width, you need to unfold your fabric and do the same process. Refer to the video for the detailed way of doing it.
Cut it using your scissors, following the pencil markings.
2. Measure and cut your lining
Do the exact process of measurement you’ll do with your face fabric, (refer to Step 1).
Follow the pencil markings.

- 52 Inches wide x 70 Inches long - Highly unique. Versatile. Fun.
- Machine washable - Cold cycle. Easy to clean. Durable enough for both indoor and outdoor use.
- Made from - High quality 100% polyester woven silky satin fabric with hand-sewn finished edges
- Creates - A wonderful and luxurious setting for your family and friends to enjoy together.
- Perfect - For any occasion at home, party, hotel, restaurant, cafe, kitchen, dining room. Made in Türkiye
3. Pin the face fabric and the lining together
Put the pretty side of your face fabric down on the lining, then pin it. Be sure the pin goes through both face fabric and the lining, 2-3 inches apart, pinning all the way around the square, but make sure to leave a space open for turning the fabric inside out after the whole process.
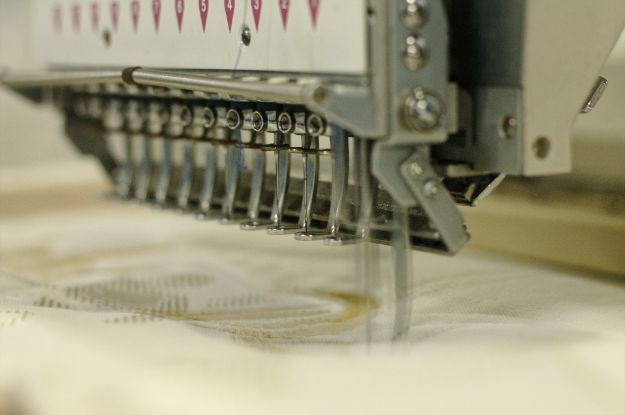
4. Sew both fabrics
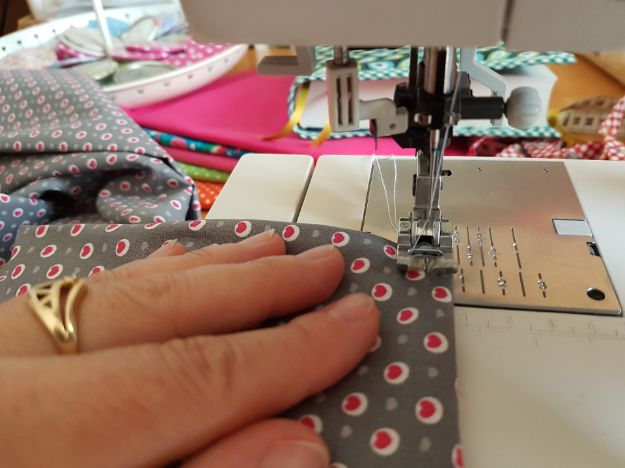
Continue to sew all the way around the square with a 1/2″ in seam, while pulling out the pins as you go!
5. Turn the sewn fabric inside out
Find the opening and gently pull it through.
6. Iron the tablecloth and pin the open side
- Iron all the way around.
- Ironing the opening should be done last.
- Pin it!

- HIGH POWERED STEAM PRESS The steam press delivers 1,350 watts of power to de-wrinkle your clothing in no time at all
- ADJUSTABLE STEAM PRESS STAND Sit or stand at the perfect height! This steam press stand can telescope upward or downward to suit your comfort level
- USE THE STEAM PRESS INDEPENDENT OF THE STAND Because it is portable, you can place the steam press on virtually any surface without damaging it
- DURABLE CONSTRUCTION Built from top quality materials, the steam press is built to last. It also will not topple during use thanks to its anti slip feet
7. Close the open side of the fabric
- Change the thread with one with the same color as the face fabric.
- Start sewing and pull the pin as it goes.
We’re done!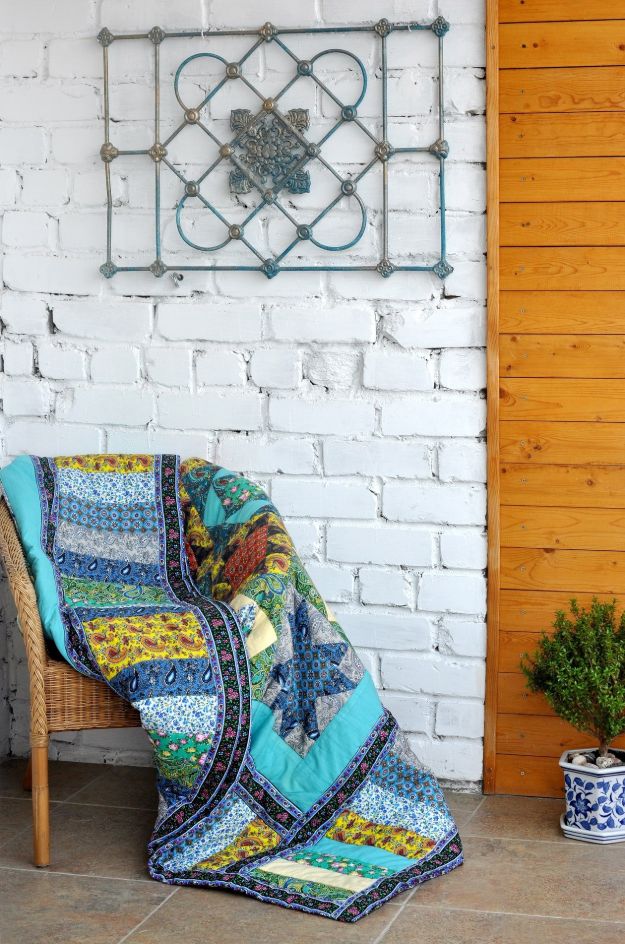
Watch this video by Beth Bates of sewteacher.com or you can check out this super easy No Sew Tablecloth tutorial from Jennifer Carroll:
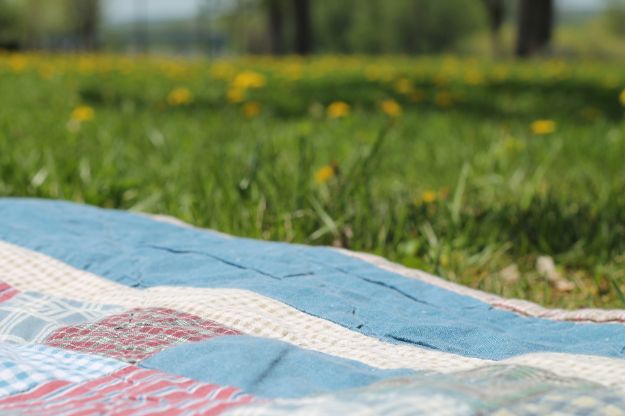
Now spread it on the table and make sure it’s nice and neat. Now your table will not only look better than before, it will be also be protected from any scratches and stains. Hope you enjoyed this tutorial and we will be looking forward to what you can create!

- Sentiment: ”Quietly encircled by love” written on Enclosure Card
- 5”h hand-painted resin seated figure in cream dress, with one arm holding small toddler, other arm around older child standing next to her; toddler and child in cream onesies
- A gift to celebrate new beginnings, new babies, new families… and the loving relationships that develop between parent and child, grandparent and child Packaged in fitted box ready for gift-giving
- Artist Susan Lordi hand carves the original of each Willow Tree piece from her studio in Kansas City, MO This piece is cast from Susan's original carving and painted by hand
- Ready to display on a shelf, table or mantel To clean, dust with soft brush or cloth