
Quick Look
Related: Free Pillowcase Cushion Cover Pattern for Beginners
What Do You Need to Sew a Simple Pillowcase?
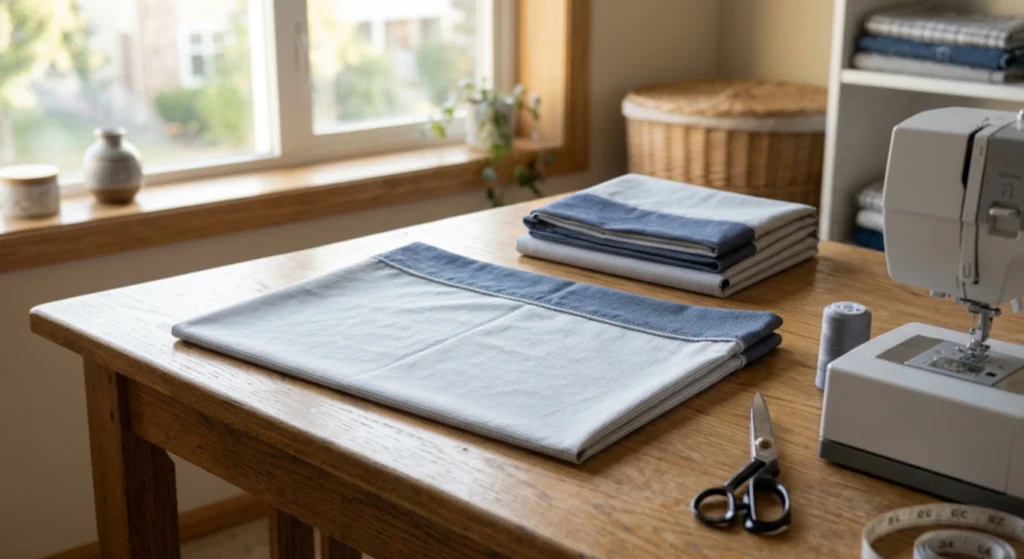
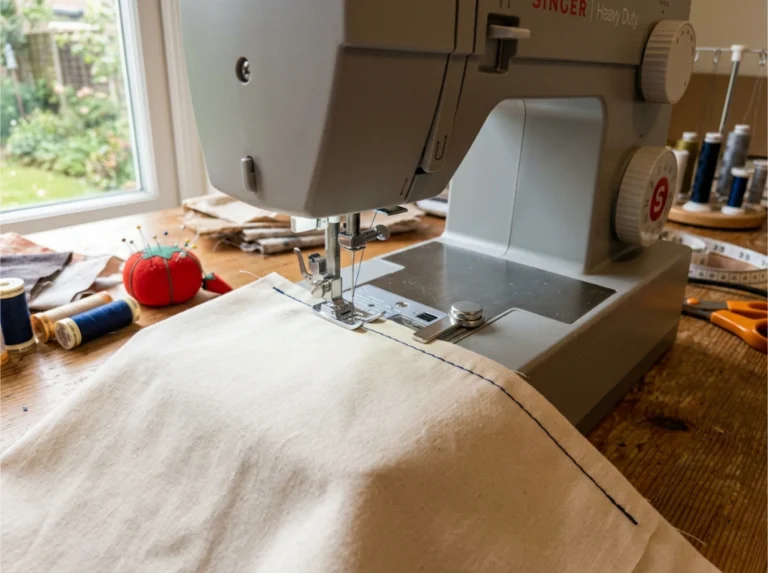
You need less than you think. One yard of main fabric, a quarter yard of coordinating cuff fabric, matching thread, a handful of pins or clips, a sewing machine that does a straight stitch and a zigzag stitch, and an iron. That is the whole list. If you are still building a sewing kit, our guide to beginner machine setup covers what to buy first.
Quilting cotton is the easiest fabric to start with. It presses flat, does not slide under your presser foot, and holds a seam without stretching. Flannel works too, but wash and dry it first, since it shrinks more than regular cotton.
One yard of main fabric makes a full-size pillowcase with almost no fabric left over.
If finding a clear set of directions has ever sent you down a rabbit hole of tutorials, you are not alone. One sewist on PatternReview.com described her own hunt for pillowcase instructions as running into “tons of links-to-other-links-to-other-links.” This pattern is the one page you need.
How Do You Cut Fabric for a Simple Pillowcase?
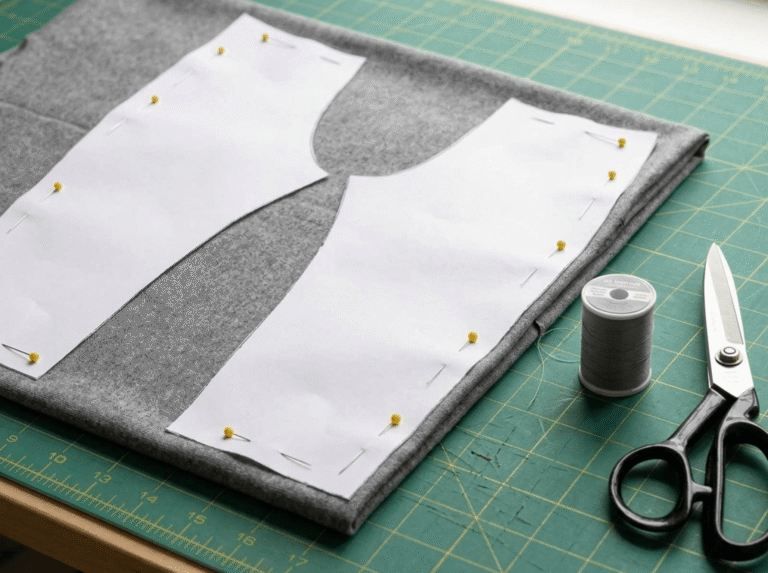
Cutting takes two straight cuts, no pattern piece to trace and no tissue paper to pin down.
For a standard or queen-size pillow, cut your main fabric 27 inches by the full width of the fabric, usually 44 or 45 inches. Cut your cuff fabric 9 inches by that same width. For a king-size pillow, cut the main fabric 33 inches instead of 27, and keep the cuff at 9 inches.
Both pieces run the full width of your fabric, so a rotary cutter and a straight edge are all the cutting tools you need.

- Temporarily mark fabric with a crease and guide fabric when machine stitching; Constructed of durable and beautiful bamboo
- Lightweight tool that can be used to turn points, crease seams and take out basting stitches
- Constructed of durable and beautiful bamboo

How Does the Burrito Method Work?
The burrito method is what makes this such a good first project. It hides every raw edge inside one seam, without a French seam and without a serger.
Press both fabric pieces flat first. Lay your cuff fabric right side up on the table. Place the main body fabric right side down on top of it, lining up one long raw edge with one long raw edge of the cuff. Pin along that matched edge.
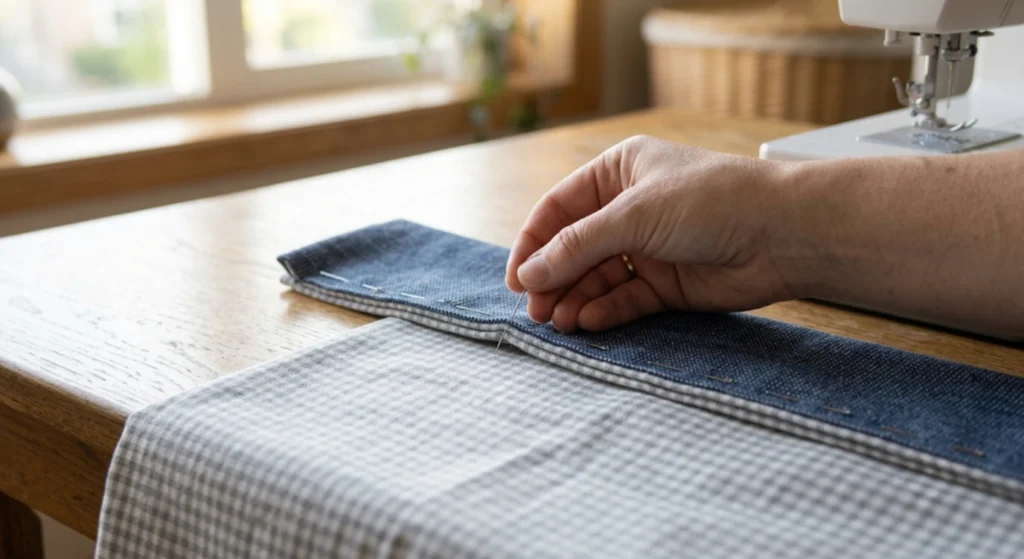
Starting from the pinned edge, roll the main body fabric up like a burrito, all the way to the opposite edge. You will end up with a tight tube of fabric sitting on top of the cuff piece. Take the bottom edge of the cuff and fold it up and over the roll, wrapping it like a taco shell, and match the raw edge to your pinned edge from before. Re-pin through all the layers.
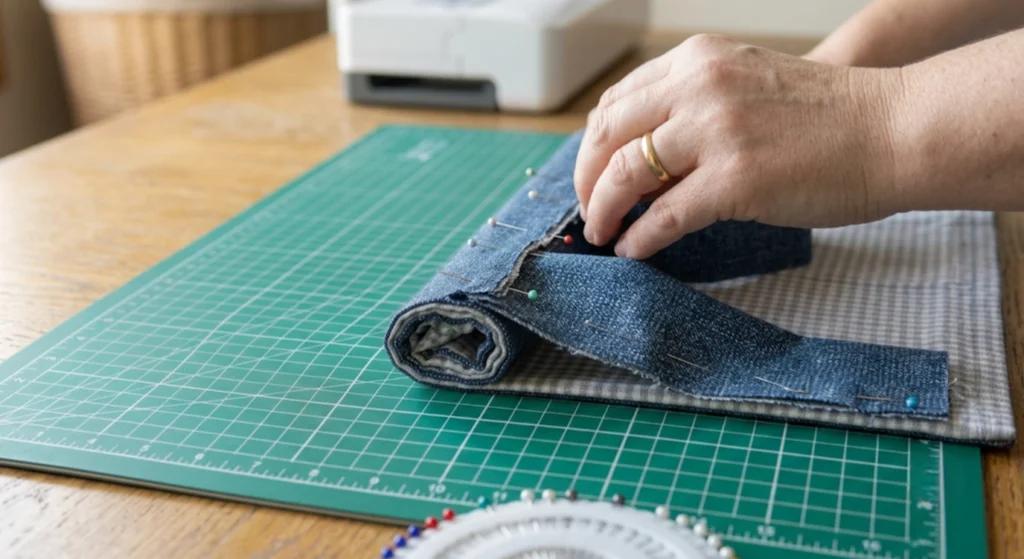
Sew a half-inch seam along that pinned edge, backstitching a few stitches at the start and end. Then reach into the tube from one open end and gently pull the rolled fabric out through the gap. It turns itself right side out as you pull. Press the seam flat, then press it to one side.
One seam and one pull-through are all it takes to enclose every raw edge.
One home sewist on a quilting forum described walking a child through French seams on a similar project, where the technique “was hard for the child I had coached.” The burrito method skips that problem completely. There is no separate seam to learn, just a roll and a pull.
How Do You Sew the Side and Bottom Seams?
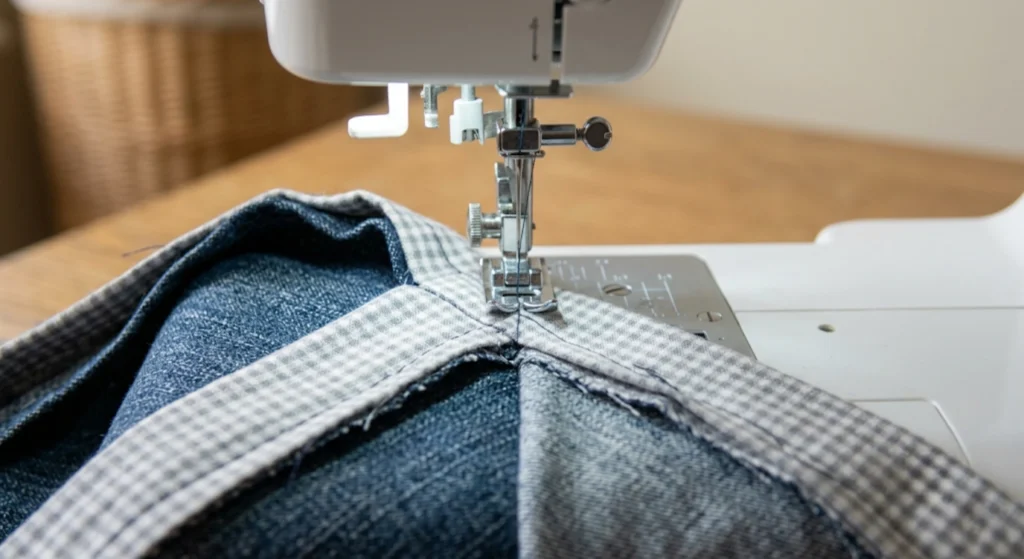
Fold the whole pillowcase in half lengthwise, right sides together, matching up the cuff seams and the raw edges. Pin along the open side and across the bottom.
Sew a half-inch seam allowance in one continuous line down the side and across the bottom, pivoting at the corner with your needle down in the fabric. Backstitch at both ends to lock the seam.
A half-inch seam allowance, sewn in one continuous line, is the only measurement this step requires.
The corner is the one spot beginners tend to rush. One sewist on Reddit recalled a tutorial that skipped straight past the part where she needed to “get the corners to look crisp.” Slow down here. Stop with your needle down exactly at the corner, lift your presser foot, turn the fabric, and lower the foot before you keep sewing.

- ThreadArt high quality cotton quilting fabric 44" wide, sold by the yard. Available in many brilliant, pastel, and tonal colors.
- Our premium solid color quilting fabric is 100% pure cotton in a soft pliable 145g/square meter. Our cotton fabric is a strong plain weave with vibrant colors and a soft feel.
- Premium quilting fabric from ThreadArt is perfect for quilting, cutting, sewing, gluing, folding, ironing and washing. Decorate your home with customized quilts, pillow, hand embroidery and more.
- ThreadArt carries the most popular solid colors of cotton fabric for quilting, sewing and crafting. All the vibrant colors were designed to complement each other and thousands of other Threadart products from thread to vinyl to embellishments.
- Threadart 100% Cotton Premium Quilting Fabric is the perfect fabric for your crafting needs. Our fabric compares to other high quality, quilting fabric from major manufacturers.
How Do You Finish and Press a Simple Pillowcase?
Set your machine to a zigzag stitch and finish the raw edge of the seam you just sewed, or use a serger if you have one. This keeps the inside from fraying in the wash.
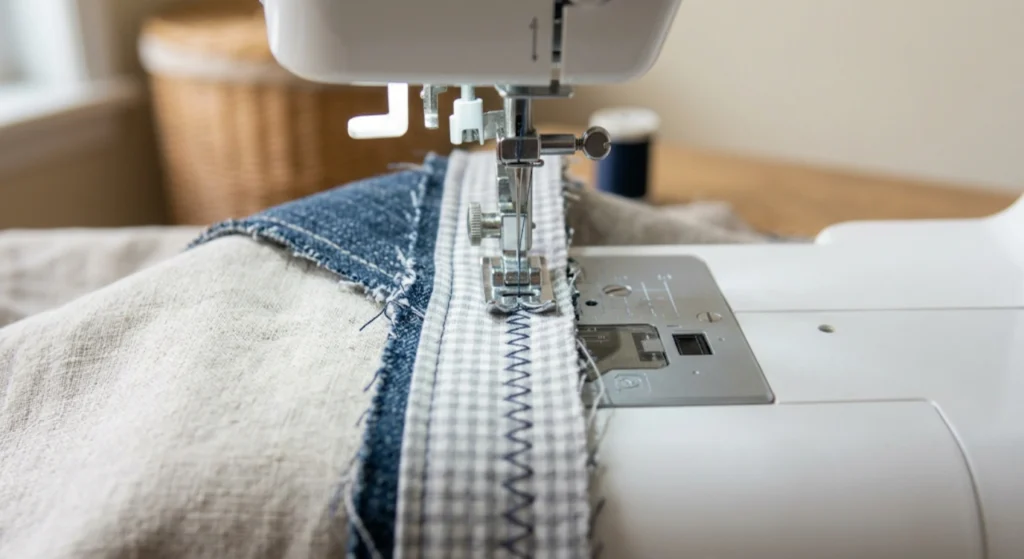
Turn the whole thing right side out through the open top. Push out the bottom corner with a point turner, or the closed tip of a pair of scissors. Give it a final press.
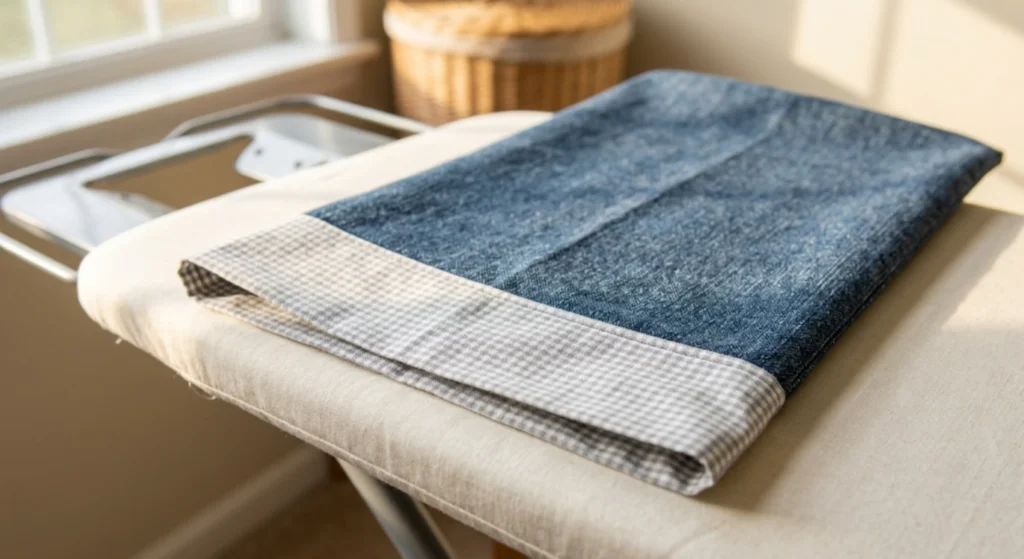
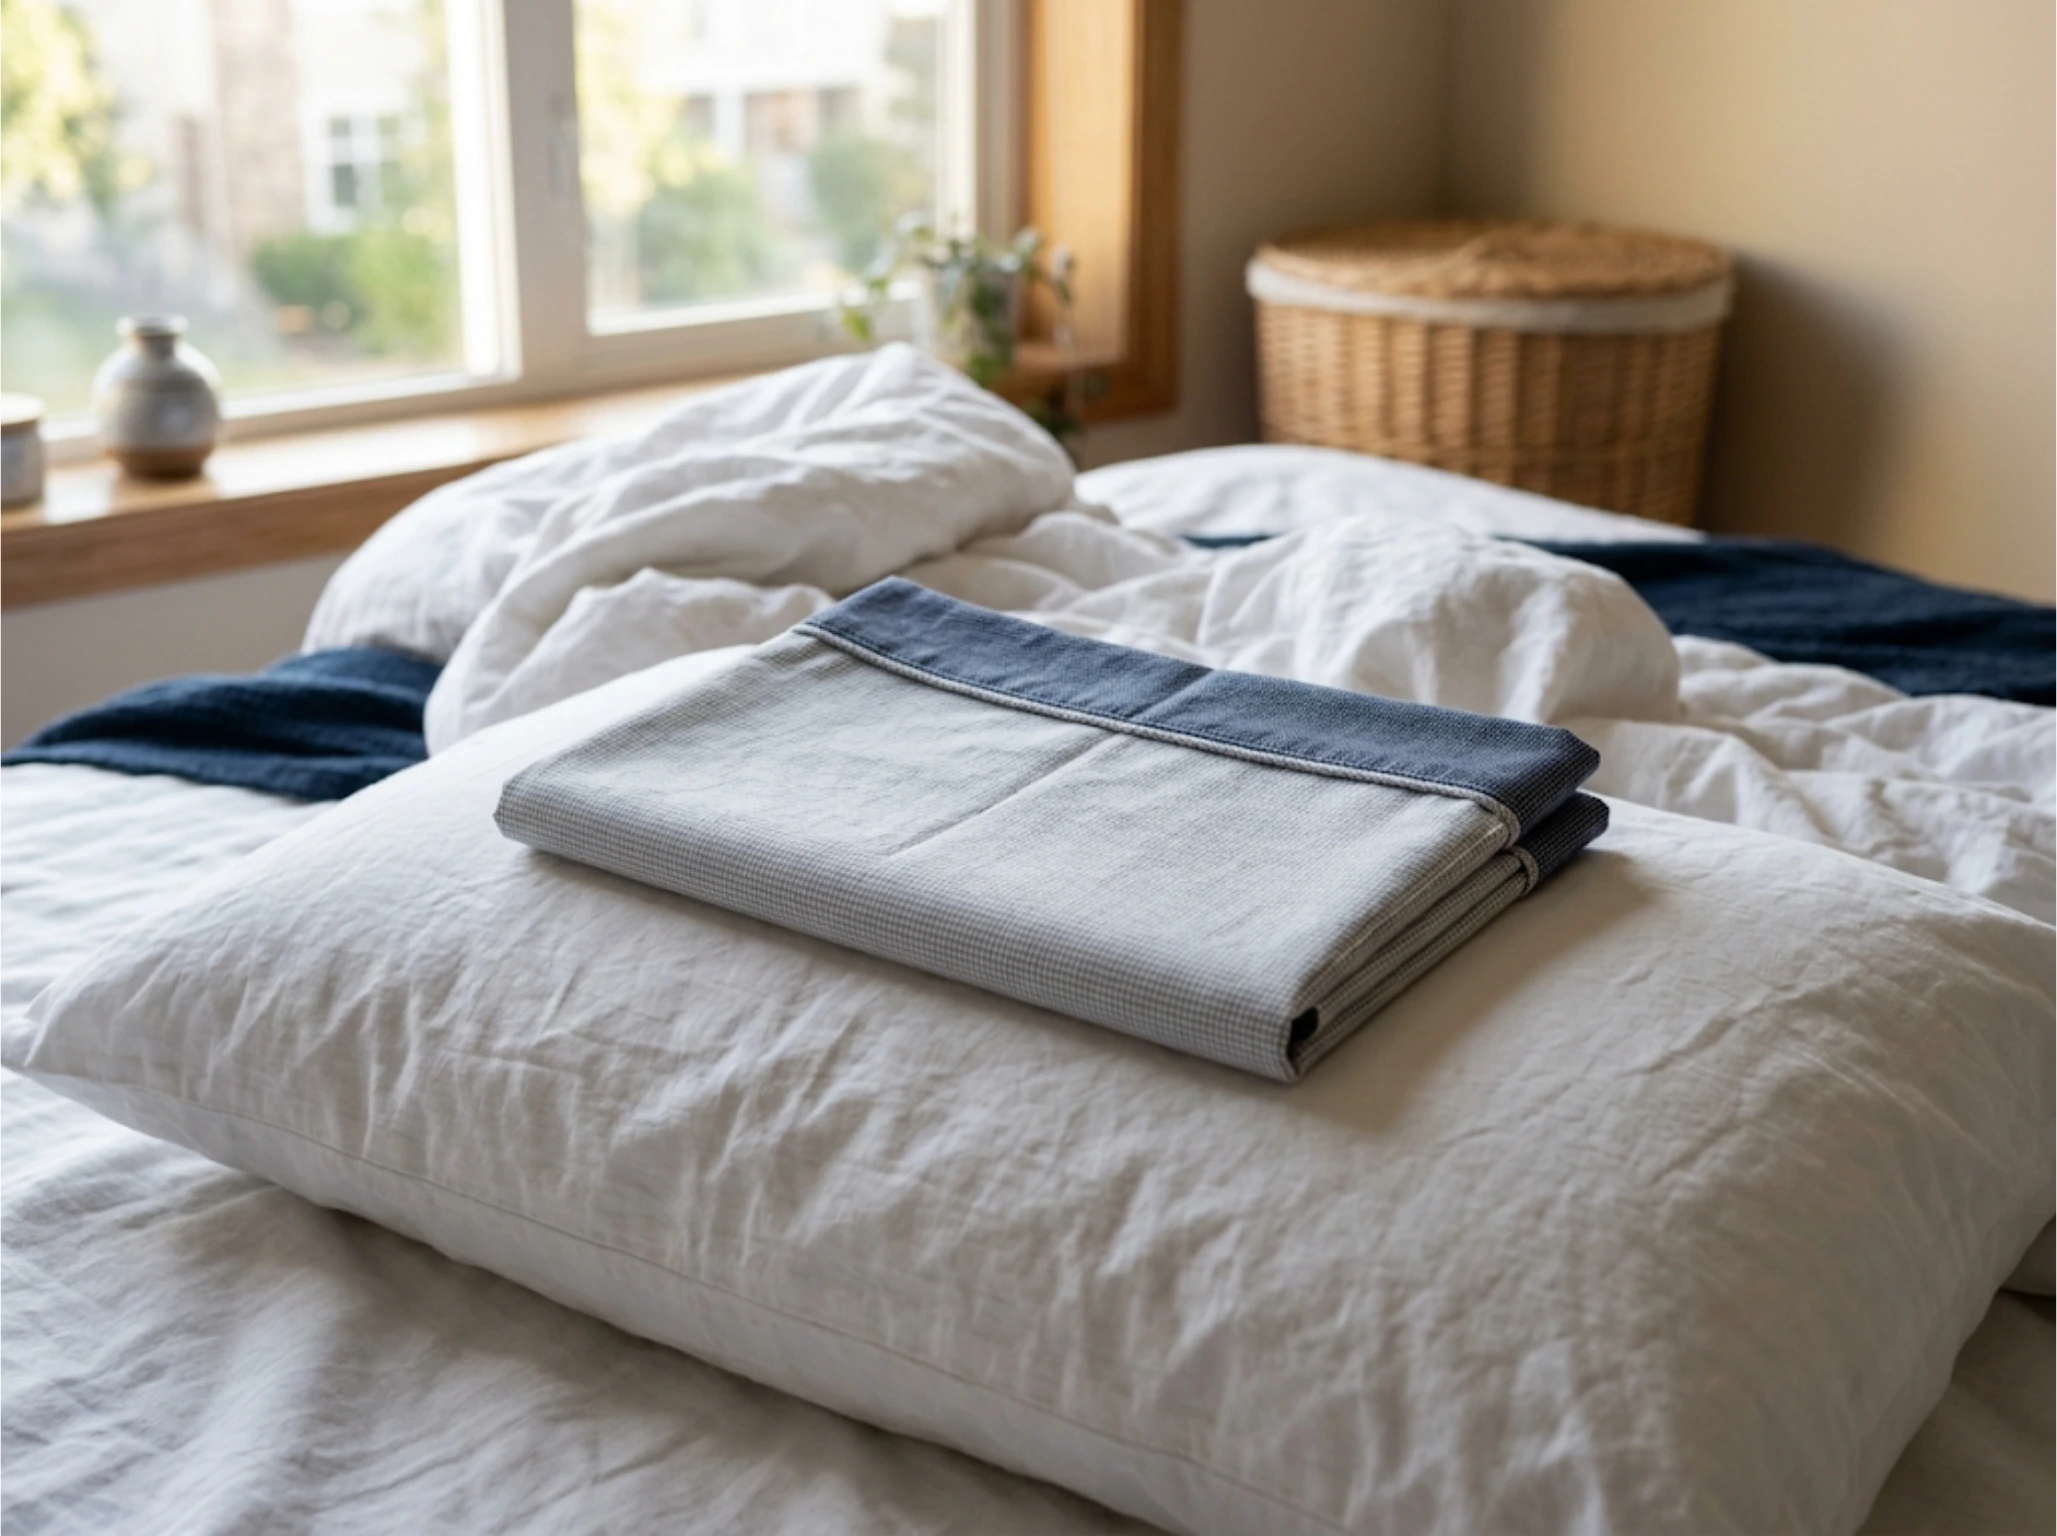
A finished pillowcase should lie completely flat, with no raw edges visible anywhere, inside or out.
What Should You Do If a Seam Puckers or Skips?
Most stitching problems on a project this size come down to the machine, not your skill.
If your seam puckers or bunches, your top tension is probably set too tight for the fabric weight. Loosen it by a number or two and test again on a fabric scrap before you go back to your project. Loops of thread on the underside usually mean your top thread is mis-threaded. Loops on top usually mean a bobbin problem.
Re-thread your machine from scratch, with the machine off, as your first move any time a stitch looks wrong. For a deeper walkthrough, see our guide to fixing common machine tension problems. Threading mistakes cause far more stitch problems than an actual machine defect. Clean out the bobbin case and feed dogs periodically, since built-up lint causes the same symptoms as a tension problem.
Re-threading the machine from scratch fixes more stitch problems than any other single step.

- These mini clips feature great holding capacity and have a multitude of uses
- Each clip opens wide to hold layers of fabric and the clip base is flat for easy feeding to the presser foot
- Perfect for making quilts, handbags and more
- Package contains 50 wonder clips
Ready to Sew Your First Pillowcase?
Cutting two straight pieces and enclosing one seam is a skill that carries into almost every project that follows.
You also picked up pivoting a corner and pressing as you go, two habits worth keeping. Those skills carry into a simple tote bag, an elastic waist skirt, and most other beginner patterns. Sewing for a child instead of a bed? The Pillowcase Dress tutorial uses the same rectangle-of-fabric logic for a wearable version.
Download the free printable pillowcase pattern below to keep every measurement and step next to your machine while you sew. Make one for your own bed first, then make a second one as a gift. A handmade pillowcase is one of the few first projects that looks intentional the moment it is finished, not like a practice piece.
Download the Free Simple Pillowcase Sewing Pattern PDF
DIY Pillowcase / Quick and Simple Beginner Sewing from Jan Howell.
Frequently Asked Questions
-
Can I sew a pillowcase using just one fabric instead of two?
Yes. You can cut both the main body and the cuff from the same fabric instead of two coordinating prints. Follow the same burrito method steps either way. Most sewists choose two fabrics for the visual contrast at the cuff, not because the technique requires it.
-
What fabric works best for a beginner pillowcase?
Quilting cotton is the easiest beginner fabric. It presses crisp, does not slip under the presser foot, and holds a seam without stretching. Flannel works too, but pre-wash it first since it shrinks more than cotton. Save slippery fabrics like satin or silk for after your first few projects.
-
How long does it take to sew a pillowcase?
Most beginners finish a simple pillowcase in about an hour, cutting included. The construction is only two seams: one to join the cuff with the burrito method, and one to close the side and bottom. Pressing between steps adds a few minutes but makes the final seam lie flatter.
-
What if my finished pillowcase is too tight for my pillow?
A too-tight pillowcase almost always means the body piece was cut too narrow, not a sewing mistake. Add 1 to 2 inches to your cut width next time if your pillow has extra loft. There is no easy fix once it is sewn, short of unpicking the side seam and adding a strip of matching fabric.
-
Do I need a special sewing machine to make a pillowcase?
No. A basic machine that sews a straight stitch and a zigzag stitch is enough. You do not need a serger, a walking foot, or any special attachments. Practice threading your machine and sewing a straight line on scrap fabric before you cut into your project fabric.
-
Do you have to know how to sew a French seam to make a pillowcase?
No. The burrito method encloses every raw edge without a separate French seam step. It is a common myth that a clean finished seam requires advanced technique. This one relies on rolling and pulling fabric through a gap, a skill any first-time sewist can learn in one sitting.
-
Can I make a pillowcase for a travel or toddler pillow?
Yes. Measure your pillow’s width and length, then cut your main body piece twice the width plus 1 inch for the seam allowance, about 5 inches longer than the pillow itself. Keep the cuff piece around 6 inches wide for a smaller pillow. The same burrito method steps scale down without any changes.
Why did you vote that way? Drop your take in the comments.