
I didn’t sew a straight seam on purpose until I’d already ruined three yards of fabric trying. I kept blaming my hands. It wasn’t my hands. It was my machine, my pins, and the fact that nobody had told me pressing counts as part of the seam. If you’re stuck in that same loop, learning to sew a straight seam isn’t about steadier hands or more patience. It’s a short list of checks, done in order, and here’s the fix that actually works.
Quick answer
Most crooked seams come from an untested machine, not shaky hands. Re-thread the top and bobbin, test on your real fabric, add a seam guide, pin on the grain, and press every seam before crossing it. Do these four steps in order, and the wobble disappears.
Related: Sewing 101 : How to Sew a Straight Stitch
Why won’t my seam sew straight?
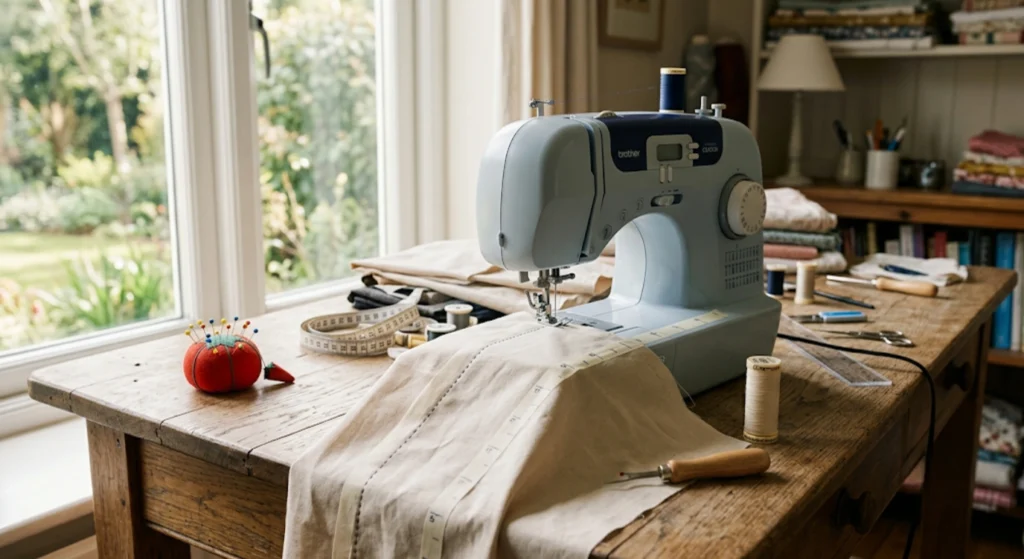
A wobbly line is almost always a setup problem, not a skill problem, so check the machine before you blame your hands.
Before you touch technique, re-thread your machine from scratch, top thread and bobbin both. Threading errors cause a huge share of stitch problems, and re-threading takes two minutes. Then test on a scrap of the actual fabric you’re using for the project, not a random scrap from the bin. Fabric weight changes how the stitch looks, so testing on the wrong material can send you chasing a problem that isn’t there. Brother’s own machine guidance confirms 2.5mm as the default straight stitch length for most fabrics, which is a good starting point before you adjust for anything thinner or heavier.
- Re-thread the top and the bobbin, even if you think it’s fine.
- Sew a test line on a scrap of your project fabric.
- Check the test line for even stitches on both sides before you start the real seam.

- Ultimate Precision Stitching: BREXFIRE magnetic seam guide boasts strong magnet adsorption for ultimate practicality. No need for installation, it excels at blocking edges, positioning, anti-curling, and pressing bright threads. Enjoy stable and accurate stitching, even on thick fabrics
- Effortless Operation: Easily attach the magnetic sewing guide to the needle plate of your sewing machine. Let your fabric effortlessly slide along the guide for consistent seam width. The guide can be removed and repositioned with ease, offering unparalleled convenience
- Secure Placement: Crafted from high-quality stainless steel and powerful magnets, this sewing accessory guarantees stability and accuracy. Perfect for edge protection, positioning, anti-curling, and more. The magnet securely stays in place, providing a reliable guide for your sewing projects
- Universal Compatibility: Compatible with most quilting and sewing machine brands, this magnetic seam guide is a must-have for both professional garment makers and home sewing enthusiasts. Achieve flawless straight or curved stitch lines, reducing errors in your sewing projects
- Package: Each package includes 1pc magnetic seam guide for sewing machine, making it a practical and durable sewing machine accessory. An excellent gift for sewing enthusiasts on special occasions such as Thanksgiving, Mother's Day, Christmas, Easter, New Year's Day, Valentine's Day, birthdays, and more
What tool actually helps you sew a straight seam?
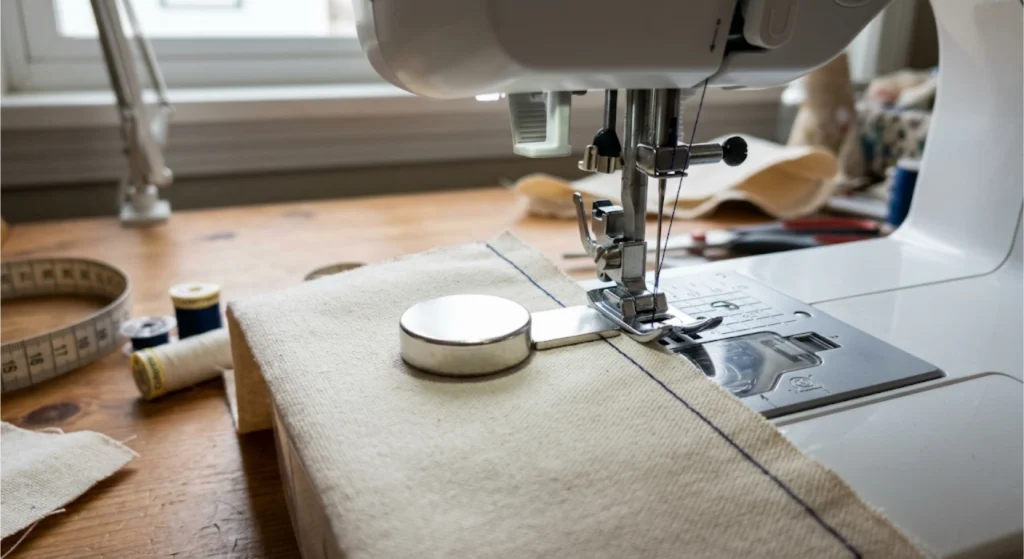
A seam guide does more for a beginner’s accuracy than practice alone, because it gives your eyes a fixed line to follow.
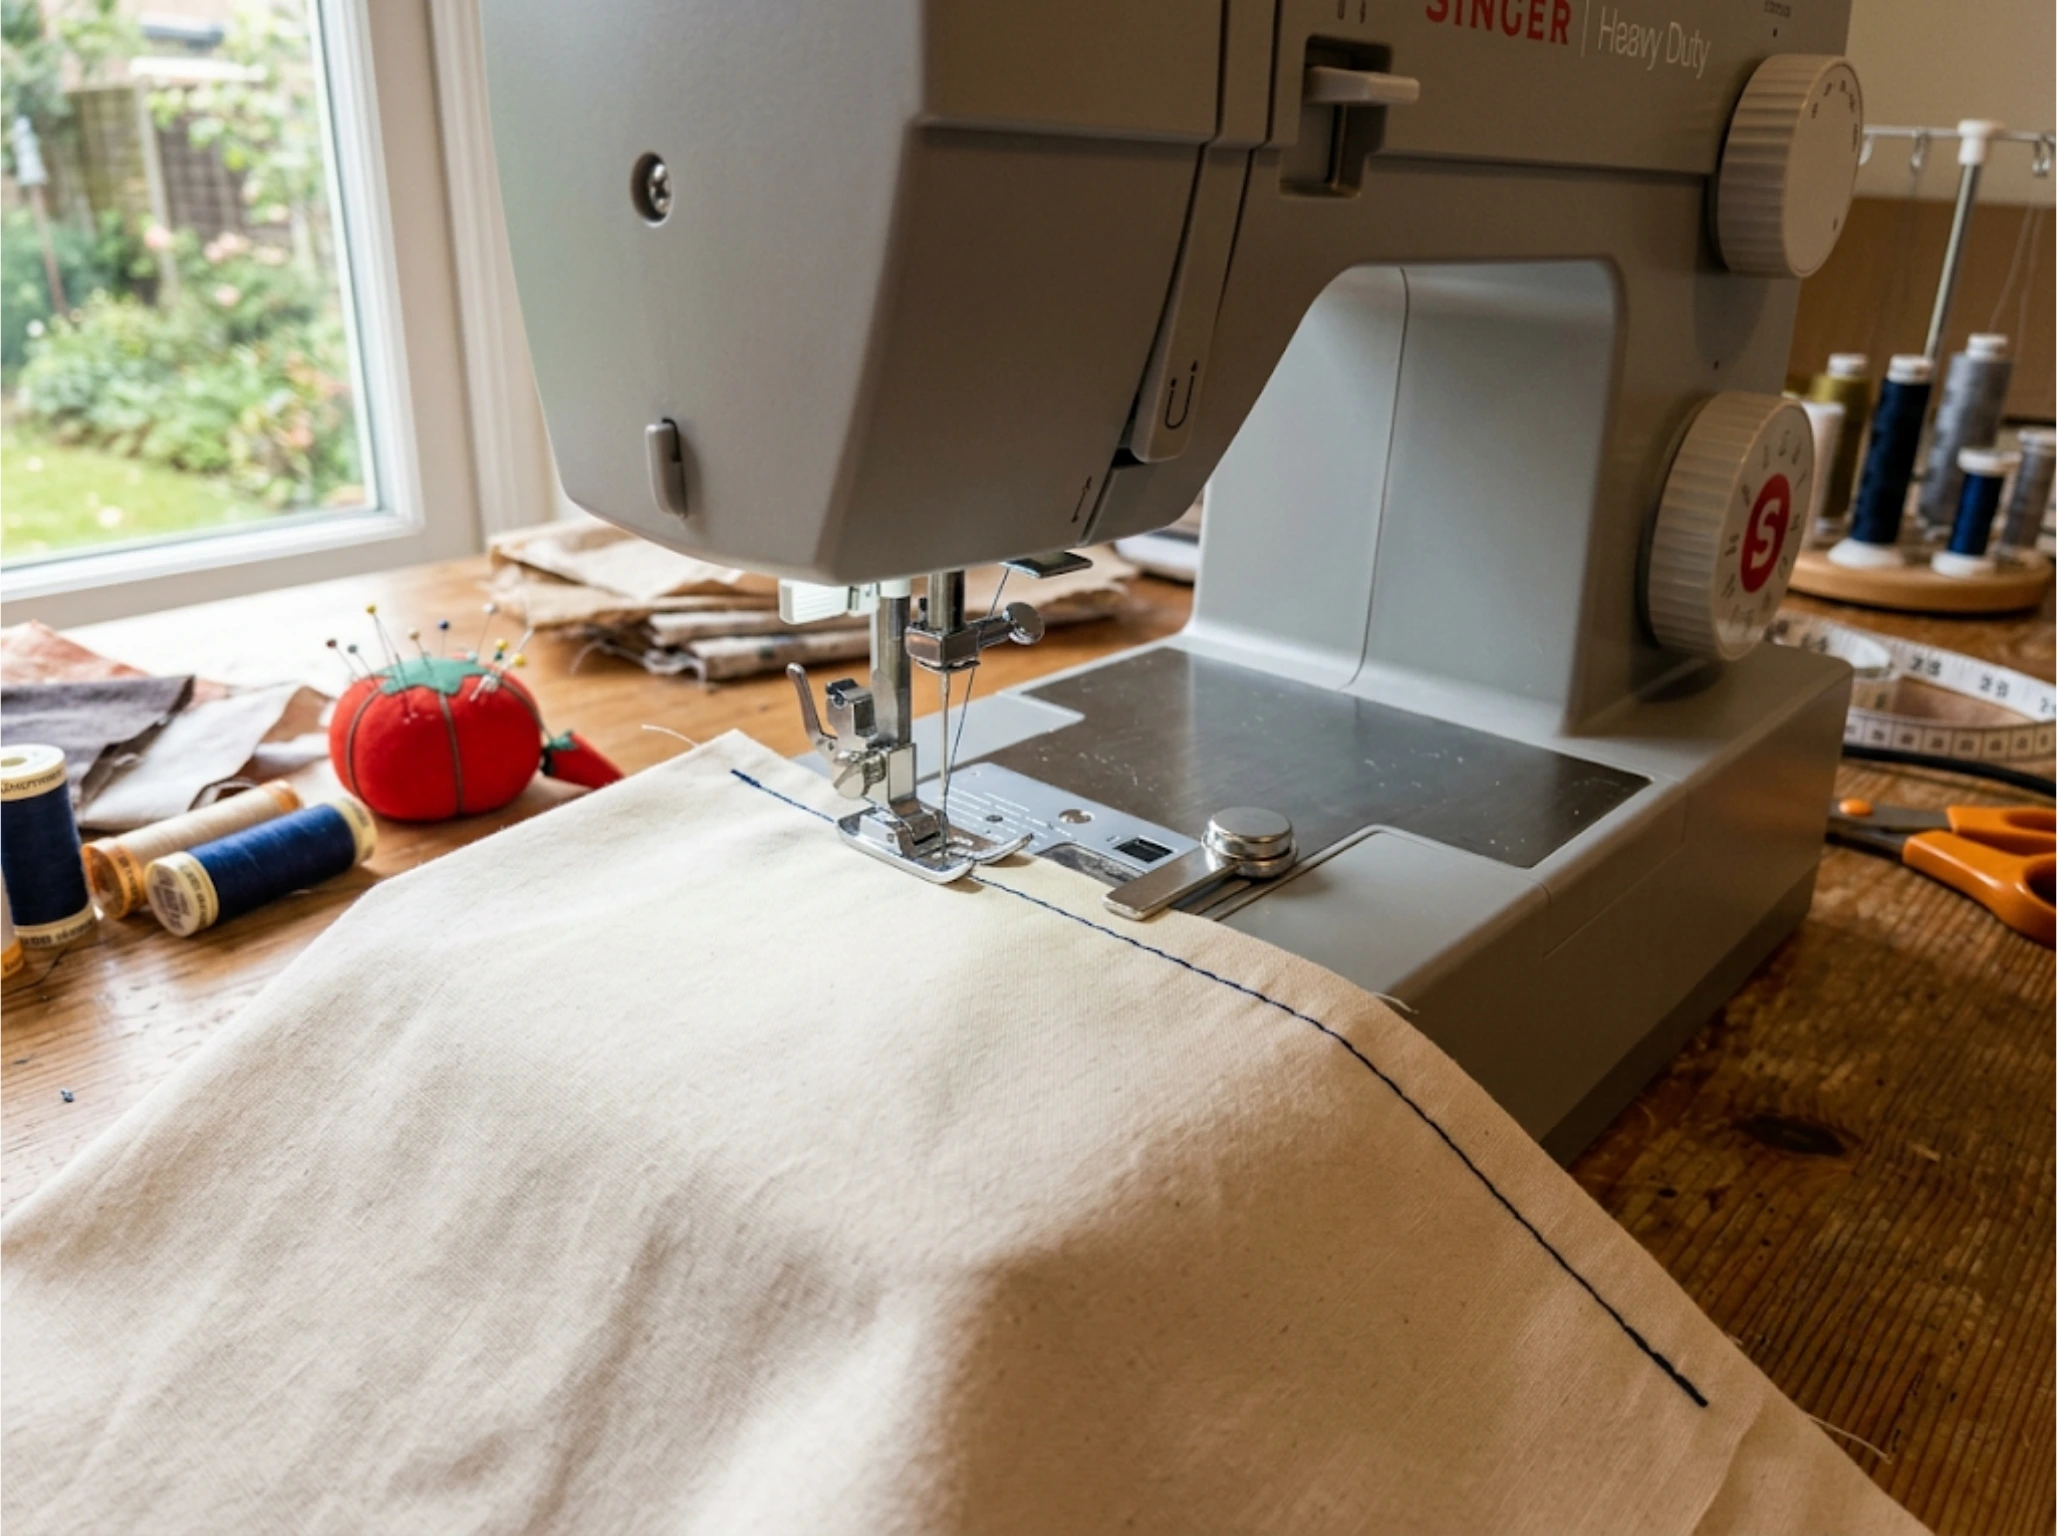
A straight edge that sits next to your presser foot and marks your seam allowance is the single tool that helps most beginners sew a straight seam. You don’t need an expensive one. A magnetic guide, a strip of painter’s tape, or a stack of sticky notes about a quarter inch tall all do the same job. Set it so the fabric edge rides along it the whole time you sew, and let your eyes follow the guide instead of the needle.
Budget tiers: a stack of sticky notes costs nothing if you already have them. A roll of painter’s tape runs a few dollars. A magnetic snap-on guide costs more but adjusts faster and holds its place on metal machine beds. Pick whichever one you already own and use it every time you sew a straight seam, since consistency matters more than which guide you pick.

- Painter's tape (4 rolls) for covering and preventing surfaces from getting painted, making it easy to create clean lines
- Suitable for indoor and outdoor use on painted walls, wood trim, glass, metal, and more
- UV-resistant strength and easy removal up to 14 days
- Apply tape to a clean and dry surface, press down firmly; after paint is dry, remove tape at a 45-degree angle
- Product Dimensions: 0.9 inches x 60 yards (WxL, unrolled)

How do I hold the fabric while I sew a straight seam?
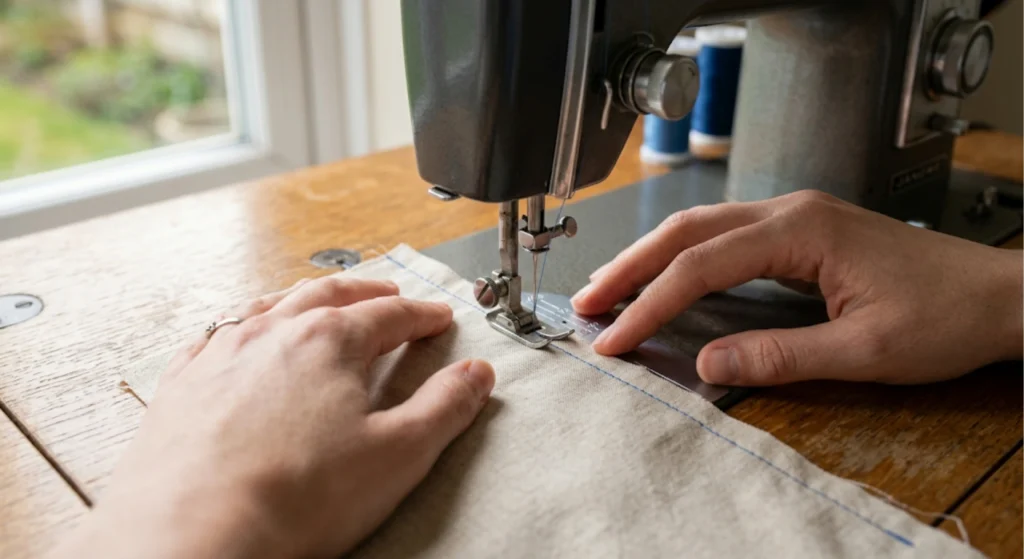
Your hands should guide the fabric, not steer it, or you’ll fight the machine’s own feed and lose the line.
The machine feeds the fabric through on its own, and that’s the part beginners fight hardest. Your job when you sew a straight seam is to rest your hands lightly near the presser foot and keep the edge lined up with your guide, not to pull or push the fabric forward. Pulling stretches the fabric out of shape as it feeds, which is exactly what creates that slow drift off the line. Slow your pedal speed down until you can watch the guide the whole time instead of watching the needle.
Why does my seam pucker or wobble on some fabrics but not others?
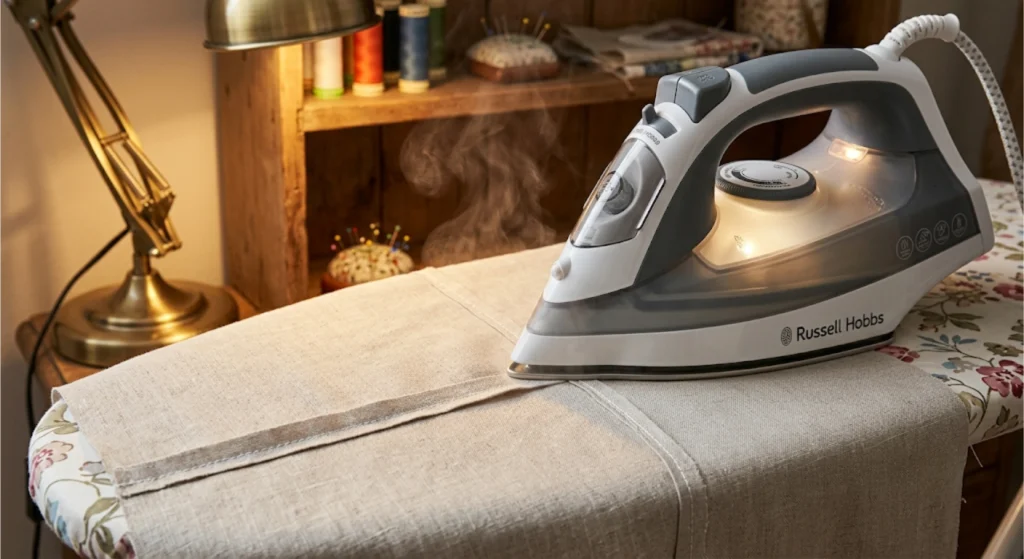
Fabric behavior changes the fix, so a technique that works on cotton can fail on something slippery or stretchy.
Here the sewing world genuinely disagrees, and it’s worth knowing both sides. One camp says speed up your habits: use a seam guide, sew directional seams with the grain instead of against it, and treat that as your everyday default, no extra fuss required. The other camp says the fabric itself sets the rules: confirm the grainline before you pin anything, and press every seam flat before you cross it with the next line of stitching, because skipping that step is what creates the wobble the shortcut crowd blames on the machine.
Use the fast habit if this is your first seam ever and you just need a clean, finished line to build confidence. Use the fabric-first approach if you’ve sewn a few projects already and you’re still fighting wobble, especially on woven fabric like cotton lawn or linen. At that point, the problem usually isn’t your hands or your machine. It’s an off-grain cut or a seam that never got pressed before the next one crossed it. Either way, the goal stays the same: sew a straight seam that lies flat once it’s out of the machine, not just while it’s still under the presser foot.
- Check your fabric’s grainline before pinning.
- Pin along the grain, not by eye.
- Sew the seam.
- Press it flat before sewing anything across it.

- Value Package: You will receive 50pcs. The quantity is adequate for you to replace
- Heavy Duty Size: Heavy duty sewing machine needles, 110/18 for thickened fabrics (such as leather&canvas)
- Universal for Sewing Machine: Our sewing machine needles are suitable for most sewing machines, including household&industrial
- Premium Material: Made of strong iron alloy, sturdy and durable, which has high hardness, sharp needle tip, not easy to bend
- Shape Design: The shank (top part) of these needles have one flat side and one rounded side. Standard size sewing machine needles with a flat shank
How do I practice sewing a straight seam before I start a real project?
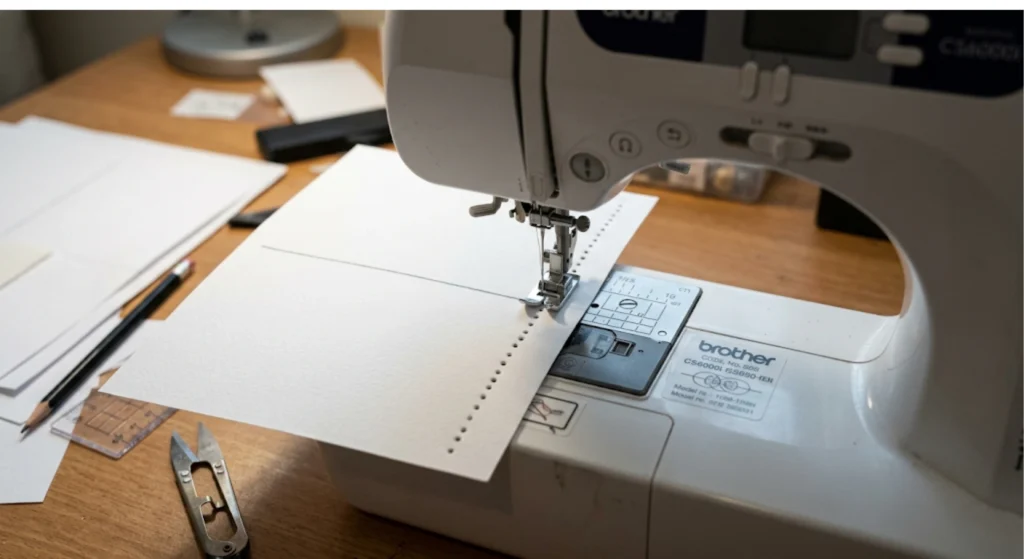
Practice on paper or scrap fabric first, so your first real seam isn’t also your first attempt.
Draw a line on a piece of paper and sew along it with no thread loaded, just to get a feel for pedal speed and guiding the fabric. Then move to scrap fabric, ideally the same weight as your project. After this, you can hold a straight seam allowance for a full seam length without stopping to correct it. That’s the actual skill. Once you can do that on scrap, the project fabric is just a formality, and you’ll notice the difference the next time you sit down to sew a straight seam on something you actually care about.
You Don’t Need Talent, You Need a System
A straight seam isn’t a gift some sewists have and others don’t. It’s four checks in order: machine, guide, grain, press. Run through them in that order every time something looks off, and you’ll spend less time at the seam ripper and more time finishing things. I still run this same list at my own kitchen table, every project, no exceptions, because the day I skip a step is the day I sew a crooked seam again.

- Seam Rippers,2 Different Sizes,Multifunction,Meet Different Requirements.small stitch unpicker is 3.5 inch long and large stitch unpicker is 5.5 inch long (clear cap included).the longer fork of seam ripper is used for pick out the thread you have sewed, the blade is used to cut and remove unwanted stitches, open buttonhole,other uses.
- Small sewing ripper: easy and convenient to get into those small places and undo fine stitching,The clear plastic cap can become an extension handle ,the large stitch ripper is sharp,it can cut multi-layer fabric very quickly and easily.
- Thread snip length:115mm,the blade is made of imported stainless steel,with special heat treatment and precision grinding process which makes the blade sharper and more durable,innovative double-edged&replaceable blade design,compared with ordinary thread cutters,one piece of blade equal to two pieces,one piece of scissor can be used repeatly more than 4 times by replacing blades,cutting is easier and more desirable.
- 5”scissor length :130mm,the blade is made of imported stainless steel,very sharp,become warped head design,easy cutting,remover stitch
- Package Included:4pcs seam ripper(2big+2small),1pcs double-edged thread cutter(Giveaway 2 pcs blade),1pcs scissor.
Get the Free Step-by-Step Checklist
A printable, start-to-finish checklist for this exact process is coming, covering the machine check, seam guide setup at every budget tier, and a troubleshooting table for the most common wobbles.
How to Sew Straight Seams EveryTime from Mireille Pegu.
Frequently Asked Questions
-
Why does my straight seam keep wobbling?
Most wobble comes from an untested machine, not a shaky hand. Re-thread your machine from scratch and test the stitch on a scrap of your actual project fabric first. If the test line comes out straight but your project line doesn’t, the real problem is fabric handling, not the machine itself.
-
Do I need a special foot to sew a straight seam?
No. A standard presser foot works fine once you add a seam guide, like a magnetic strip or a stack of sticky notes. A specialty foot can help later on, but it isn’t required to get a clean, straight line as a beginner working on a first project.
-
What stitch length should I use for a straight seam?
Use about 2.5mm for most woven fabrics, which is the default setting on nearly every machine. Shorter stitches, around 1.5 to 2mm, add strength at stress points, and longer stitches work better on thicker or stretchy fabric. Test the length on a scrap before sewing your real seam.
-
Why does my seam pucker instead of lying flat?
Puckering usually means your top tension is too tight, or you’re pulling the fabric while it feeds. Loosen the tension slightly and let the machine pull the fabric through on its own. If puckering occurs only on one fabric, it depends on that fabric’s weight, not on your machine.
-
Should I pin before I sew a straight seam?
Yes, especially as a beginner. Pin perpendicular to the seam line every two to three inches, and pull each pin out just before the needle reaches it. Pinning keeps your fabric on grain, which helps address one of the most common hidden causes of a seam that starts straight and drifts.
-
Is a walking foot necessary for straight seams?
No, that’s a common myth for most woven fabrics. A walking foot helps with slippery or bulky layers, such as quilting cotton or vinyl, where fabric can shift unevenly under the needle. For a standard cotton seam, a seam guide and slow, steady pedal control solve the wobble without buying extra gear.
-
How long does it take to sew a straight, professional-looking seam?
Once your machine is set up correctly, the seam itself takes seconds to sew, though five to ten minutes of practice on scrap fabric first is worth it. Rushing that first attempt is the most common reason beginners end up redoing the same seam three or four times.
Why did you vote that way? Drop your take in the comments.