Looking for a DIY luggage tag that is easy to spot? Keeping track of your bags during your travel is essential! If you want to learn how to make your own, keep reading for the easy how-to. You’ll love the timeless touch of this DIY luggage tag tutorial.
Sewing Tutorial | Easy DIY Luggage Tag for the Happy Wanderer
Jazz Up your Bag with this Classic DIY Leather Luggage Tag
Leathers are known to be the oldest materials used for making clothes. And not only that! This fantastic material is known for its quality and durability compared to most fabrics. We’re excited to share you this easy leather project every traveler will love. There’s a lot of tutorials from different sewing sites and this is by far the easiest and cutest we’ve seen! We love its simplicity, too. Without further ado, here’s a DIY luggage tag tutorial you can make in no time.
Materials:
- leather
- thread
- marker
- round object
- embroidery floss
- ribbon or a leather strip
Tools:
- hand sewing needle
- a pair of scissors
- cutter/knife
Instructions:
Step 1. Trace
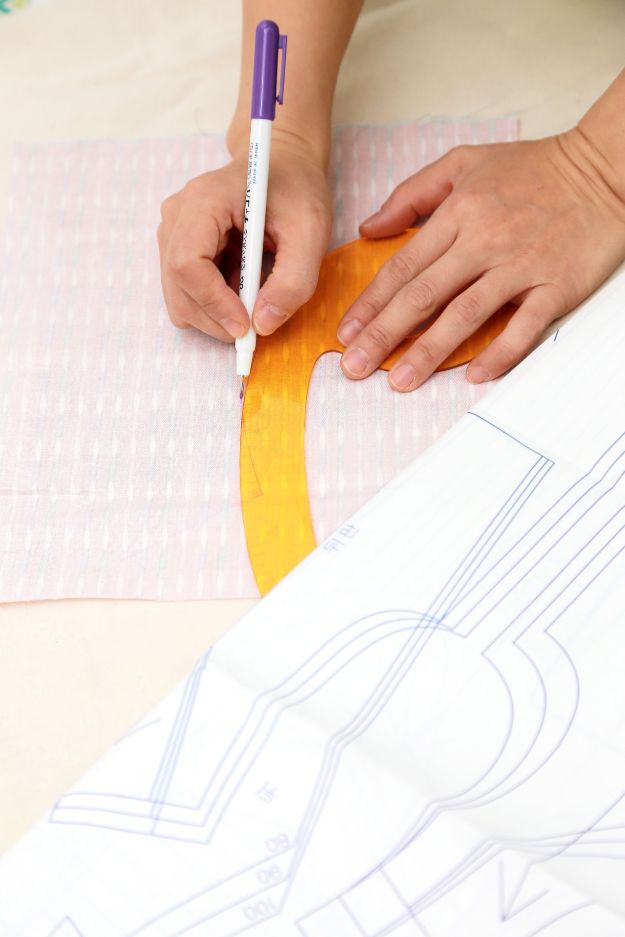
Using your marker and round object, trace two round shapes of the same size on your leather.
Step 2. Cut
Cut the round shapes out of your leather using your fabric scissors.
No products found.
Step 3. Trim

the sides of both round leathers to get an even, smooth edges.
Step 4. Create The Window
Mark your front leather with your desired measurement for the window of your leather luggage tag. Then cut it following the mark you’ve made. You may use a cutter or knife for this step.
Step 5. Put Both Leather Circles Together
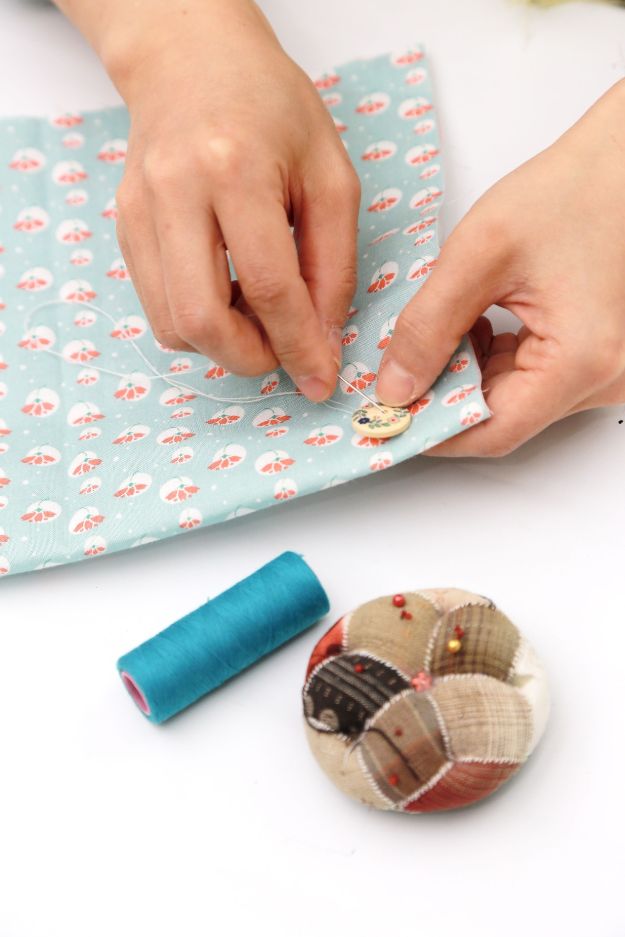
Place your front leather (with slit) on top of your back leather. Make sure both wrong sides are facing each other.

Step 6. Stitch It
at the back. make sure you do this at the wrong side. You can make a whip stitch, a blanket stitch or whatever stitch you’re comfortable to use. Then create a knot to secure the end stitch.
Tip: Make sure you don’t sew the top part — this is where you’ll insert your card.
Step 7. Insert The Identification Card
Write your information details on the identification card then insert it right through the opening.
Step 8. Make A Slit
Using your cutter or knife, make a slit on top of your luggage tag to insert the ribbon or leather strip.

Step 9. Make The Tag Holder
Fold your leather strip or ribbon at the center. Then insert it right through the slit. Grab the end tail of your ribbon and insert them through the hole. Tighten it and tie a knot at the end tail to secure it.
How do you like your newest travel bag accessory? We know there are lots of tags lined up in a store but we always love the DIY route.

Here’s the full video tutorial for Making a DIY Leather Luggage Tag from Crème de la Craft.
If you’re set for your vacation, this DIY project will surely give your bag the classic touch it needs. Show your luggage some love and make one now. Bon voyage!
Interested in learning more sewing projects tutorial? Click here.
Like this? You’ll also like…
Sewing 101 | The Basics of Sewing Leather
Sew Your Own DIY Makeup Bag | Cosmetics Bag Sewing Pattern
[Sewing Tutorial] How To Make A Makeup Brush Travel Organizer