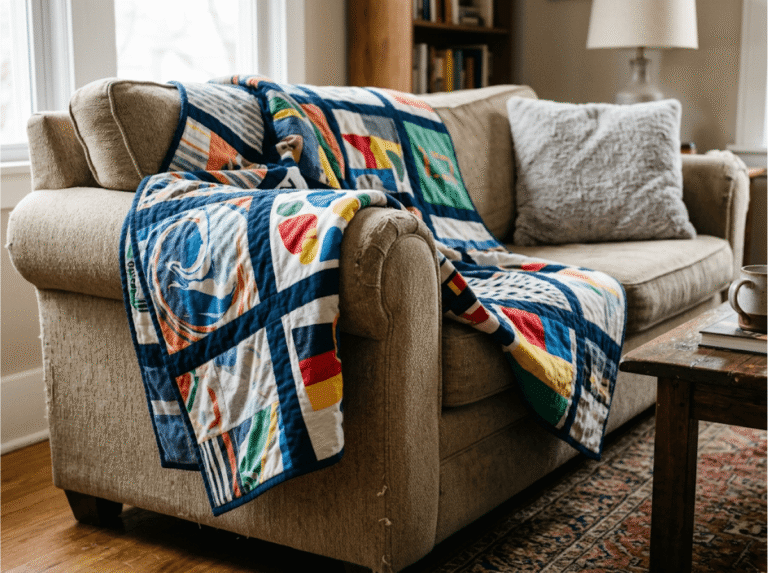
Learning how to sew zippers is crucial for all sewers. But, take this challenge, and go beyond the basic zippers! Learn how to sew invisible zipper.
Learn How To Sew Invisible Zipper On Fabrics!
Before I got into sewing, I can’t count how many times I had to give away, upcycle, or throw away a piece of clothing just because it didn’t fit me anymore. This is especially true about my old tight dresses and pencil skirts. However, when I learned how to alter clothes, I also learned one of the most important lessons in sewing – how to sew invisible zippers! They hide in plain sight, making clothes look extremely polished and lovely. Read on to find out how to sew your own invisible zippers!
Supplies you’ll need on how to sew invisible zipper:
- Fabric – Two Rectangular Straight Edged Fabric
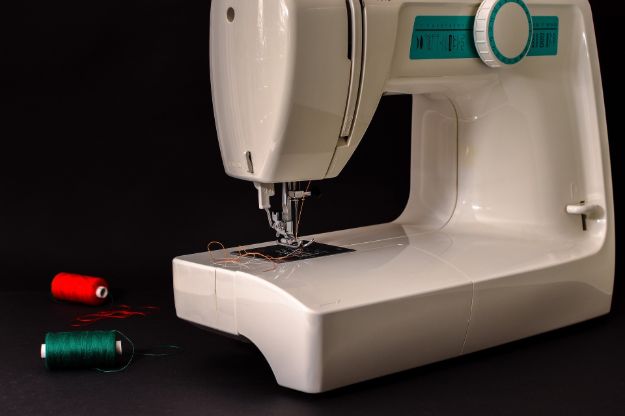
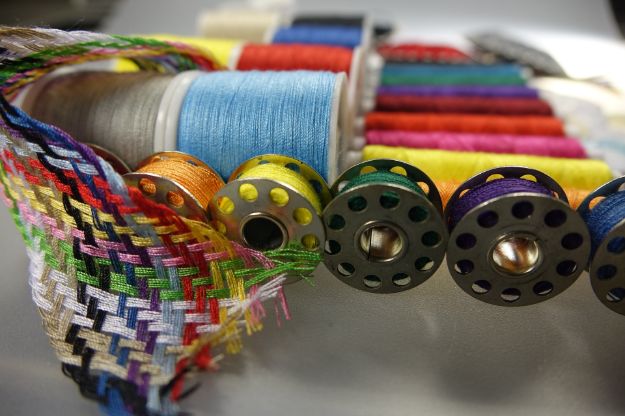
- Sewing Machine & Thread
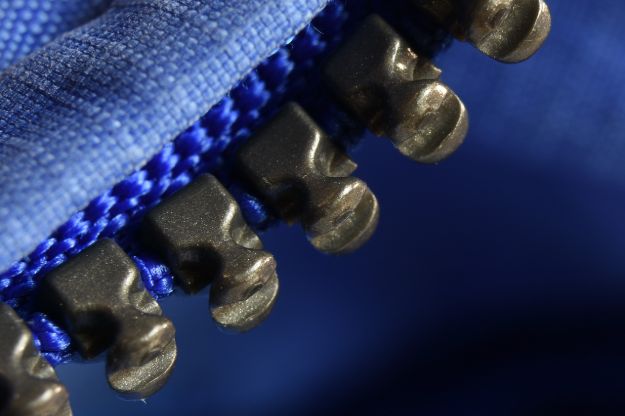
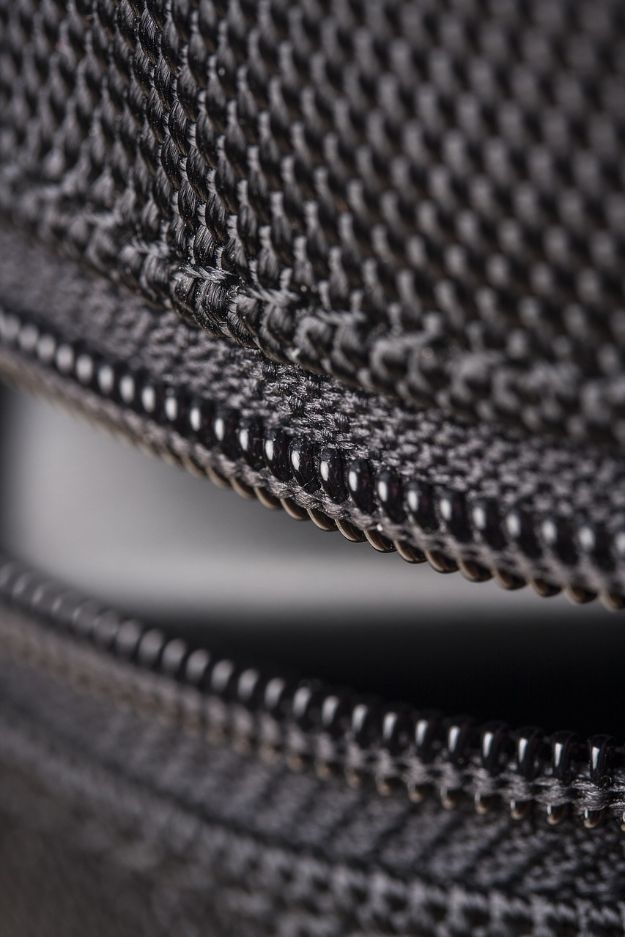
- Invisible Zipper
- Pins
- Fabric Shears
- Invisible Zipper Foot
- Regular Zipper Foot
Step 1: Add Crease Or Fold
Firstly, double-check the seam allowance you need by looking at your zipper. The measurement of your seam allowance will also be the size of the fold you will be pressing. Press the edges of both rectangular fabric, it should be longer than your zipper at the bottom by 2 or 3 cm.
Tip: Standard seam allowance is 5/8″ of an inch.
Step 2: Align The Zipper To The Fabric
Lay your zipper pull facing you between your two creased fabrics with the wrong side up – the seam allowance is on the inside. Unfold the crease of the fabric on the right side, drag it to the other side of the zipper (not the one beside it) and flip it. Once you flip it, you’ll see how you’re supposed to sew the zipper.
Step 3: Pin The Zipper To The Fabric
Make sure the coil of the zipper is aligned to the crease you made earlier. Secure the zipper to the fabric by using pins. Start from the topmost edge of the zipper and fabric, up to where its opening ends.
Step 4: Sew The Zipper Into The Fabric
Keep the coils of the zipper to the left ridge of your invisible zipper foot. Sew the zipper into the fabric by using a standard 2 and a half stitch size. When sewing the first and last few centimeters and use a backstitch to secure the ends.
Step 5: Check If The Zipper Works
Before sewing on the other fabric, flip your work over and check if the zipper works. Zip it up and down multiple times to make sure it doesn’t catch any fabric.
Step 6: Pin The Zipper To The Remaining Fabric
Like in the first step, make sure the zipper is properly aligned with the crease and the fabric is facing the correct way. Pin the zipper to the fabric and lay it as flat as you can.
Step 7: Sew The Zipper Into The Fabric
This time, keep the coils of the zipper at the right ridge of your invisible zipper foot. Then, repeat the sewing process in step 4.
Step 8: Check Again If The Zipper Works
Now you have your zipper sewn in with the two fabric pieces, it’s time to double-check if the zipper can zip smoothly. Unzip and zip it up multiple times and make sure it doesn’t get caught in anything.
Step 9: Align The Creases
The invisible zipper is almost finished except for the bottom part. Now, flip the fabric and fold it so you could see where the zipper is. Align the creases at the bottom you created earlier.
Step 10: Pin The Along The Crease
Flip the fold down so it covers the zipper. Pin the flap and ensure the fabric is secured before bringing it to the sewing machine. Lift the tape end of the zipper to make sure it doesn’t get in the way when you sew the bottom part of the fabric. It is best to pin the fabric underneath it, this would give the zipper a nice clean finish later.
Step 11: Stitch The Bottom Part Of The Fabric
Switch out your invisible zipper foot for your adjustable zipper foot. Pull your zipper tape away from the needle to make sure it doesn’t get stitched in. Overlap your stitches with the back stitches you made earlier and do a backstitch for the first and last centimeters of the area you’re sewing.
Step 12: Press The Fabric
Press the bottom seams to keep the fabric nice and flat. Flip it over and press the fabric where the zipper is. Keep this for a few seconds, your zipper is made up of plastic after all – you wouldn’t want to melt it, right?
To get a more visual instruction, check out this video by So Sew Easy!
Now you know how to sew invisible zipper, you could avoid the bulky zippers on garments and keep the sleek and clean look! This will come really handy for tight dresses, slim pants and pencil skirts for your work attire. Your outfit and your look will definitely garner compliments from co-sewers and friends!
How did you find the tutorial? Leave us a comment below! Do you want to learn how to sew mitered corners? Find out how by clicking here!