
One of the tricky but essential skills to learn in sewing is learning how to apply bias binding on armholes. With this step-by-step guide, you’ll be learning not one, but three techniques on how to apply bias binding on armholes!
How to Apply Bias Binding on Armholes in 3 Easy Ways
Bias binding on armholes looks pretty simple to the untrained eye. They are these nifty little things that complete the seams and necklines of tops and dresses. But when you start trying to sew them yourself, you discover how tricky it could actually be. Sometimes, you forget about pulling the binding just right and you end up with a lump of ruined binding.
But don’t worry! I’ve compiled 3 ways of varying levels of ease to overcome this actually really simple sewing technique. Prepare your materials and let’s start sewing!
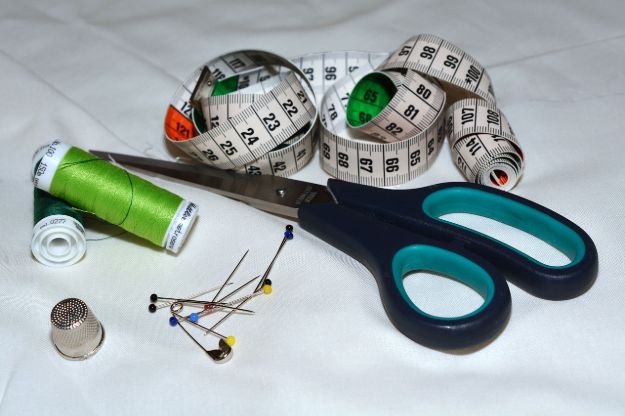
Materials to Use on How to Apply Bias Binding on Armholes:
- Binding Fabric
- Spare Fabric
- Sewing Machine and Thread
Points to Remember:
- In choosing a binding material, keep note that the stretchier the material you choose, the better it is. Stretchy fabrics are more agile in sewing in curved patterns.
- Ready-made bindings are also available for you to use, but it’s much better to make your own stretchy binding.
- Learn how to make your own binding by reading our tutorial on how to make bias tape.

The Traditional Technique
The first technique is the traditional way of applying bias binding on armholes.
Step 1: Fold the ends of your binding
Fold your binding into itself. This makes a groove in your binding that marks the middle and the quarter width of it. These marks will serve as your guidelines as you sew.
Step 2: Sew your binding on your fabric
With your marked binding, sew on the groove between the middle fold and the edge of your fabric. As you sew the curved parts, remember to pull on your binding to keep it taut. Always follow your mark and stitch right in the groove of the bias.
Step 3: Sew the other side of your binding
Flip your fabric to the other side and close your binding by stitching edge of the bias.
Step 4: Close the armhole
If you’re working on adult wear, you can close the side seam before adding the bias. For children’s wear, you can add the bias first and do an overlock stitch after.

An Easier Technique
This second technique is a little more straightforward and easier to follow. Please note that for this demonstration, the armhole has already been sewn.
Step 1: Align your binding and seam
Align the edge of your binding to the edge of your seam. Allow a little allowance between the edges of your fabric and your binding. You can cut these off after you have attached your binding.
Step 2: Sew your binding to your fabric
Starting on the underarm, start sewing your binding. Remember to pull on your binding while you sew on curves, keeping the binding taut. You can stop pulling your binding when you reach the straight part of the armhole.
Step 3: Fold the free end into a triangle
As you reach the underside side again, fold the free end into a triangle. Finish attaching your binding on this side by sewing on. The second end of your binding has to overlap the first one before you cut your binding off. You might want to cut the frays off to make it easier to roll the binding around for a clean finish.
Step 4: Pin your binding into your fabric
Turn the armhole around so you can work from the inside. Then, fold over the bias binding. Use pins to secure the folded binding before stitching it in.
Step 5: Closing your binding
Start sewing at the other end, where the fabric is thinner. Tuck your binding in and let your needle run over it.
Tip: You might want to avoid using linen as a binding fabric as you are learning to stitch. Cotton is a slightly better choice. Remember to starch it first before you use it as a binding fabric.
Industrial Sewing Technique
The easiest of the three techniques is the industrial sewing technique.
Step 1: Align your binding and fabric to your presser foot’s edge
Align your fabric and binding to the edge of the presser foot of your machine.
Step 2: Start sewing your fabric
Start sewing over your fabric. Remember to pull on your fabric to keep it as taut as possible.
Step 3: Cut along the seam
Cut back along the seam, but allow for a space you can understitch. If you cut too much, you might run out of space to understitch. Fold your binding over and start understitching.
Step 4: Understitch
Stitch a line close to the edge of a facing. Make sure the seam allowance is positioned the right way. This is done to prevent the edge of your seam from rolling outwards.
Step 5: Close your side seam
Close your side seam before flipping your binding. Open the underarm seam so it’s a bit thinner and easier to sew.
Step 6: Finish your binding
Finish your binding by sewing from the underarm up.
Check your seams and armholes if you’ve sewn them correctly. If you’ve done it right, you can move on from practice fabrics to real ones.
Viola!
These are the finished products of the 3 methods on how to apply bias binding on armholes!
Learn more about how to apply a bias binding on armholes. Here’s the video from Marina Brumpton for the full tutorial:
What do you think is the best way to apply a bias binding on an armhole? Let us know in the comments below! Want to know learn how to handle stretchy fabrics? Check out the Sewing Tips 101 for Handling Stretchy and Knit Fabrics!Follow us on Facebook, Twitter, Instagram, and Pinterest!