• Home
  • Sewing
    • Patterns
    • Materials
    • Organization
    • Supplies
  • Fashion Sewing
    • Dresses
    • Jackets & Coats
    • Pants & Shorts
    • Tops & Blouses
    • Accessories
  • Home Decor Sewing
    • Curtains
    • Pillows
    • Bedding
    • Novelty
    • Holiday Sewing Projects
  • Hand Sewing
    • Hand Embroidery
    • Crochet
    • Knitting
  • Sewing Techniques
    • Wovens
    • Knits
    • Quilting
    • Sewing Tips & Tricks
    • Specialty Fabrics
    • Sewing Skills
Logo
  • Curtains
  • Pillows
  • Bedding
  • Novelty
  • Holiday
You are here: Home / Sewing Techniques / Learn How To Sew Scalloped Edges To Spruce Up Your Sewing Projects

Learn How To Sew Scalloped Edges To Spruce Up Your Sewing Projects

September 21, 2022 By Sewing.com 1 Comment

Have you ever tried sewing scalloped edges to your fabric pieces? Level up your sewing skills in styling projects like aprons and sheets by reading this tutorial today!

Scalloped edges add a fancy and feminine detail to any sewing project. Whether it’s a skirt or a table cloth, your basic fabric will have an extra appeal after adding these cute patterns. It may look complicated especially if you’re a beginner but let me share the easiest skill I learned to sew perfect scalloped edges every time.

Learn How To Sew Scalloped Edges To Spruce Up Your Sewing Projects

It’s easy to sew scalloped edges on the hem or faced edges. It adds balance to your fabric or garments. For your little girls, adding scalloped edges to their garments make it visually pleasant and adorable.

If you’re wondering how to create this design, you have two options. First, you can create your own scallop pattern by drawing an arch on a paper, tracing the curved edge of a dinner plate or bowl. Your second option is to use a purchased scallop marking tool. Either of the two options can give you the scallop patterns of your desired size.


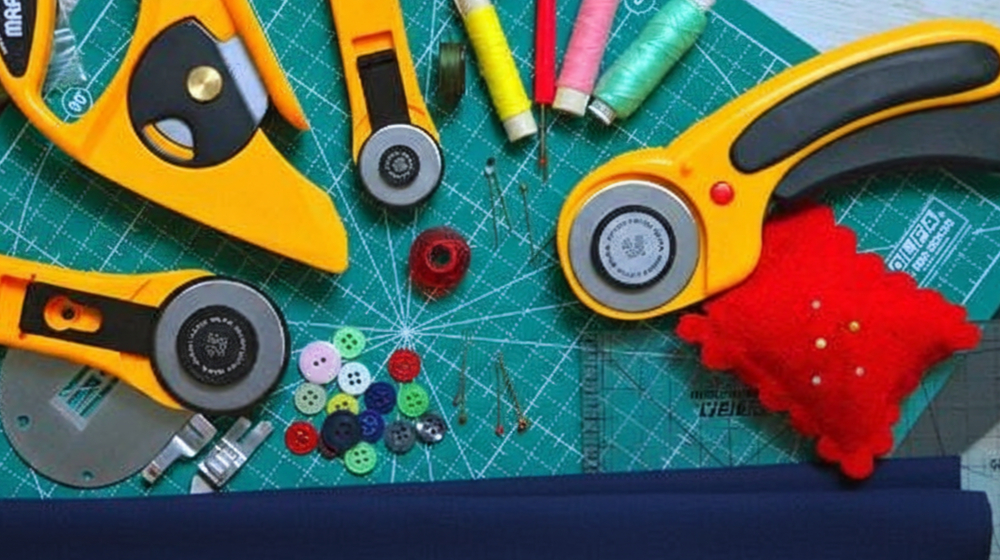
For this project, you’ll need:

  • fabric
  • marking tool (fabric marker or tailor’s chalk)
  • pins
  • scallop template
  • scissors
  • sewing machine
  • flat iron


Let the sewing begin!

Fiskars Scallop Paper Edger Scissors
  • Straight edges are a thing of the past; keep edging into the future
  • Scallop Edger dimensions are 63/100-by-6-1/2-by-2-9/25-Inch
  • Decorative edgers give clean and precise cuts
  • Color-coded for ease of reference
  • Lifetime warranty
$14.89
Buy on Amazon

Instructions:

Step 1: Find the center of the fabric

Learn How To Sew Scalloped Edges To Spruce Up Your Sewing Projects

On the fabric’s wrong side up, mark the edges of the fabric at the center using a fabric marking tool.


Step 2: Trace the scallops

Center the scallop template 1/2 inch from the edge of the fabric at the marked point. Trace around the scallop edge of the template. Pick up and reposition the template as necessary and continue marking scallops along the entire length of the fabric.

Learn How To Sew Scalloped Edges To Spruce Up Your Sewing Projects

Step 3: Stitch on the lines

Pin the marked fabric and the lining or face the fabrics’ right sides together — matching the right edge along the scallop edge. Stitch on the marked scallop line. Make sure you remove the pins as you go.

Learn How To Sew Scalloped Edges To Spruce Up Your Sewing Projects

Step 4: Trim and snip


Trim the fabric approximately 1/8 inch from the edge of the stitching. Snip the valley of each scallop without cutting into the stitch. If the scallops are deep, creating a sharply curved edge, notch the seam allowances along the curves so the fabric will lie flat when turned inside out.

Learn How To Sew Scalloped Edges To Spruce Up Your Sewing Projects

Step 5: Press the fabric

Learn How To Sew Scalloped Edges To Spruce Up Your Sewing Projects

Turn the fabric right side out then roll the seams between your fingers to help the seam lie flat. Press the scallop edge. And we’re done with our pretty scalloped edges!

BLACK+DECKER Digital Advantage Professional Steam Iron, D2530
  • Digital Temperature Control - The clear-view LCD screen makes it easy to customize fabric and steam settings. Plus, the screen will flash “READY” once the iron is preheated to the selected temperature
  • Stainless Steel Soleplate - The durable, heavy-duty soleplate glides smoothly over all fabric types to press out wrinkles in no time
  • Variable Temperature and Steam Controls - Independent steam and temperature controls give you the ability to customize each setting separately for the best results across all fabric types
  • 3-Way Auto Shutoff - For added peace of mind, the iron shuts off when left unattended for 30 seconds on its side or soleplate, and after 8 minutes on the heel rest
Buy on Amazon

Watch the full tutorial of this technique from LandauerPublishing:

Easy yet classy! I hope you’re able to make this design too! I think this simple design was able to channel out the woman within us, right? Not to mention the creativity in tracing scallop patterns. Cheers to another skill added to your sewing skill vault! ‘Til next time!


Interested to learn more easy sewing techniques? Click here. 


Like this? You’ll also like…

15 Quick and Easy Sewing Patterns You Can Sew This Weekend!

Sewing 101: How to Sew a Zigzag Stitch

24 Beautiful DIY Fabric Crafts

Filed Under: Sewing Techniques, Curtains, Fashion Sewing Techniques, Sewing Skills

Comments

  1. Judy says

    February 10, 2018 at 6:28 AM

    I love those scallops. Looks so pretty. I am going to try it.

    Reply

Leave a Reply Cancel reply

Your email address will not be published. Required fields are marked *

  • Facebook
  • Instagram
  • Pinterest
  • Twitter

SUBSCRIBE TO SEWING.com AND GET THIS FREE GIFT!

Sewing-Basics-for-Family-and-Home

10 DIY Roman Shades – Sewing Tutorials And Ideas

DIY Roman shades are practical …Continue Reading

17 Quick and Easy Thanksgiving Sewing Project You Can Do This Fall

Fill your home with the colors and …Continue Reading

10 DIY Plus Size Halloween Costumes You Can Sew

Go out of the box by creating the …Continue Reading

Go Shopping

  • Joann’s
  • Fabric.com
  • Michael’s
  • Art.com
  • Bed Bath & Beyond

Other Great Sites

  • DIY Projects
  • Homesteading
  • Garden Season
  • Homemade Recipes
  • Makeup Tutorials

Resources

  • FREE Sewing Patterns
  • Sewing Terms Dictionary
  • Sewing Projects
  • Sewing Machines
  • Sewing For Beginners
  • About Us
  • Advertise With Us
  • Privacy Policy
  • Contribute
  • Contact Us
  • Terms of Service
Sewing.com
Email Support: [email protected]
Phone: 512-394-8187

Product returns go to:
1889 E Maule Ave, Ste G
Las Vegas 89119

Copyright © 2023 · Sewing.com


This copyrighted material may not be republished without express permission. The information presented here is for general educational purposes only.

MATERIAL CONNECTION DISCLOSURE: You should assume that this website has an affiliate relationship and/or another material connection to the persons or businesses mentioned in or linked to from this page and may receive commissions from purchases you make on subsequent web sites. You should not rely solely on information contained in this email to evaluate the product or service being endorsed. Always exercise due diligence before purchasing any product or service. This website contains advertisements.

We use cookies to personalize content and ads, to provide social media features and to analyze our traffic. You consent to our cookies if you continue to use our website.

Privacy settings

Privacy Settings

This site uses functional cookies and external scripts to improve your experience. Which cookies and scripts are used and how they impact your visit is specified on the left. You may change your settings at any time. Your choices will not impact your visit.

NOTE: These settings will only apply to the browser and device you are currently using.

This website uses cookies

We use cookies to personalize content and ads, to provide social media features and to analyze our traffic. You consent to our cookies if you continue to use our website.

Powered by Cookie Information