![Stack of cotton, scissor, needle and DIY fabric mask on wood table | Easy DIY Cloth Mask You Can Sew [With Downloadable Sewing Pattern] | Featured](https://sewing.com/wp-content/uploads/2025/11/stack-cotton-scissor-needle-diy-fabric-mask-cloth-mask-ss-featured.jpg)

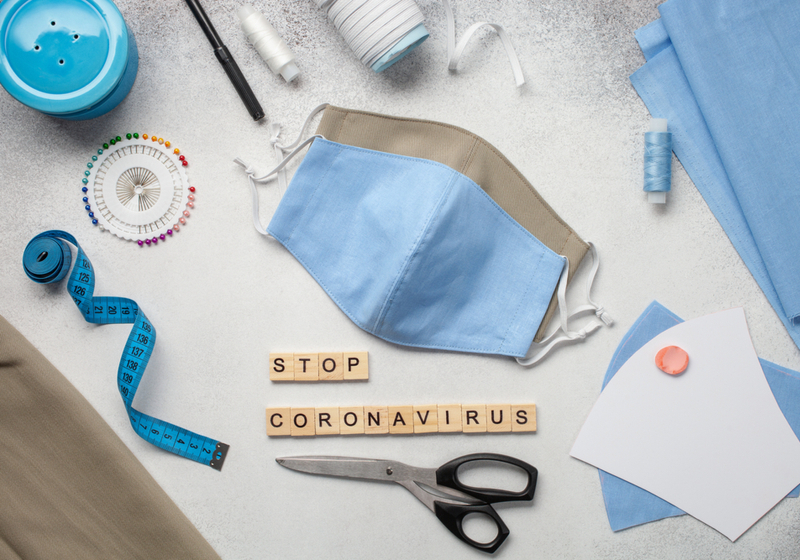
With the shortage of surgical masks, people should learn to sew cloth masks. Medical workers are now asking for help via social media. Making protective masks for our doctors, nurses, and first responders is also a great way to support them.
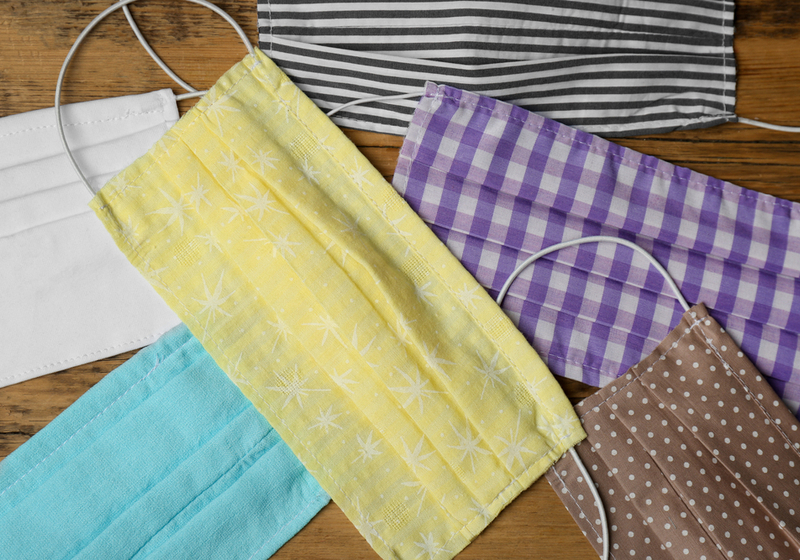
TL;DR: 5 Cloth Face Masks You Can Sew At Home
- Showcases 15 different DIY cloth mask designs, from simple pleated masks to contoured/fitted styles, including options with filter pockets and nose wires.
- Uses beginner-friendly materials, cotton fabric, elastic, bias tape, so most masks can be made quickly with scraps you already have.
- Includes kid-sized patterns, adjustable-strap options, and mask variations for better comfort or breathability.
- Emphasizes reusability and washing, helping you create durable masks that are practical, economical, and eco-friendly.
Special: [Free ebook] The Real Magic of Success & Abundance
If you have had an interest or are in dire need of yourself, you have come to the right place.
Below are two DIY face mask patterns you can sew with or without a sewing machine.
You can always add an inner lining or a washable filter to the mix.
RELATED: 101 Clever Sewing Projects To Upcycle Fabric Scraps
How to Make DIY Cloth Mask: 2 Sewing Patterns
Click here to jump to the infographic.
1. Cloth Mask Pattern 1
 To download this mask pattern, simply sign up for the Official Sewing.com Email Newsletter below:
Depending on whom you’re sewing for, I have sizes for men, women, teenagers, young kids, and small kids. Follow the instructions listed here:
- Select the size you plan to sew and cut.
- Take two pieces of 30 x 16 cm cloths. Put them on top of each other and then fold horizontally in half.
- Put the paper pattern on top of the clothes. Make sure that the lesser mouth of the design is on the open end of the fold.
- Use sewing pins to keep the pattern in place.
- Trace the pattern on the cloth using a fabric marker or pencil.
- Cut around the marking and make sure you keep a distance of 7 mm from it.
- Remove the paper pattern then, and put back the sewing pins for your fold to stay aligned.
- Hand stitch or use a sewing machine to stitch on the marking of the big mouth of the cloth.
Note: Where you stitch is going to be the inner side of the mask.
- Once done, unfold your mask facing the outer side. Spread the edges of the inner seam towards the sides.
- Stitch the edges of the inside seam onto the body of the face mask.
- Take another piece of 30 x 16 com cloth. Cut out the same pattern size from it.
- Stitch the center of your second cloth pattern to look the same as the first one on the outer side.
- Put the two forms on top of each other, outer sides facing each other. Secure the edges in place using clips.
- Sew the remaining unstitched marking, leaving an opening in one corner.
- Create cuts on the edges of the inner seam. Then, cut out the four edgy corners.
- Reverse the mask to reveal the outer side by pulling it out from the open corner.
- Sew again around the edges. Make sure you fold the edges of the shown corner inside to have a clean finish.
- Fold the two sides 1 cm inward. Secure in place using clips. Stitch them in place, leaving an opening at their centers.
- Take two 25-cm-long garters. Insert them into each folded side. You can use a hair clip for ease in insertion.
- Tie a knot at the ends of the garters to seal them in place.
Special: [Free gift] A little something for health and relationship magic…RELATED: 39 Best Sewing Hacks That Will Make Your Life A Breeze
2. Cloth Mask Pattern 2
- Take a 32 x 23 cm cloth. Fold horizontally in half, inner side out.
- Stitch the edges in place but leave an opening at the center.
- Cut out the edgy corners and reverse the cloth to reveal the outer side.
- Again, sew around the edges.
- On one shorter side, make six consecutive 2-cm markings from a corner. Do the same on the opposite side.
- Make a fold by meeting the first 2-cm marking with the second. Secure with a clip. Do this with the third and fourth and then the fifth and sixth. Make sure you’re folding upward.
- Do the same thing on the opposite side. By the time you finish folding, you’ll have three horizontal lines created by the folds at the center.
- Stitch edges of the folds in place.
- Fold the same edges 1 cm inward. Secure in place using clips.
- Sew them in place and leave an opening at their centers.
- Take two 25-cm long garters. Insert them into each folded side. You can use a hair clip for ease in insertion.
- Tie a knot at the ends of the garters to seal them in place.
Don’t forget to download, save, or share this handy infographic for reference:
Watch this video by Ae PooiM on how to sew these masks:
Whether you’re aiming to use your face mask personally, gift them, or sell them, I hope you enjoyed my cloth mask tutorials. And, oh! I suggest you use a vacuum cleaner bag cloth or a thick dish towel to make the filters better.
Special: [Free Gift] 7-Minute Freeway to a Fuller Life
For whom are you sewing cloth masks? Share with us who’s receiving your amazing DIY sewing project in the comments below!