
Quick Look
This hand embroidery stitch guide teaches six beginner stitches in the order that builds real control: running stitch, backstitch, stem stitch, split stitch, satin stitch, and French knot, each with the exact mistake that trips beginners up and the fix, so you finish one sampler instead of six abandoned tutorials.Related: Choosing an Embroidery Sewing Machine
Most people don’t quit hand embroidery because it’s hard. They quit because they tried to learn fifteen stitches from scattered videos, hit one confusing failure like a French knot pulling through the fabric, and decided they weren’t “talented” enough. That’s a tension problem, not a talent problem. This hand embroidery stitch guide sequences six stitches in the order that builds real control, and names the fix for every common failure along the way.
What Are the 6 Best Hand Embroidery Stitches for Beginners?
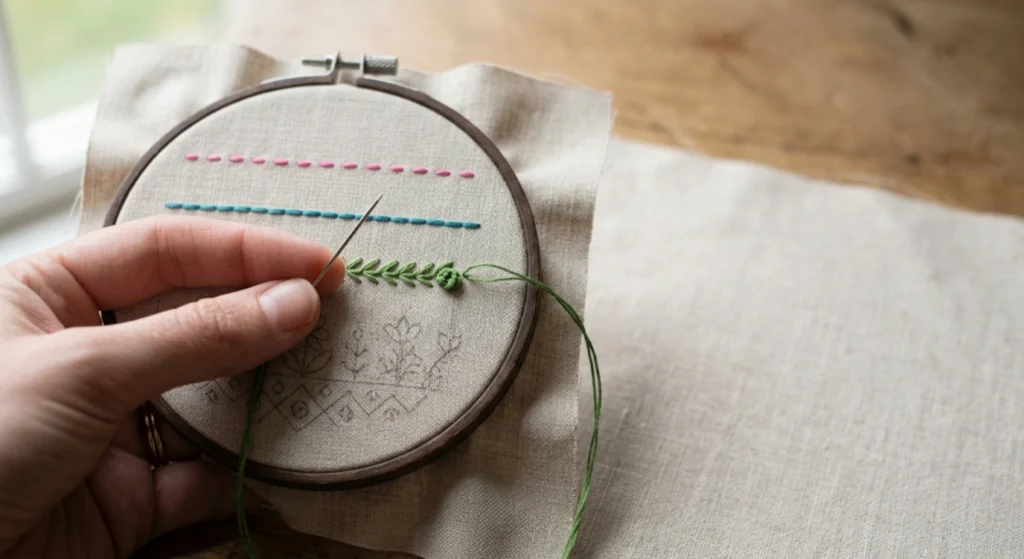
Running stitch teaches even tension, the one skill every other stitch in this guide depends on. Learn these six in sequence. Each one uses a hand motion for the next stitch. Skipping ahead to satin stitch before running stitch feels steady is the fastest way to end up frustrated, and it’s the single biggest reason beginners quit before finishing a first sampler.
1. Running Stitch
Best for straight lines, outlines, and simple borders.
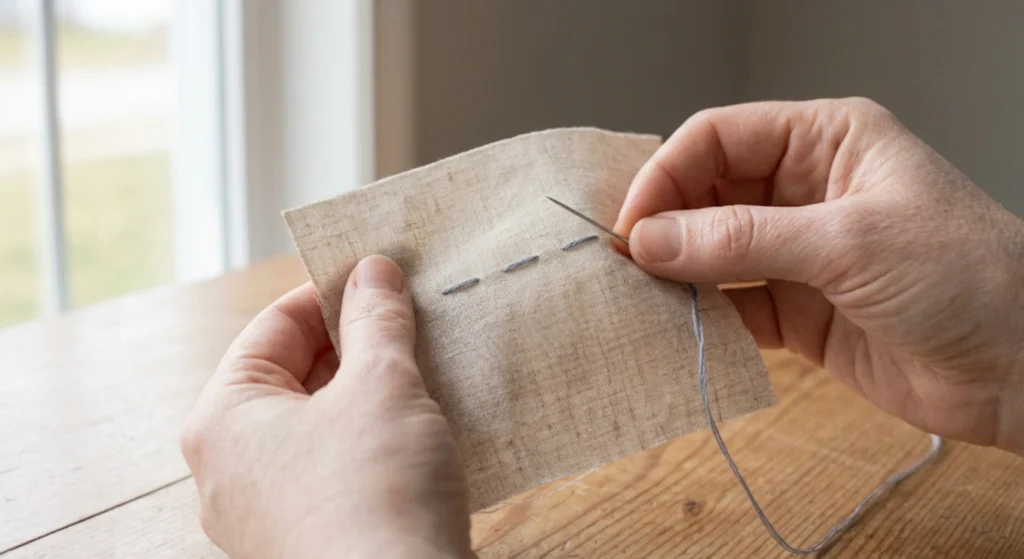
Bring the needle up through the fabric at point 1. Push it back down a short distance ahead at point 2. Bring it back up further along the line and repeat, keeping every stitch and every gap the same length.
Common mistake: uneven stitch length.
Fix: lightly mark dots along your line first, then stitch dot to dot instead of eyeballing the spacing.
2. Backstitch
Best for lettering, strong outlines, and fine detail.
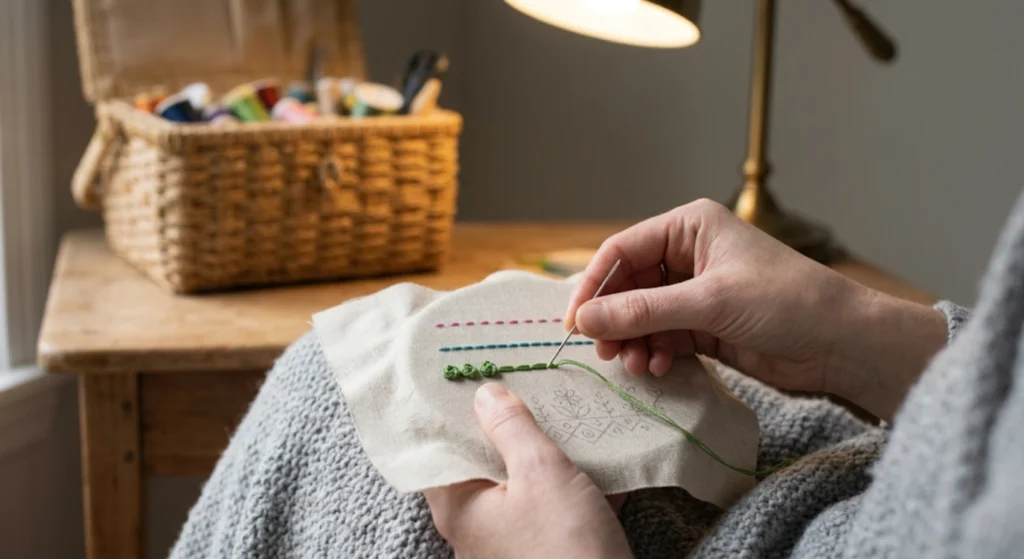
Bring the needle up one stitch length ahead of your starting point. Insert it back down at the start of the line, behind where you began. Bring it up again one stitch length ahead of that stitch, and repeat, always stitching backward into the last stitch.
One maker noted that stitching directly onto a finished garment feels riskier than practicing on scrap first: “There is nothing worse than stitching a hole in an already-made garment.”
— PatternReview.com
That’s exactly why this guide uses a sampler cloth, not a real project, for practice.
Common mistake: gaps between stitches.
Fix: insert the needle into the same hole as the previous stitch, not beside it.
3. Stem Stitch
Best for curves, flower stems, and rope-like lines.
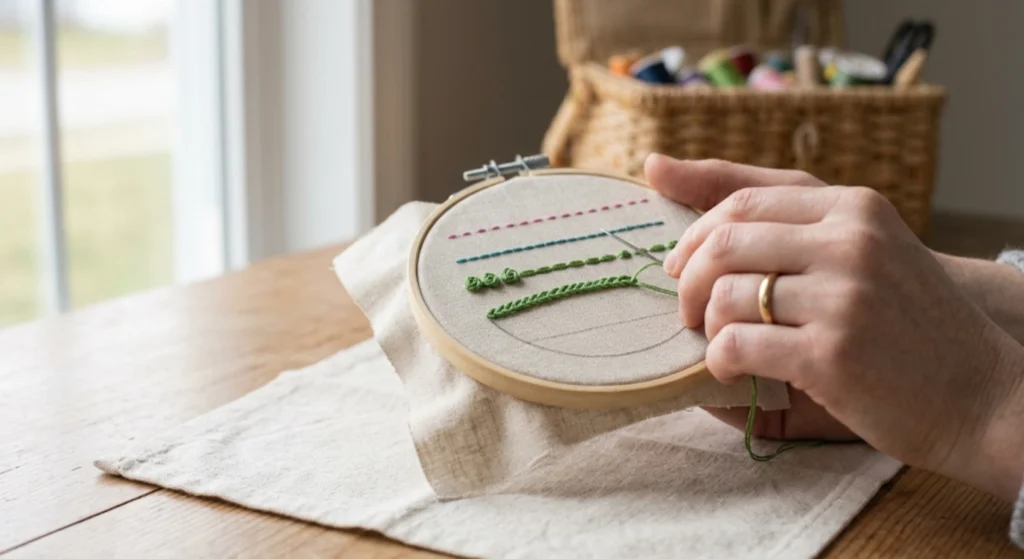
Bring the needle up at point 1. Insert it a short distance ahead at point 2. Bring it back up halfway between points 1 and 2, keeping the working thread on the same side of the needle every time.
Common mistake: switching thread sides mid-line, which breaks the rope effect.
Fix: pick one side, below the needle, for example, and stay consistent for the whole line.
4. Split Stitch
Best for thicker outlines and filling small areas.
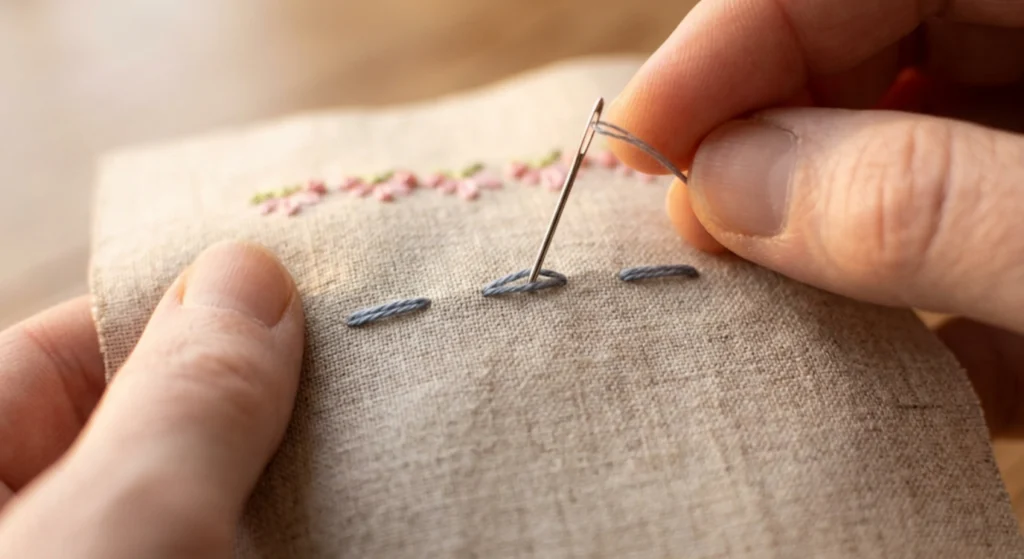
Work a short straight stitch first. Bring the needle up through the middle of that stitch, splitting the thread. Insert it a short distance ahead to make the next stitch, and repeat, always splitting the previous stitch.
Common mistake: pulling too tight, which flattens the split look.
Fix: keep tension relaxed so the split in the thread stays visible.
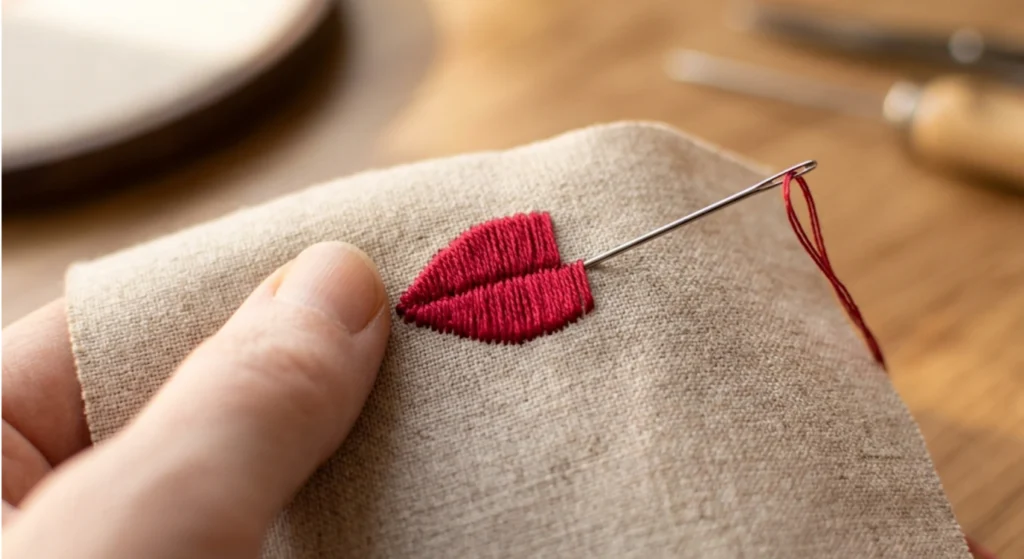
5. Satin Stitch
Best for filling small shapes solidly.
Bring the needle up at one edge of the shape. Insert it directly across at the opposite edge. Bring it back up right beside your first stitch, and repeat side by side closely until the shape is filled.
Common mistake: attempting large shapes, which makes stitches loose and uneven.
Fix: keep satin stitch to small shapes only, under about an inch across.
6. French Knot
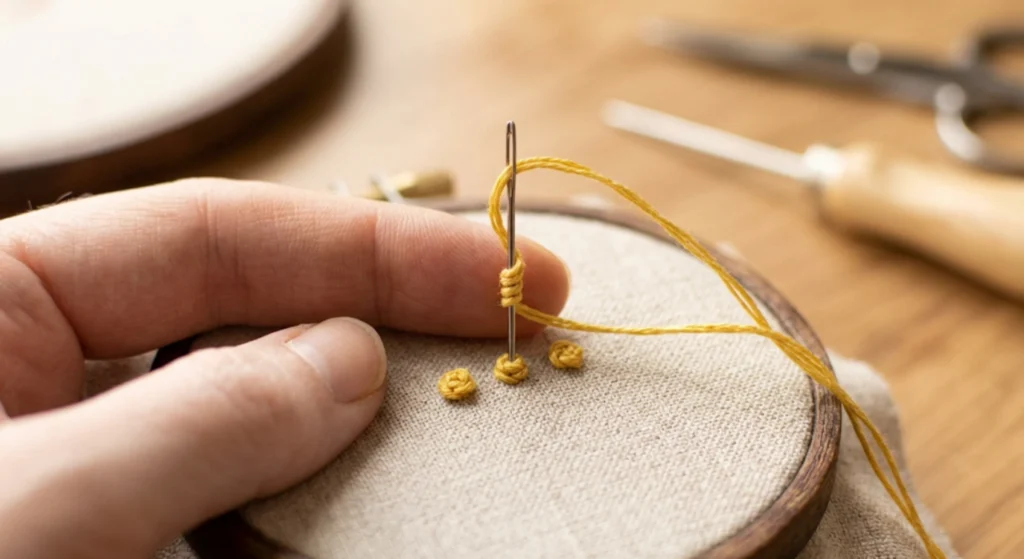
Best for dots, texture, and flower centers.
Bring the needle up through the fabric where you want the knot. Wrap the thread around the needle twice, holding it taut. Insert the needle back down a hair’s width from where you started, not the same hole, and hold the wraps in place while you pull the needle through to the back.
Common mistake: the knot pulls all the way through the fabric.
Fix: never re-enter the same hole, and keep the wrapped thread taut until the knot is fully through. More on this below.
Which Stitch Should You Learn First and Why?
Start with a running stitch, not because it looks impressive, but because it’s the only stitch in this hand embroidery stitch guide with no wrapping, splitting, or looping to manage. Every later stitch borrows a piece of the tension control that the running stitch teaches first. Backstitch borrows the same in-and-out motion and adds precision. Stem stitch borrows that motion and adds thread-side consistency. Learn them out of order, and you’re troubleshooting two new skills at once instead of one.

- CLOVER-Embroidery or crewel needles have long eyes to take one or more threads of standard cotton or ribbon
- Mainly used for either cotton or ribbon embroidery
- Made in United States
- 16 needles per card
- 2/#3 0.99 x 44.5mm, 2/#4 0.91 x 42.9mm, 2/#5 0.84 x 41.3mm, 2/#6 0.76 x 39.7mm, 2/#7 0.69 x 31mm, 3/#8 0.61 x 36.5mm, 3/#9 0.53 x 34.9mm
What Materials Do You Actually Need to Start Embroidery?
You do not need a full kit to work through this hand embroidery stitch guide. Start with the free tier below.
Free or nearly free: cotton scrap fabric (an old pillowcase works), any needle with a large enough eye, regular sewing thread, and a pencil to mark practice lines.
Worth adding once you know you’ll keep going: an embroidery hoop, embroidery floss in a few colors, and embroidery needles.
Skip for now: specialty threads, fabric stabilizers, pre-printed patterns. One buyer review put it plainly about a paid pattern: “This pattern leaves quite a few details out.”-Etsy
A free, sequenced hand embroidery stitch guide with named fixes solves that gap before you spend anything.

- GET CRAFTIN’ - This embroidery set of 6 wooden hoops should give you plenty to do, whether a beginner in adult crafts or seasoned embroider. No matter the project, these craft hoops have you covered!
- MULTIPLE SIZES - Our pack of embroidery rings contain 6 wood hoops to suit your needs. Each embroidery hoop kit includes 4 inch, 5 inch, 7 inch, 8 inch, 9 inch and 10 inch bamboo craft hoops.
- PURE CRAFTSMANSHIP - Our embroidery tools and cross stitch supplies are made to the highest quality artisanal standards. These bamboo embroidery hoops are polished by hand and brushed several times until they reach the right woody finish.
- STURDINESS - Our small embroidery hoops are the best in the market. The metal screws are aligned and centered with precision, allowing the cross stitch loops to be dialed to the right sturdiness.
- NATURAL and SUSTAINABLE - Bamboo is the ideal material for embroidery frames and hoops due to its sustainable, renewable nature. So you can be sure our embroidery supplies show we care for our planet!
How Do You Practice Without Wasting Fabric?
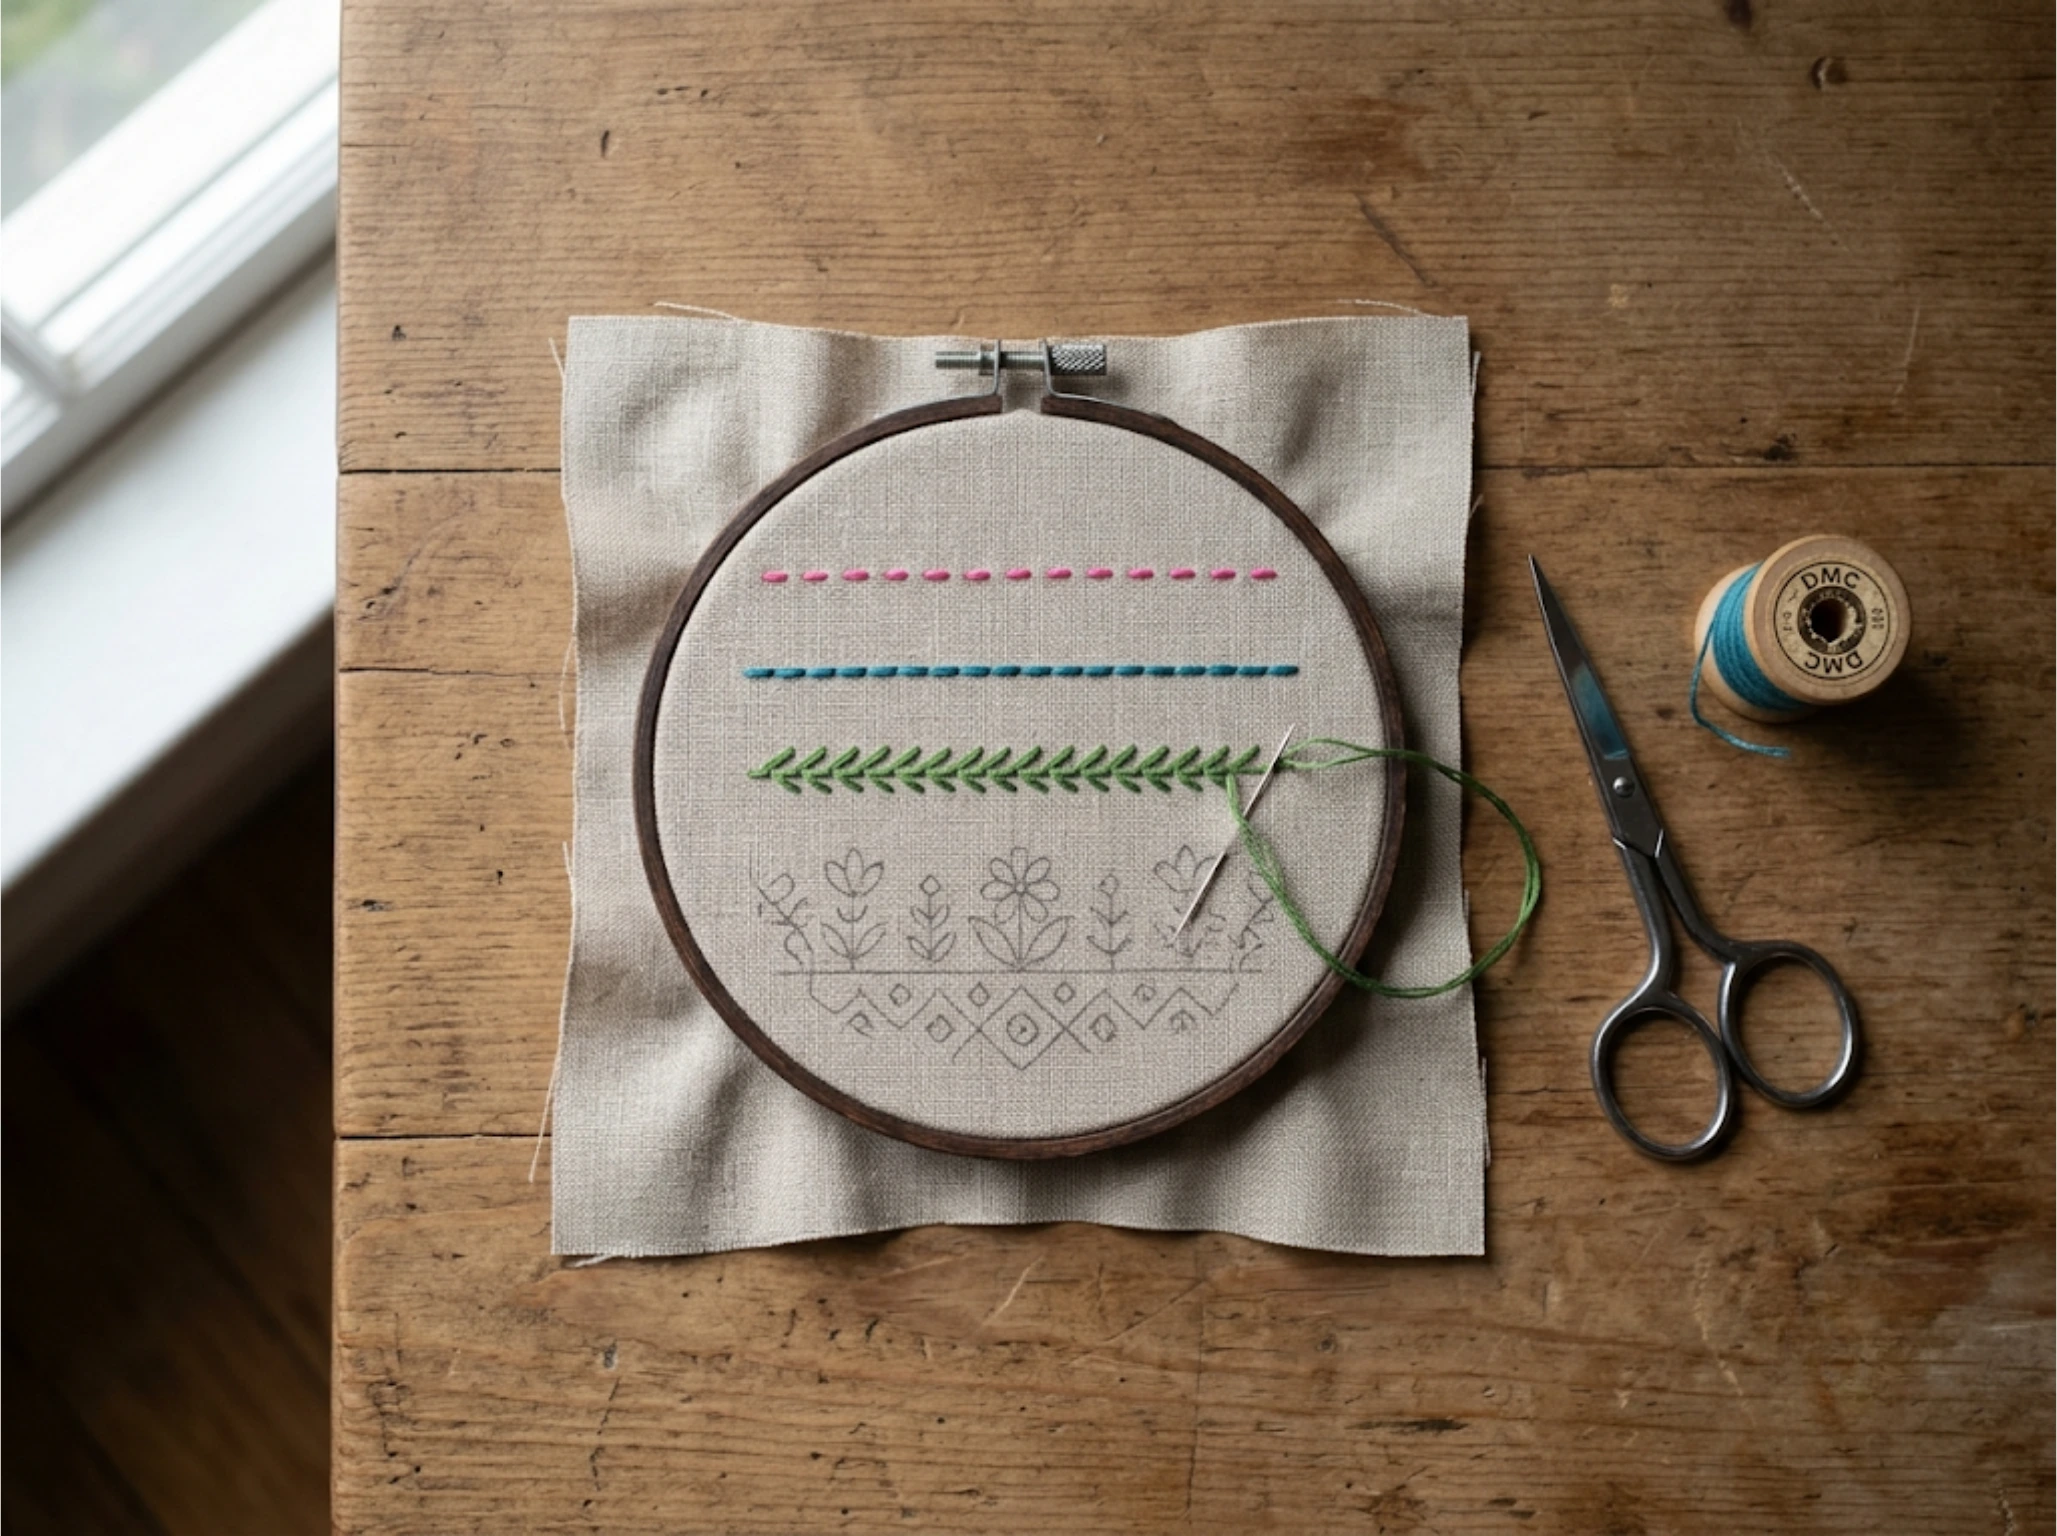
Use one scrap of cloth as a sampler. Draw six rows about an inch apart, one row per stitch, and work each stitch three times per row before moving to the next. Keep tension loose. Over-pulled stitches, not lack of skill, are the most common beginner tell.
Once all six rows feel steady, you’ve finished your first hand-stitched project. That’s a completed sampler, not just practice, and it’s yours to keep as a tension reference before starting a real design.

- SUPERIOR QUALITY: Double mercerized for strength and luster
- RELIABLE: 100% colorfast and fade resistant with consistent color skein to skein
- TRUSTED: Known for superior quality, DMC embroidery floss has been used by generations of stitchers for their needlework treasures and future heirlooms
- CLASSIC SIZE: Each skein is 8.7 yards of divisible 6-strand thread
- USE FOR MANY NEEDLEWORK TECHNIQUES: Perfect for cross stitch, counted thread, embroidery, needlepoint, smocking, punch needle embroidery, appliqué, and quilting
Why Do French Knots Pull Through the Fabric?
This is the single most common failure point in this hand embroidery stitch guide, so it earns its own explanation. A French knot pulls through when the needle re-enters the same hole it came up through, which gives the wrapped thread nowhere to catch. The fix is a hair ‘s-width offset, not a tighter wrap. Insert the needle a small distance from your starting point instead of directly into it, keep the wraps snug against the needle as you pull through, and resist the urge to yank the thread flat. According to the Embroiderers’ Guild of America, holes that develop from redoing stitches are a normal part of the learning process, not a sign of using the wrong technique.
Ready to Start Your First Sampler?
You don’t need six tutorials and a full kit to start. You need this hand embroidery stitch guide, one scrap of fabric, and about an hour. Download the free printable guide below (materials, all six stitches, and a practice grid) and work through your first sampler today.
Frequently Asked Questions
-
Can you use regular sewing thread instead of embroidery floss?
Yes, for practice. Sewing thread is thinner than embroidery floss, so your stitches will look finer and less textured. It works fine for a first sampler, but switch to floss once you want stitches that match standard tutorials and patterns.
-
Can you learn hand embroidery without a hoop?
Yes. A hoop helps with tension but isn’t required for your first sampler. Flat fabric held taut in your hand works fine for short practice sessions, and you can add a hoop once you know you’ll keep stitching.
-
How many strands of embroidery floss should beginners use?
Most beginner projects use two to three strands separated from the six-strand skein, not the full skein at once. Two strands give a finer line for outlines, while three to six strands work better for filling shapes solidly.
-
How do you store an unfinished embroidery project between sessions?
Take the fabric out of the hoop before storing it. Leaving fabric hooped for days creates crease marks that are hard to remove later. Roll the fabric loosely instead of folding it, and keep the needle stored separately so it doesn’t rust into the fabric.
-
Is hand embroidery harder to learn than machine embroidery?
No, it’s different, not harder. Hand embroidery has a slower per-stitch pace but no machine settings, stabilizers, or software to learn first. Most beginners find hand embroidery easier to start the same day since there’s no equipment learning curve.
-
How long does it take to learn hand embroidery stitches?
Most beginners can complete one practice row of each of the six basic stitches in a single afternoon. Even consistent stitching matters more than speed.
-
Why does my fabric pucker while I’m stitching?
Puckering usually means your hoop isn’t tight enough or your stitches are pulled too firmly. Re-tighten the fabric in the hoop until it’s drum-tight, and ease off how hard you pull each stitch flat before moving to the next one.
Why did you vote that way? Drop your take in the comments.