
Key Facts
A jelly roll quilt uses 40 pre-cut 2.5-inch fabric strips to create a coordinated lap-size top measuring approximately 50 by 60 inches. Beginners should start with straight-strip or rail fence patterns. Success depends on one thing above all others: a consistent quarter-inch seam allowance. A sliding iron motion stretches sewn seams and causes the distortion most beginners blame on their fabric. Press up and down, not side to side. Download the free Jelly Roll Quilt Size Guide at the bottom of this page for strip counts at every quilt size and a full construction checklist.
Related:
What Is a Jelly Roll and How Many Strips Do You Need for a Full Quilt?
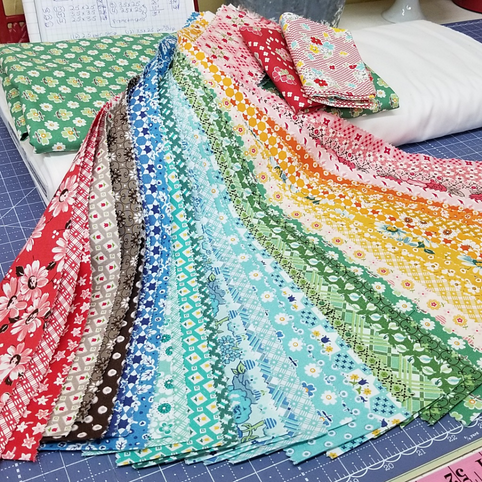
A jelly roll is a set of pre-cut fabric strips, each 2.5 inches wide and 42 to 44 inches long, wound into a roll and tied with a ribbon or band. Each roll typically contains 40 strips cut from a single coordinated fabric collection. The colors, prints, and scales are already matched. You open the roll, and the design work is done.
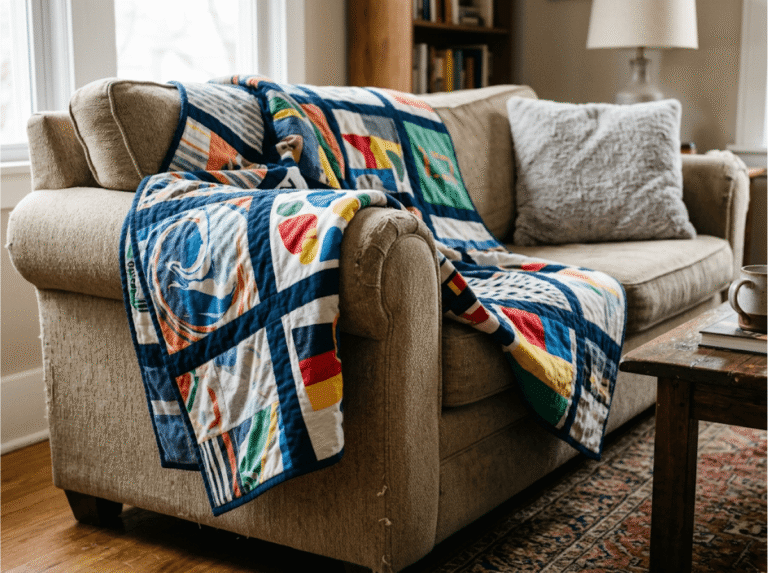
One standard jelly roll quilt makes a lap top measuring approximately 50 by 60 inches using a basic layout. That covers a couch or a child’s bed.
For larger projects, the count is straightforward. A twin-size jelly roll quilt requires two rolls. A full or queen-size requires three. Exact strip counts shift slightly depending on the pattern and how long your seam intersections run, but these numbers give you a reliable starting point before you purchase.
The strips are cut on the straight grain of the fabric, which means they resist distortion when handled correctly. Feed them through the machine without pulling, and they behave.
Which 3 Jelly Roll Quilt Patterns Are Best for Beginners?
One maker noted online that the jelly roll pattern they started with “felt impossible until I realized how few decisions it actually required.” – Reddit, r/quilting
Pre-cut layouts keep the decisions minimal. Here are the three that work.
Straight-strip layout
Strips are sewn end-to-end into one long strip, then cut into rows of equal length and assembled side by side. No block rotation. No color planning. The pattern forms on its own from the coordinated roll. This is the right starting point for a beginner with any prior straight-seam experience.
Rail fence
Three strips are sewn together lengthwise, pressed, then cut into square blocks and rotated to build a woven visual pattern. This introduces block assembly without requiring complex piecing. Sew the first three-strip unit and measure it before cutting all remaining units. If the width matches your expected dimension, continue. If not, adjust before you have 40 blocks to redo.
Brick layout
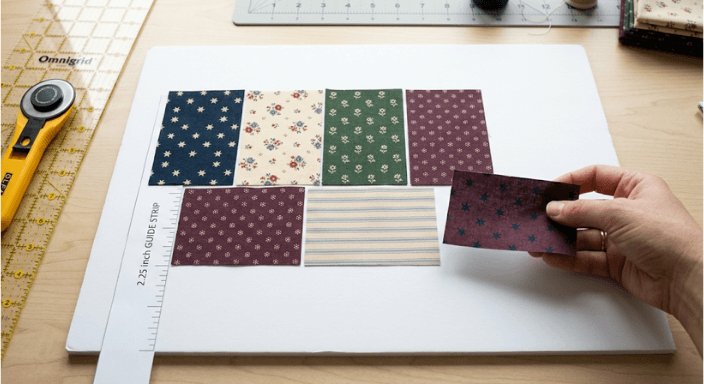
Strips are cut into rectangles and offset by half a length in alternating rows, creating a staggered pattern with more visual movement. This is the right next step for a sewist who has completed at least one quilt top. It requires slightly more planning at the layout stage but no additional technical skill beyond what straight-strip and rail fence already demand.
The half-drop math for brick layout. This is where most beginner tutorials stop explaining. Here is how it actually works.
- Start by cutting each 2.5-inch strip into rectangles. The standard brick ratio is 1:2, which means a 2.5-inch width becomes a 2.5-by-4.5-inch rectangle (the half-inch accounts for the seam allowance on the short end). From a single 42-inch strip, you cut nine rectangles with minimal waste.
- For a lap quilt at 50 by 60 inches, you need approximately 11 bricks per row and 20 rows. That is 220 bricks total. At nine bricks per strip, you need 25 strips minimum. One jelly roll of 40 strips gives you enough bricks with a comfortable margin for squaring errors and layout adjustments.
- The offset is half the rectangle’s width. Each odd-numbered row starts at the 2.25-inch mark from the left edge. Each even-numbered row starts flush with the left edge. Do not eyeball this. Cut a small guide strip of 2.25 inches from scrap and use it to position the first brick in every odd row before you sew.
- The most common brick layout error is inconsistent row starts. If the first brick in any row is placed by eye rather than by the guide strip, the offset accumulates across rows, and the finished top reads as uneven rather than as a clean stagger. The fix takes 30 seconds per row and prevents the most visible construction mistake in this pattern.
- Press seams in alternating directions by row: row one seams pressed left, row two seams pressed right. When rows are joined, the seams nest at every intersection and reduce the bulk that makes brick layout tops difficult to quilt through.
How Do You Sew Jelly Roll Strips Without Stretching or Distorting the Edges?
“How do you keep jelly roll strips from stretching when you sew them together?” appears in nearly every beginner quilting thread on the topic. – Reddit, r/quilting
Two things cause it. The first is manually guiding or pulling strips as they feed through the machine. The second is stopping and repositioning between pairs, which introduces small misalignments that compound across the full top.
-
Fix the feed
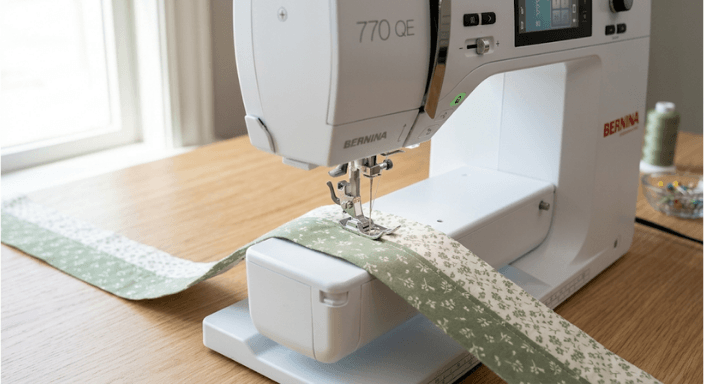
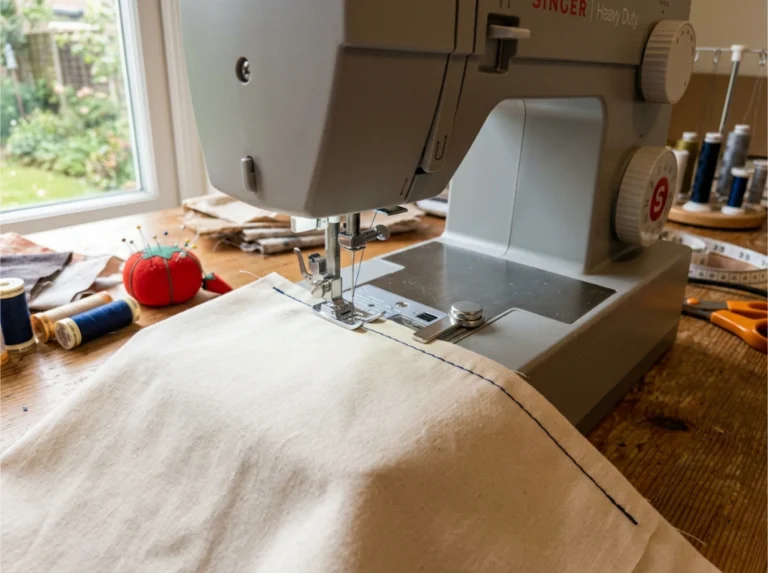
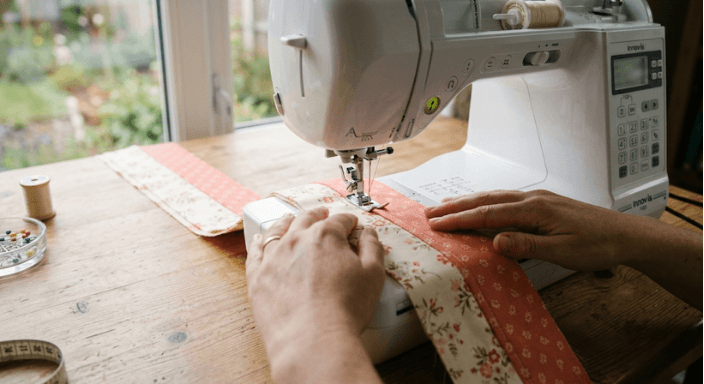
Let the feed dogs move the fabric. Place the strip at the throat plate, lower the presser foot, and sew without touching the fabric beyond keeping it lightly aligned at the seam edge. Any sideways hand pressure causes distortion.
-
Chain piece in batches
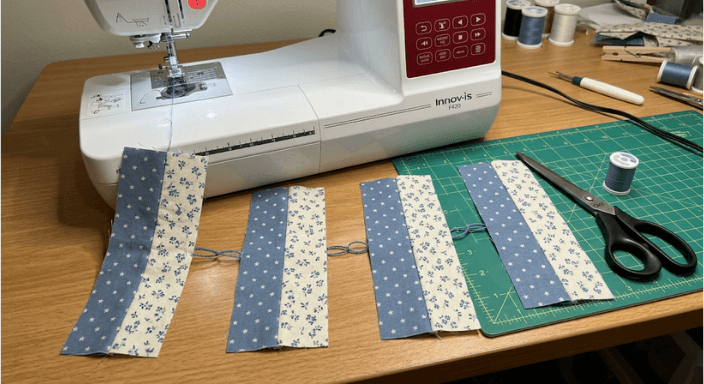
Feed strip pairs through the machine continuously without cutting the thread between pairs. Sew pair one, keep feeding, sew pair two immediately behind it. Cut the chain of joined pairs after the batch is done. This eliminates the repositioning that causes seam drift and reduces total handling time significantly.
-
Press with intention
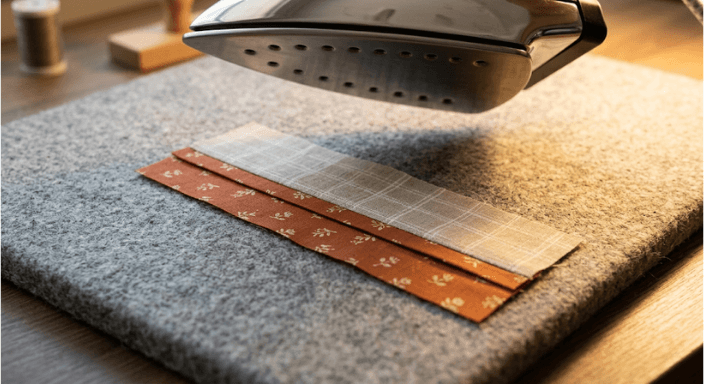
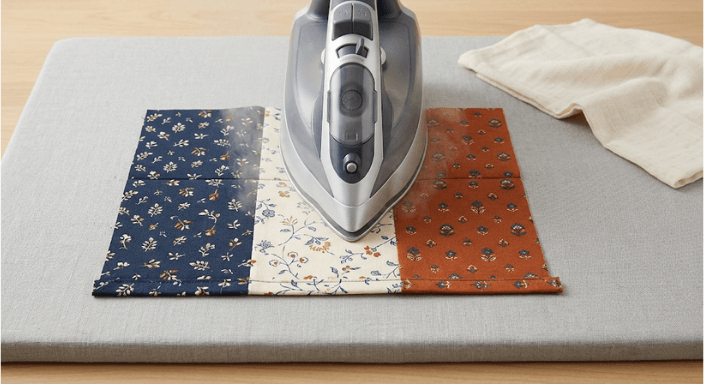
Move the iron up and down along the seam, not side to side. A sliding motion along the length of a sewn seam stretches it. Press all seams to one side after every batch of 10 pairs, before sewing the next batch. Deferring pressing to the end of the project produces a top that is difficult to square and harder to quilt.
Why Is a Quarter-Inch Seam Allowance Mandatory for Jelly Roll Quilts?
Jelly roll quilts require a quarter-inch seam allowance. Not three-eighths. Not five-eighths, which is the standard for garment sewing.
The reason this matters is scale. A drift of one-eighth inch per seam is not visible on a single seam. Multiplied across 40 seams in a lap quilt, it removes approximately 5 inches from the finished width. That is the difference between a quilt that fits a couch and one that falls short.
Before you open the jelly roll, sew a 4-patch test block from scrap strips. Measure the unfinished block. If it does not hit the expected dimension, recalibrate your foot or needle position before touching the roll. This takes 10 minutes and prevents the failure mode that sends most beginners back to the cutting table.
A quarter-inch quilting presser foot is strongly recommended. Standard presser feet are calibrated for garment seam allowances and make consistent quarter-inch maintenance difficult without constant checking.
Can You Mix Different Jelly Roll Fabric Collections?
Yes. One condition applies.
The condition is print scale, not color. Combining a small-scale print with a large-scale print in the same jelly roll quilt creates visual imbalance even when the colors coordinate. The eye reads scale inconsistency as a design problem, regardless of how well the palette matches.
Choose strips from the same print-scale tier throughout. All small-scale, or all medium-scale. Large-scale strips work as deliberate accent rows when used sparingly, but not as a general mixing strategy.
When combining two collections, sort strips by value first: light, medium, dark. Value contrast builds the quilt’s pattern definition regardless of the source collection. Color matching is secondary to value structure.
One practical check before you start: confirm that strips from both collections measure the same selvage-to-selvage width. Most modern quilting fabric runs 42 to 44 inches, but older stock or international fabric lines occasionally vary. Measure before assuming.
What Tools Do You Actually Need to Make a Jelly Roll Quilt?
- Required: Rotary cutter, self-healing cutting mat (18 by 24 inches minimum), quilting ruler (6 by 24 inches), quarter-inch presser foot, iron, pressing surface.
- Helpful but not required for this project specifically: Walking foot, design wall, or cleared floor space for the layout step.
- Not required at this stage: Specialty rulers, templates, longarm quilter.
The rotary cutter, mat, and ruler are one-time purchases that apply to every quilt project you make after this one. Frame them as infrastructure, not a per-project cost. A beginner who thinks in those terms gets more usable value per dollar than one who buys reactively.
Ready to Start Your First Jelly Roll Quilt?
Three decisions determine whether a jelly roll quilt succeeds: the pattern you choose, the seam allowance you hold, and the way you press.
Start with a straight-strip or rail fence. Maintain the quarter-inch allowance. Press up and down, not side to side.
One standard roll. One weekend. A finished jelly roll quilt that is genuinely yours.
Grab the free Jelly Roll Quilt Size Guide below. It includes strip counts for every quilt size, a pressing sequence checklist, and the full construction sequence on a single printable page.
Strawberry Jelly Roll Quilt for Beginners from Chelsea | She Sews Seams
Frequently Asked Questions
-
What exactly is a jelly roll in quilting?
A standard jelly roll is a set of pre-cut fabric strips, each 2.5 inches wide and 42 to 44 inches long, wound into a roll and secured with a ribbon. Most jelly rolls contain 40 strips cut from a single coordinated fabric collection. The strips are ready to sew straight from the roll with no additional cutting required.
-
How many jelly roll strips do I need for a lap-size quilt?
One standard jelly roll of 40 strips makes a lap quilt of approximately 50 by 60 inches using a straight-strip or rail fence layout. For a twin-size quilt, plan on two rolls. A full or queen size requires three rolls. Exact strip counts vary by pattern and seam allowance, but these numbers give you a reliable purchase starting point.
-
What is the easiest jelly roll quilt pattern for a first-time quilter?
The straight-strip layout is the simplest option. Strips are sewn end-to-end into one long strip, then cut into rows and assembled side by side. No color planning or block rotation is required. Rail fence is the next step up. Both are achievable in a single weekend for a beginner with basic straight-seam experience.
-
Why does my jelly roll quilt end up smaller than expected?
The most common cause is seam allowance drift. Jelly roll quilts require a quarter-inch seam allowance, not the five-eighths-inch standard used in garment sewing. A drift of one-eighth inch per seam, multiplied across 40 seams, removes several inches from the finished width. Sew a 4-patch test block from scrap strips first, measure it, and adjust before starting the main project.
-
Can I mix jelly rolls from two different fabric collections?
Yes, with one rule: match print scale, not just color. Combining small-scale and large-scale prints in the same quilt creates visual imbalance even when the colors coordinate. Choose strips from the same print-scale tier throughout, and organize by value (light, medium, dark) rather than hue for the cleanest finished result.
-
Do I need a special presser foot to sew jelly roll strips?
A quarter-inch quilting presser foot is strongly recommended. Standard feet are calibrated for five-eighths-inch garment seams, making consistent quarter-inch allowances difficult to maintain without constant visual checking. A walking foot is also useful for long strip seams, applying even feed pressure along the full length and reducing the distortion that causes wavy edges.
-
How do I press jelly roll seams without stretching the strips?
Use an up-and-down motion with the iron rather than sliding it along the seam. Sliding stretches the sewn fabric. Press all seams to one side rather than open, which makes nesting seam intersections easier at the next stage. Press after every batch of 10 strip pairs rather than waiting until the full top is assembled.
Why did you vote that way? Drop your take in the comments.