
Key Insights
The best sewing projects for every skill level match the skill you have already confirmed, not the skill you want to learn next. Beginners build confidence fastest with a pillowcase or drawstring bag, which uses straight seams and no closures. Intermediate sewists progress to zippered pouches and fitted skirts. Advanced sewing projects, including lined blazers and fitted trousers, require a muslin before cutting the final fabric.
Related: How to Plan, Pick, and Actually Finish Your Projects
The most common reason a sewing project fails has nothing to do with talent. In most cases, the project was wrong for the skill level, the fabric was wrong for the project, or the machine had a problem that looked like a skill gap. This list of 16 sewing projects for every skill level is organized to prevent all three. Each entry names the skill it teaches, the skill it requires, and the fabric that gives you the best chance of finishing.
Table of Contents
- What Are the Best Sewing Projects for Beginners?
- Which Sewing Projects Build Real Skills at the Intermediate Level?
- What Advanced Sewing Projects Should You Attempt Next?
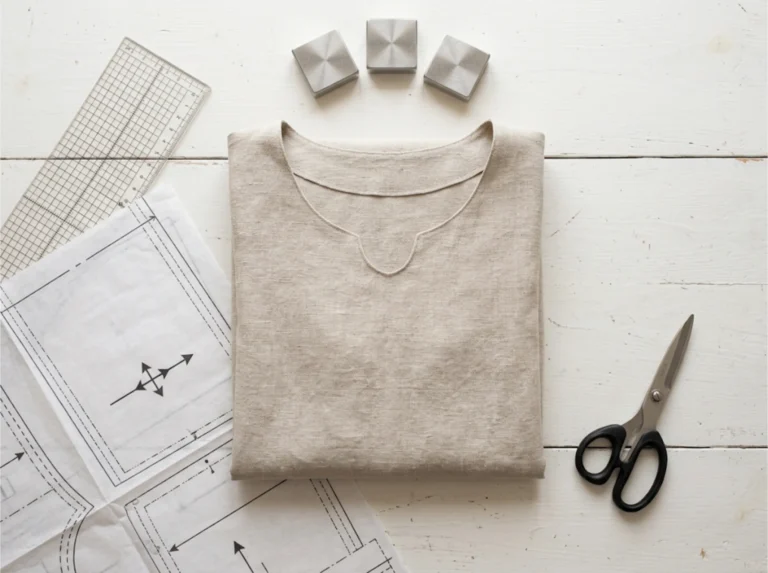
- What Supplies Do You Actually Need to Start?
- What Mistakes Slow Sewists Down at Every Skill Level?
- FAQs
What Are the Best Sewing Projects for Beginners?
The goal at this tier is one finished object. Not a perfect one. A finished one. Sewists who complete a project build more lasting confidence than those who repeat technique drills without a result to show for it. These six sewing projects for every skill level entry point are sequenced by what they teach, not by how simple they appear.
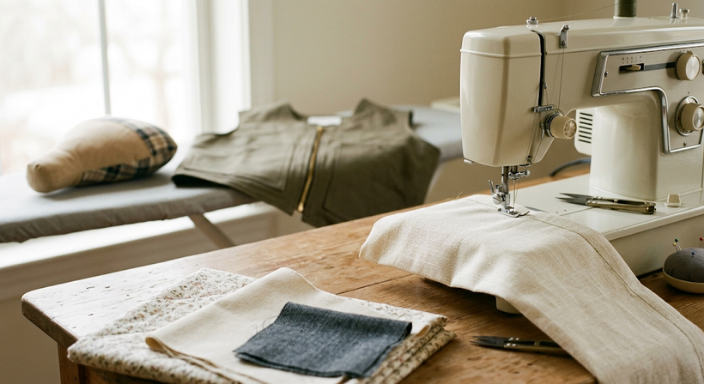
Before cutting any project in this tier: re-thread your machine from scratch, install a fresh needle, and sew a test seam on a scrap of the same fabric you plan to use. Most beginner failures trace to a threading error or a tension setting that was never tested on the actual material. See our [Machine Maintenance Guide] for a full pre-project checklist.
For any garment in this tier, measure both your full bust and high bust before selecting a pattern size. Select by high bust and check ease at the hip. This takes three minutes and prevents the most common fit failure at the beginner level.
1. Pillowcase

Skill taught: straight seam.
Skill required: machine threading.
Fabric: quilting cotton.
Time: 30 to 45 minutes.
No pattern required. Measure, mark with chalk, cut, and sew. This is the correct first project for anyone who has not yet finished a sewn object.
2. Drawstring Bag

Skill taught: casing construction.
Skill required: straight seam.
Fabric: cotton canvas or quilting cotton.
Time: 45 to 60 minutes.
The casing at the top of a drawstring bag is the same construction used in waistbands and pajama pants. Learn it here on a low-stakes project before applying it to garments.
3. Elastic-Waist Skirt

Skill taught: waistband casing with elastic.
Skill required: straight seam and casing.
Fabric: medium-weight woven.
Time: 1.5 to 2 hours.
This is the first garment project. Use a size based on your hip measurement, not your waist.
4. Tote Bag

Skill taught: reinforced handle attachment.
Skill required: straight seam.
Fabric: canvas or duck cloth.
Time: 1 to 1.5 hours.
Topstitching the handles is the specific technique this project confirms. That skill transfers directly to waistband topstitching at the intermediate level.
5. Fabric Headband

Skill taught: curved seam and narrow tube turning.
Skill required: straight seam.
Fabric: jersey knit.
Time: 20 to 30 minutes.
Jersey forgives tension variation better than woven fabric. Use it here to introduce stretch without the complexity of garment fitting.
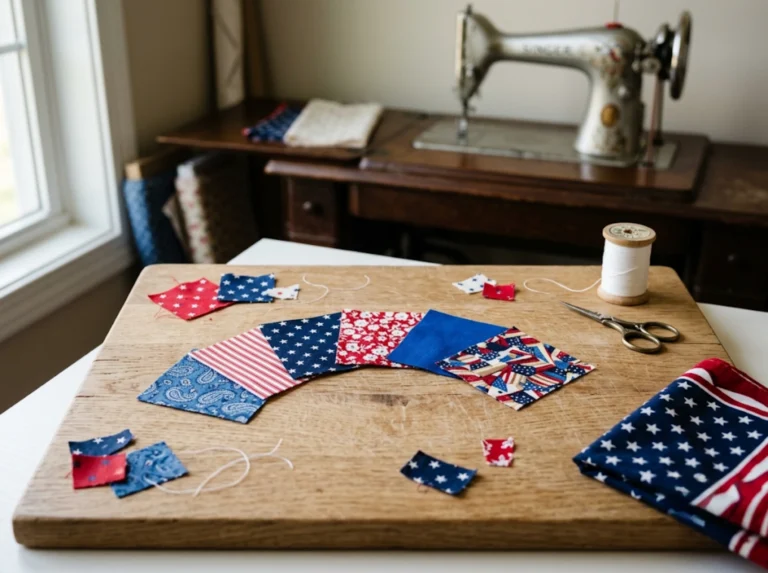
6. Patchwork Table Runner
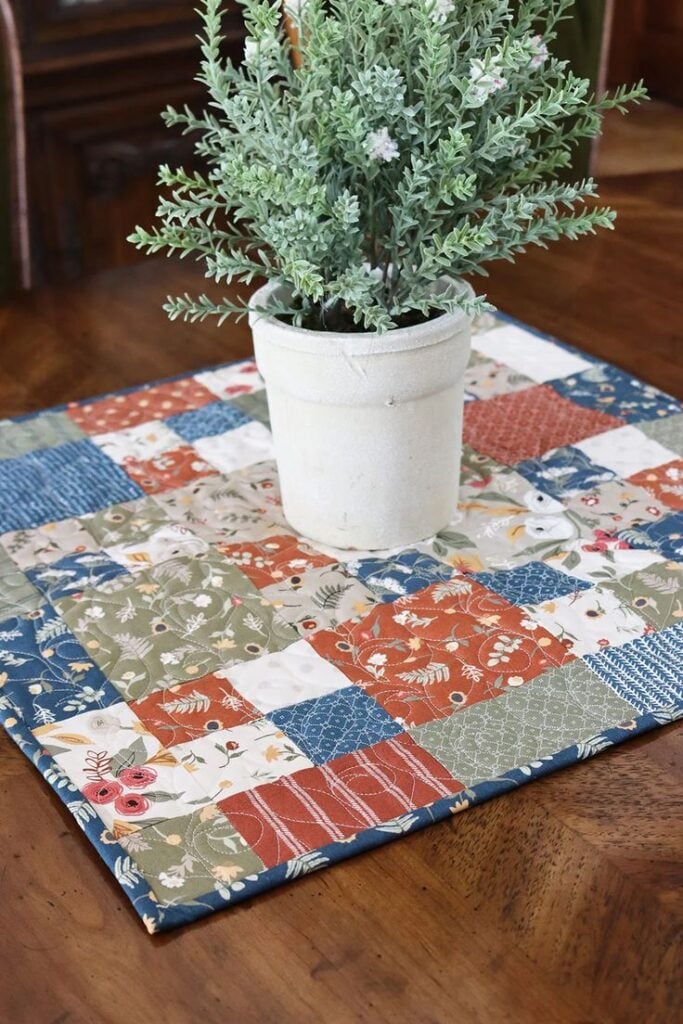
Skill taught: consistent seam allowance across multiple pieces.
Skill required: straight seam.
Fabric: quilting cotton.
Time: 1.5 to 2 hours.
Seam consistency is the foundational quilting skill. Every patchwork project that follows depends on the accuracy built here.
Beginner Sewing Projects: At a Glance
| Project | Skill Taught | Time | Fabric | Prerequisite |
| Pillowcase | Straight seam | 30-45 min | Quilting cotton | Machine threading |
| Drawstring bag | Casing | 45-60 min | Cotton canvas | Straight seam |
| Elastic-waist skirt | Waistband casing | 1.5-2 hrs | Medium woven | Straight seam, casing |
| Tote bag | Reinforced handles | 1-1.5 hrs | Canvas | Straight seam |
| Fabric headband | Curved seam, tube turning | 20-30 min | Jersey knit | Straight seam |
| Patchwork table runner | Seam consistency | 1.5-2 hrs | Quilting cotton | Straight seam |

- Use plaid side (65% cotton/35% polyester) for woolens, synthetic blends & fabrics requiring low to medium temperatures
- Use cotton side (100% cotton) for cotton, linen & fabrics requiring medium to high temperatures
- Press with grain line of the fabric, using a gentle up and down motion
- Used for pressing and molding darts, sleeve caps and curved seams
Which Sewing Projects Build Real Skills at the Intermediate Level?
At this level, each project requires at least one skill confirmed in the beginner tier. The prerequisite is stated for every entry. If you have not completed a project that used the listed prerequisite skill, that project is not yet intermediate for you. That is not gatekeeping. It is sequencing.
One maker described the consequence of tutorials that skip steps. Every entry below names what comes before it.
7. Lined Zippered Pouch

Skill taught: zipper insertion.
Skill required: straight seam and casing.
Fabric: cotton canvas with quilting cotton lining.
Time: 1 to 1.5 hours.
Use the lapped zipper method. It takes one-third of the time of a centered zipper and produces a flat, clean result.
8. French Seam Tote

Skill taught: French seam finishing.
Skill required: straight seam and consistent seam allowance.
Fabric: cotton voile or lawn only.
Time: 1.5 to 2 hours.
French seams require a fabric that folds cleanly. Heavy canvas will not work here.
9. A-Line Skirt with Invisible Zipper

Skill taught: invisible zipper insertion.
Skill required: casing and seam finishing.
Fabric: medium-weight woven.
Time: 3 to 4 hours.
Measure full bust, high bust, and hip before selecting your size. Use an invisible zipper foot.
10. Pajama Pants

Skill taught: inseam construction and crotch curve.
Skill required: casing and straight seam.
Fabric: flannel or cotton.
Time: 2 to 3 hours.
The crotch curve is the most common point of failure in pants construction. Sew it slowly and clip the seam allowance before pressing.
11. Button-Front Blouse
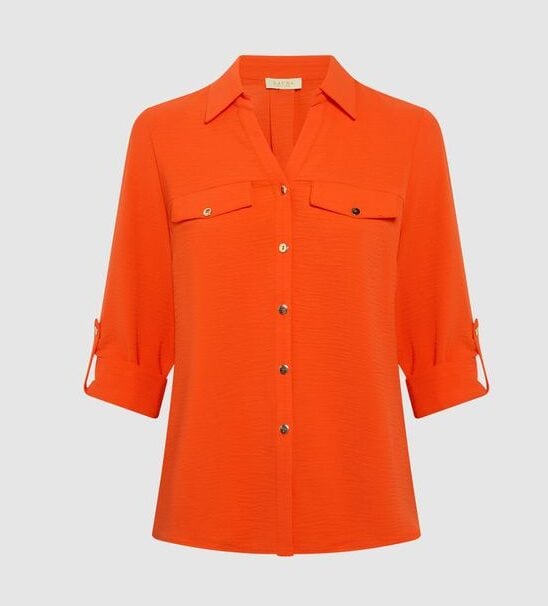
Skill taught: buttonhole placement and collar attachment.
Skill required: seam finishing and zipper insertion.
Fabric: woven shirting.
Time: 4 to 6 hours.
This is the most construction-intensive intermediate project on the list. Complete a muslin for the bodice if the pattern is new to you.
Intermediate Sewing Projects: At a Glance
| Project | Skill Taught | Time | Fabric | Prerequisite |
| Lined zippered pouch | Zipper insertion | 1-1.5 hrs | Canvas + lining | Straight seam |
| French seam tote | French seam | 1.5-2 hrs | Voile or lawn | Seam allowance consistency |
| A-line skirt | Invisible zipper | 3-4 hrs | Medium woven | Seam finishing |
| Pajama pants | Crotch curve | 2-3 hrs | Flannel or cotton | Casing |
| Button-front blouse | Buttonholes, collar | 4-6 hrs | Woven shirting | Zipper insertion |

- High Quality Plastic Invisible Zipper Presser Foot.
- This foot makes inserting invisible zippers very easy. The grooves on the bottom of the foot hold the zipper coils in place to avoid any slipping while sewing.
- This provides an invisible closure on skirts, dresses and all garments and can be used on other projects as well.
- Fits for most of household low shank snap-on Singer* (Some Singers Require Low Shank Adaptor), Brother, Babylock, Janome, Kenmore and so on.
What Advanced Sewing Projects Should You Attempt Next?
Advanced sewing projects for every skill level combine multiple confirmed intermediate skills under pressure, usually on expensive fabric with less margin for error. Two requirements apply to every fitted project at this level: make a muslin before cutting the final fabric, and press every seam before crossing it with another seam. Pressing is construction here. It cannot be deferred.
Before cutting any fitted garment, measure the full bust, high bust, and hip-to-waist differential. Select size by high bust measurement. For cup sizes above a B, a full-bust adjustment is required on most commercial patterns before the muslin is made.
12. Linen Fitted Dress

Skill taught: fitted bodice construction and full-bust adjustment.
Skill required: invisible zipper and muslin fitting.
Fabric: woven linen.
Time: 8 to 12 hours.
Understitch all facings before turning. This single step removes the most visible marker of a home-sewn garment.
13. Lined Blazer

Skill taught: interfacing selection and hand-finishing under stress.
Skill required: collar attachment and seam finishing.
Fabric: suiting wool or structured tweed.
Time: 12 to 20 hours.
Muslin required. A blazer that fits incorrectly across the back or shoulders cannot be corrected at the hem.
14. Patchwork Chore Coat

Skill taught: combining quilting seam precision with garment construction.
Skill required: consistent seam allowance and French or flat-felled seam.
Fabric: medium-weight woven in multiple prints.
Time: 10 to 15 hours.
Patchwork panels must be fully constructed and pressed flat before garment assembly begins.
15. Fitted Trousers
Skill taught: hip-to-waist ratio adjustment and swayback correction.
Skill required: crotch curve and invisible zipper.
Fabric: suiting or twill.
Time: 8 to 12 hours.
Muslin required. Fitted trousers fail more often at the pattern selection and sizing stage than at construction.
16. Quilted Jacket

Skill taught: quilting-before-garment sequence and batting selection.
Skill required: consistent seam allowance and lining attachment.
Fabric: woven outer with low-loft cotton batting.
Time: 10 to 14 hours.
Select batting by end use: low-loft for a fitted silhouette, mid-loft for warmth.
Advanced Sewing Projects: At a Glance
| Project | Skill Taught | Time | Fabric | Muslin Required |
| Linen fitted dress | FBA, fitted bodice | 8-12 hrs | Woven linen | Yes |
| Lined blazer | Interfacing, hand finish | 12-20 hrs | Suiting wool | Yes |
| Patchwork chore coat | Quilting + garment | 10-15 hrs | Medium woven | No |
| Fitted trousers | Hip fitting, swayback | 8-12 hrs | Suiting or twill | Yes |
| Quilted jacket | Batting selection, lining | 10-14 hrs | Woven outer + batting | No |
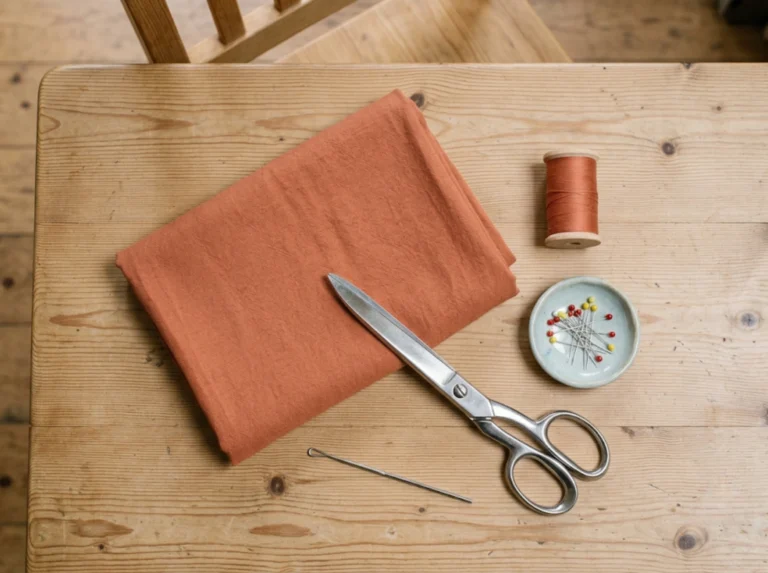
What Supplies Do You Actually Need to Start?
A basic machine, fabric scissors, straight pins, and a seam ripper cover every project in the beginner tier. Budget: $150 to $300 for all four. Add a zipper foot and an invisible zipper foot before starting intermediate projects ($15 to $30 total). Advanced sewing projects require a tailor’s ham and sleeve roll before any other equipment purchase. A tailor’s ham has more measurable impact on finished garment quality than any additional fabric spent at this stage.
- 70 UNIQUE BUILT-IN STITCHES: The Brother CS7000X sewing and quilting machine includes 70 built-in stitches including utility, decorative, heirloom and quilting stitch functions, and 7 1-step auto-size buttonholes
- IMPROVED NEEDLE THREADER: Easier than ever to use, the automatic needle threader reliably pushes the thread through the needle. The convenient, jam resistant drop-in top bobbin easy to load and helps ensure your bobbin stays in place
- INCLUDED ACCESSORIES: The CS7000X includes a wide table, 10 sewing feet plus a quilt guide, protective hard case, a trilingual English/Spanish/French user manual and more
- METAL FRAME and FIXED NEEDLE BAR: The durable metal frame construction allows your machine to tackle any project, and the needle is fixed in place while you work, allowing for cleaner stitching and even lines
- LARGE NEEDLE-TO-ARM WORKSPACE: A larger workspace with increased width in needle-to-arm space allows users to work on larger projects including quilts
This article contains affiliate links. Sewing.com may earn a commission on qualifying purchases at no additional cost to you. All product recommendations reflect editorial judgment. Products are subject to hands-on testing and review before live affiliate placement.
What Mistakes Slow Sewists Down at Every Skill Level?
Three mistakes account for the majority of failed sewing projects for every skill level.
- First: choosing fabric before confirming it suits the specific project. In most cases, the fabric was too slippery, too heavy, or too stretchy for the project tier. Fix: Check the fabric requirement listed per project before purchasing material.
- Second: skipping the machine readiness check. Re-thread from scratch before any project. Test tension on a scrap of the actual project fabric. Adjust before sewing any final pieces.
- Third: deferring pressing. Every seam pressed before the next seam is crossed is the single technique that separates a finished-looking garment from one that reads as home-sewn.
Ready to Start Your Next Project?
Use the comparison tables above to find a project at your current confirmed skill tier, not the tier above it. The next skill level follows from the one you have already completed, not the one you intend to complete. Pick one project. Finish it. The skill confirmed on that finished object is what qualifies the next.
Download the free project planner to match your first three sewing projects for every skill level against your current confirmed skills
Get the Free Project Planner below!
Frequently Asked Questions
-
What is the best sewing project for a complete beginner?
A pillowcase is the strongest first project because it requires only straight seams and no closures. Use quilting cotton. Before you cut, re-thread the machine from scratch and test tension on a fabric scrap. A finished pillowcase confirms three skills at once: machine threading, tension calibration, and straight seam consistency.
-
How do I choose a sewing project at the right skill level?
Match the project to a skill you have already confirmed on a finished object. If you have never completed a project with a zipper, a zipper project is intermediate regardless of how brief the construction appears. Use the prerequisite column in the comparison tables in this article before selecting your next project.
-
How much does it cost to get started with sewing projects at home?
A basic sewing machine, fabric scissors, straight pins, and a seam ripper cover most beginner projects for $150 to $300 total. Fabric for beginner projects runs $5 to $25 per project. Avoid buying specialty tools until a specific project requires them. Most beginner projects need nothing beyond those four basics.
-
Do I need a printed pattern for beginner sewing projects?
For the six beginner projects in this article, no pattern is required. Dimensions can be marked directly on fabric with chalk or a water-soluble marker. For any garment project at the intermediate or advanced level, use a printed or PDF pattern with size selection based on your measurements, not the size on the envelope cover.
-
Can I skip the muslin for sewing projects with fitted pieces?
Not at the intermediate or advanced level. A muslin catches fit problems before you cut into the final fabric. For fitted bodices, dresses, and trousers, skipping the muslin is the most common reason a garment does not fit after construction. Use inexpensive woven fabric, mark every correction, and transfer all adjustments to the pattern before cutting.
-
What fabric works best for beginner sewing projects?
Quilting cotton is the most forgiving fabric for beginners. It does not stretch, frays at a predictable rate, and holds a pressed seam cleanly. Avoid jersey knit, chiffon, silk, and any fabric with a directional nap for your first three to five projects. Once seams are consistent and tension is calibrated, lighter and stretchier fabrics become manageable.
-
Why does my sewing project still look homemade even when I follow the instructions?
The most common cause is skipped pressing. The technique of pressing seams before makes the difference between a finished garment and one that does not lie flat. The second most common cause is undiagnosed tension. Re-thread from scratch, test on a project fabric scrap, and check both sides of the test seam before sewing the final pieces.
Why did you vote that way? Drop your take in the comments.