
Sewing your own summer bucket hat is a fun way to gear up for the warm weather. This stylish hat keeps the sun off your face and gives your outfit a pop of color. If you’re new to sewing, this project is a solid place to start. You don’t need a lot of fabric, and the shape is simple. Even better, you can use that print you’ve been saving.
TL;DR: Summer Bucket Hat Sewing Guide
- Walks you through sewing a fully lined summer bucket hat using simple pattern pieces: a crown, side band, and brim.
- Uses lightweight, breathable fabrics (cotton, canvas, linen) and encourages mixing prints for a reversible option.
- Shows key construction steps: stitching the crown and band, adding interfacing to the brim for structure, and assembling the lining.
- Finishes with topstitching for durability and a polished look, resulting in a practical, sun-friendly hat perfect for summer outings.
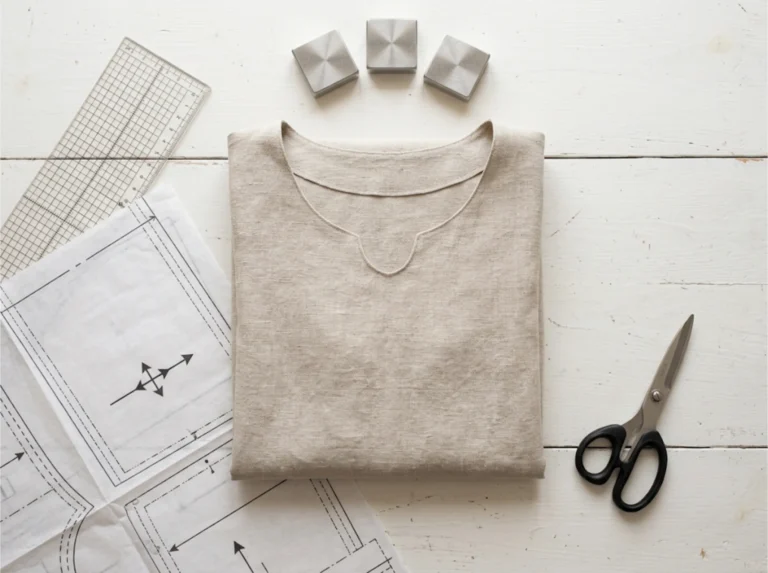
Before You Cut: Fit, Fabric, and Pattern Tips
Use a soft measuring tape and wrap it around the widest part of your head. For the fabric, stick with light cotton as it comes in fun prints and is easy to sew. Avoid slippery or stretchy materials unless you’ve had experience sewing them before. If you’re unsure about the fit, try sewing a bucket hat using scrap fabric first. It’s a quick way to check sizing and get the hang of the steps.

Looking for cute patterns or more resources? Head over to Sewing.com for everything you need to get started.
Materials:
- Matching thread
- Fabric scissors or a rotary cutter
- Pins or clips
- Clothes iron
- Sewing machine
- A printable bucket hat pattern (tons are free online)
How to Sew a Summer Bucket Hat
When crafting a summer bucket hat, sew from the top part first, then work your way down to the brim. Here are the steps:
- Cut all fabric pieces. From the main fabric, cut one circle for the top, two long strips for the sideband, and two curved pieces for the brim. For added structure, cut interfacing to match the brim pieces only.
- Attach interfacing to the brim. Place the interfacing on the wrong side of each brim piece and use an iron to press it into place. Leave the seam edges free so the brim stays flexible when sewn.
- Sew the sideband into a loop. Take the two sideband strips and place them right sides together with the short ends touching. Sew along the short edge to form a wide loop. Repeat this step using the lining fabric.
- Attach the top circle to the sideband. Pin the top circle to the smaller edge of the sideband loop to form the top of the hat. You may need to ease in the fabric as you pin. Sew around the full curve slowly and evenly.
- Sew and topstitch the brim. Sew the short ends of the brim pieces together to form two loops. Place the two brim loops right sides together, then sew along the large outer curve. Turn the brim right side out and press the edge flat with an iron. To help the brim hold its shape, sew one or more rows of topstitching around the outer edge.
- Attach the brim to the hat body. Pin the finished brim to the lower edge of the outer hat body with right sides facing. Match the seams and raw edges before sewing around the full circle.
- Sew the outer hat and lining together. Place the lining inside the outer hat and keep the right sides together. Align the raw edges around the bottom opening and pin in place. Sew around the full circle, but leave a small gap for turning. Afterward, pull the entire hat through the gap and turn it right side out. Press the edge flat. To close the gap and secure the edge, topstitch all the way around the bottom of the hat.
Style It Your Way: Make It Feel Like Summer
Go all in on summer vibes and pick fabric with lemons, waves, or sun prints. You can also mix things up. Try a bold color on one side and something chill on the other. Want it to stay put on windy days? Add ribbon ties. Want it to match your swimsuit or tote? Use the same fabric. This hat is easy to tweak however you want.
Summer Bucket Hat: When the Sun’s Out, The Hats Are On!
Congratulations! You now have a stylish accessory ready for sunny days ahead. You can pair your summer bucket hat with anything from a casual tank and shorts to a flowy dress. It’s a great way to show off your style this season. Ready to make another one?
FAQs: Summer Bucket Hat
- What fabric is best for a summer bucket hat?
Light cotton or quilting cotton works well for summer hats. - How do I measure my head for a bucket hat? Use a soft measuring tape and measure around the widest part of your head, just above your ears.
- Can I make this hat reversible?
Yes, just cut two sets of fabric pieces—one for each side. - Do I need interfacing for the brim?
Interfacing helps add structure to the brim, but it’s optional. - How long does it take to make this hat?
It usually takes about 1–2 hours, depending on your sewing speed. - Can I use stretchy fabric for this hat?
Stretchy fabric is tricky. Stick with non-stretch fabrics for easier sewing. - What if I’m between sizes?
Choose the larger size for a more comfortable fit. - Can I add a chin strap to my hat?
Yes, simply sew small ribbons or fabric straps to the brim. - How do I make the brim stand up?
Topstitching around the brim helps it hold its shape. - Where can I find patterns for a bucket hat?
Many free patterns are available online, including on Sewing.com.