
Learning how to sew lining into a dress is an important skill in sewing. It is the magical thing that gives shape and form to your dress. Follow these quick and easy steps to learn how to sew lining into a dress.
Quick Summary
- Lining a dress gives it proper shape, structure and support. Without lining, a dress may hang awkwardly or lose form.
- The tutorial breaks it down into 5 clear steps: attach lining to the sleeve hems, flip the dress, align and sew side seams (from armpit down), sew the lining sides, then finish by sewing the lining and dress fabric together.
- Key sewing tips: lining should be ~ 2 inches shorter than outer dress fabric at sleeves so it can fold inside correctly; seams should be pressed and clipped (especially at the armpit) to ease fit and avoid bulk.
- The process works for various lining fabrics (silk, cotton, chiffon, etc.), and once you master it, you can apply it beyond dresses for tops, jackets, and even bags.
How To Sew Lining Into Your Dress: Quick and Easy Guide
Every sewer knows the importance of learning how to sew linings into a dress. They may be made from silk, cotton, or chiffon. In dresses, lining provides shape, support, and form to your dress. Without it, your dress will drape over your body ill-fittingly. Avoid this mishap and learn how to sew lining into a dress in 5 easy steps.
Materials to Use on Sewing Lining Into Your Dress:
- Sewing Machine and Thread
- Lining Fabric of Your Choice
- Pre-Cut Dress Fabric (Learn more about how to sew a line dress on our next tutorial!)
Step 1: Put the sleeve hems together

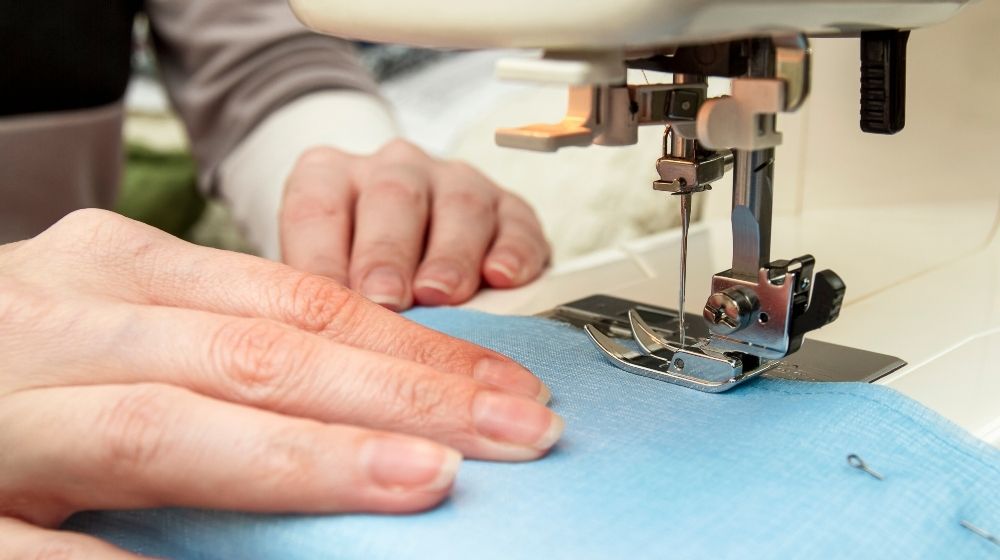
Place your lining and dress fabric side by side, align them with your dress’s sleeve. With the right sides together, stitch to the hem of the sleeves.
Tip: Make sure your lining is at least 2 inches shorter than the fabric dress. Your fabric dress should be able to fold inside the hem of the sleeve and attach to the lining.
Step 2: Put the dress the right way around
After sewing your lining to the sleeves, flip your dress the right way. By putting the dress the right way around, you can see and understand more clearly what goes where.
Step 3: Line up the armpit and the side seams
Close your dress by sewing the sides from the armpit to the side seams. Start from where the lining joins the dress.
Step 4: Sew the first side of the lining
Flip your dress around. Then, start sewing the first side where the lining joins the dress. Follow the same steps on the other side seams of the lining.
Tip: Make sure you have lined up your notches correctly as you sew. This is helpful, so you will be able to sew 2 seams correctly, too.
Step 5: Finish the dress
This time, sew the lining together with your dress fabric.
Additional Tips
- Remember the length of hem you’re leaving on your sleeve so it sits properly.
- Put a tack from the shoulder to the armpit.
- Press the seams well.
- Snip into the seams near the armpit to remove excess fabric.
Want to see how it’s done? Then watch this video from STITCHLESS TV on how to sew lining into a dress:
You’ve now attached a lining to your dress. After stitching the lining and dress fabric together, you might want to press down your dress.
In 5 quick and easy steps, you’ve now attached a lining to your dress. It wasn’t so complicated after all! Try practising some more, and in no time, you’ll be lining tops, dresses, and maybe even bags and purses one day!
FAQ: How to Sew Lining Into a Dress
1. Why should I add lining to a dress?
Lining gives the dress structure, improves drape, prevents cling or transparency, and makes the garment more comfortable to wear.
2. What fabrics work best for dress lining?
Lightweight, smooth materials such as silk, rayon, cotton voile, polyester lining, or chiffon are commonly used. The lining should be lighter and more breathable than the outer fabric.
3. How much shorter should the lining be?
The lining should be about 2 inches shorter at the sleeves and hem so it can fold inside cleanly without peeking out.
4. Do I attach the lining to the sleeves first?
Yes. The tutorial begins by attaching the lining to the sleeve hems before flipping the dress inside out and sewing the side seams.
5. How do I prevent bulky seams, especially under the arms?
Trim and clip the seam allowances, especially around the armpit curve, to help the fabric lie smoothly and avoid bunching.
6. Can I use this lining method on garments other than dresses?
Yes. Once learned, the same technique can be applied to tops, jackets, skirts, and even lined bags.
7. Do I need a serger to sew lining?
No. A basic sewing machine works fine. You can use straight stitches and finish edges with zigzag stitching if desired.
8. Should the lining and outer fabric be sewn together at the side seams?
No. The tutorial instructs you to sew the dress and lining side seams separately, then attach them at the neckline or hems, depending on the garment design.
9. Is lining harder to sew than the dress fabric?
Not usually, but slippery fabrics can be trickier. Pin generously or use fabric clips to keep layers aligned.
10. What’s the final step after sewing the lining and outer dress?
The process ends with attaching the lining and dress fabric together (e.g., along hems or neckline), ensuring a clean, fully enclosed finish.
Have you ever tried lining a dress? Share your experience with us in the comments below!
Want to know what kind of sewing project to do next? Check out 13 Easy DIY Sewing Projects You Can Make in Less Than 5 Minutes!


