
TL;DR: Serger Tips: Avoid Mistakes
- Start with high-quality thread and correct needles, because cheap thread and the wrong needle type are frequent causes of skipped stitches and breakage.
- Always thread in the correct order and check tensions, since mis-threading or unbalanced tensions often lead to loose loops, fabric bunching, or uneven overlock stitches.
- Clean and maintain your machine regularly; lint buildup, dull blades, or neglected feed dogs will degrade performance and cause poor finishing.
- Use a practice piece to test settings before sewing your project fabric, especially when using new fabric types or stitches, to avoid surprises.
- Be mindful of fabric type and construction order, e.g., when to sew first vs serge, for better control and seam strength; tightly woven fabrics may need straight-stitch reinforcement after serging.
Serger Tips At a Glance:
- Remember, a serger won’t replace your sewing machine, as it can’t do buttonholes or topstitching.
- Thread the serger in this order: upper looper, lower looper, then needles.
- Before you sew the real thing, test on fabric scraps and adjust one tension dial at a time.
- For your first projects, sew straight seams and let the feed dogs move the fabric, so don’t pull.
- Use quality polyester or nylon thread and fresh needles to prevent skipped stitches.
- If the seam ripples or the fabric waves, increase the differential feed until it lies flat.
- Brush out lint and add a drop of oil (per your manual) after each session to keep stitches consistent.
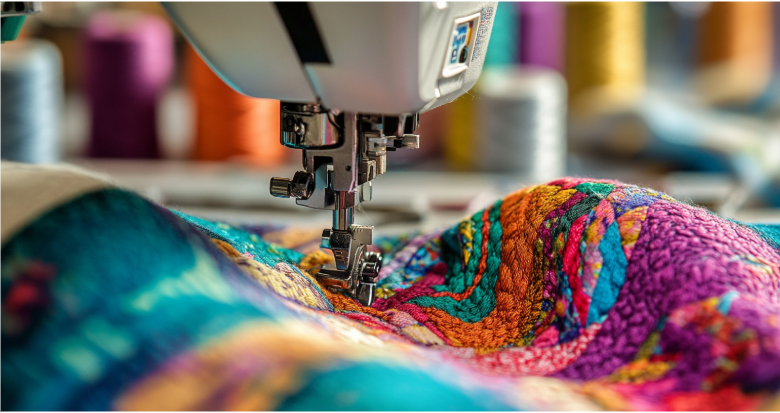
April is National Serger Month, which means it’s time to celebrate one of the most powerful tools in sewing! If you’ve ever wondered how professionals get those neat, stretchy, and fray-free seams, the answer is simple: a serger. Unlike a regular sewing machine, a serger trims, stitches, and finishes edges all in one go. Overall, it makes sewing faster, cleaner, and easier.
If you’ve been hesitant to use your serger, now is the perfect time to start! National Serger Month is all about learning, experimenting, and getting comfortable with serging. Whether you’re new to sewing or just need a confidence boost, this guide will walk you through everything you need to know about using a serger. Let’s go check out these valuable serger tips!
What’s So Wonderful About Using a Serger?
At first glance, a serger looks complicated, but once you understand how it works, it’s a total game-changer. Unlike a regular sewing machine that uses just one needle and a bobbin, a serger uses multiple threads, loopers, and blades to create strong, flexible, and professional-looking seams. Here’s what makes it special:
✅ Trims fabric edges while stitching, so there’s no need for separate cutting.
✅ Prevents fraying, making your seams stronger and more durable.
✅ Handles stretch fabrics without puckering or breaking stitches.
If you love sewing clothes, a serger is a must-have tool. It makes sewing with knits, jerseys, and delicate fabrics so much easier and gives your projects a store-bought finish.
Serger Tips: What You Need to Know During Setup
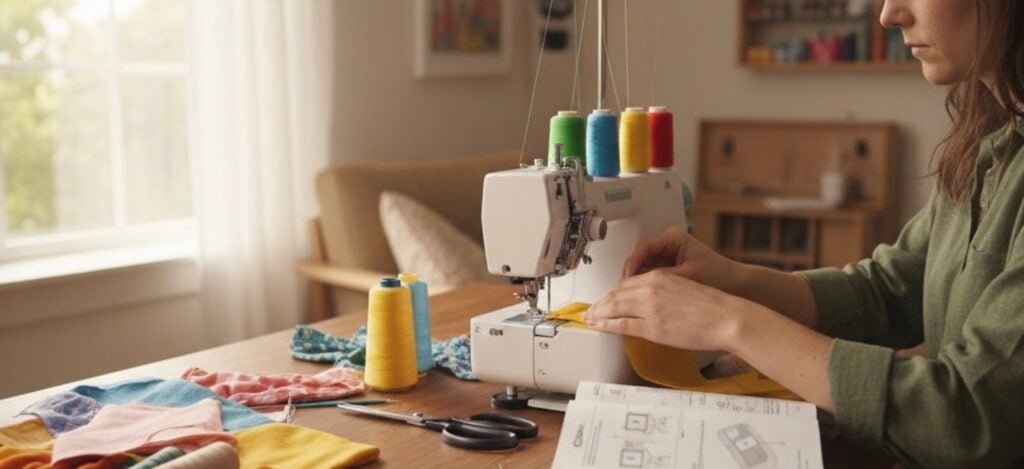
Threading a serger may look intimidating at first, but it gets easier once you get the hang of it. Here’s what you need to know to get started:
1. Threading: The Big Hurdle
Sergers use three to four spools of thread at once. Each spool follows a specific path through the machine. Luckily, most sergers have color-coded guides to help. Always thread in the correct order—upper looper, lower looper, then needles—to avoid tangles.
💡 Tip: Struggling with rethreading? Try this trick: Tie new thread to the old one and pull it through. It saves time and frustration!
2. Tension Settings: Finding the Sweet Spot
Tension controls how tight or loose each thread is. If your stitches are too loose and loopy, tighten the tension slightly. If they’re too tight and puckered, loosen it up. Most sergers have preset tension settings for different fabrics, so check your manual to get a good starting point.
3. Test Before You Sew
Always test your stitch on a fabric scrap before starting your project. This way, you can fix any tension issues before they ruin your final piece.
Easy Serger Projects for Beginners
Once you’re comfortable threading and adjusting the tension, it’s time to sew! Here are three fun, beginner-friendly projects that help you build confidence:
1. Quick Knit Infinity Scarf 🧣
Love a good cozy scarf? With a serger, you can whip one up in under an hour—no fraying, no fuss. Just stitch, loop, and wear!
Instructions:
- Cut a 60” x 15” strip of jersey fabric.
- Fold it in half lengthwise, right sides together.
- Serge along the raw edge to create a long tube.
- Turn it right side out and join the ends with a serged seam.
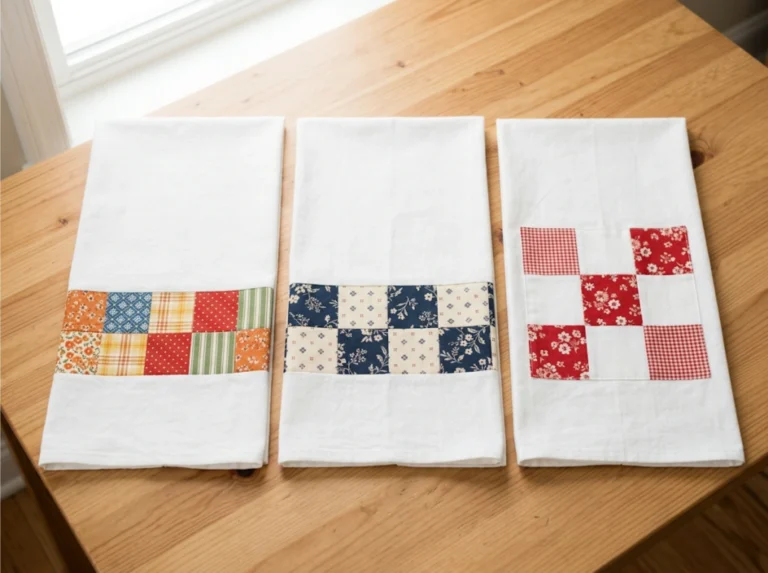
2. Simple Fabric Napkins 🍽️
These napkins make every meal feel a little more thoughtful. They’re soft enough for everyday use yet stylish enough for special occasions. Pick bright florals for a fun pop or muted tones for effortless elegance.
Instructions:
- Cut 12” x 12” squares of cotton or linen.
- Set your serger to a rolled hem stitch.
- Serge around all four edges and trim them neatly.
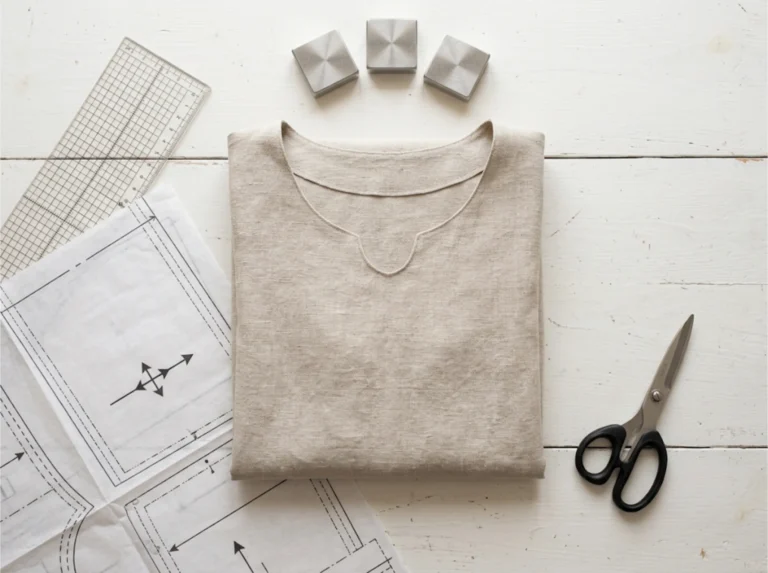
3. Stretchy Pajama Shorts 🩳
Pajama shorts are soft, stretchy, and perfect for lounging. The breathable fabric keeps you cool and comfortable all night. Once you try them, you might never go back to regular shorts.
Instructions:
- Cut out your fabric using a simple shorts pattern.
- Serge the crotch seams first, then the side seams.
- Finish with a serged waistband and add an elastic inside.
Troubleshooting Common Problems When Using a Serger
Even experienced sewing enthusiasts run into problems. Here’s how to fix the most common serger issues:
🔹 Loose stitches or loops hanging off the edge? Tighten your tension settings slightly.
🔹 Skipped stitches? Change your needle. Sergers need sharp, high-quality needles for best results.
🔹 Thread keeps breaking? Rethread your serger and make sure everything is in the correct order.
🔹 Fabric bunching up? Adjust the differential feed to match your fabric type.
Serging takes a little trial and error but once you get used to it, you’ll love how fast and easy it makes sewing.
More Serger Tips for Success
🎯 Start simple. Stick to straight seams and basic stitches at first.
🎯 Use high-quality thread. Cheap thread breaks easily and causes frustration.
🎯 Keep your machine clean. Lint builds up quickly, so brush out debris after every project.
🎯 Practice makes perfect. The more you serge, the more confident you’ll become!
National Serger Month is the best time to finally master this wonderful machine, so we hope this article full of serger tips helped you start your sewing journey. With a little patience, you’ll be sewing cleaner, stronger, and more professional-looking projects in no time! Hopefully, these serger tips help you master your way to sewing perfection.
Serger Tips FAQs
❓ Can a serger replace a sewing machine?
Not completely. Sergers are great for finishing edges and sewing knits, but they can’t do topstitching or buttonholes.
❓ Do I need four threads every time I use a serger?
Not always! A three-thread stitch works well for lightweight fabrics and decorative edges.
❓ What fabrics work best with a serger?
Knits, stretch fabrics, and wovens all benefit from serged seams. Experiment with different settings!
❓ Is it hard to master using a serger ?
The threading takes practice, but once you get it, sewing with a serger is fast and easy.
❓ Why does my serger cut the fabric?
Sergers have built-in blades that trim fabric as they sew. You can disengage the knife if needed.
❓ Can I sew regular seams with a serger?
Yes! Just use a four-thread overlock stitch for strong, flexible seams.
❓ How often should I oil my serger?
Check your manual, but most need oiling every few projects to keep running smoothly.
❓ What’s the best thread for serging?
Polyester or nylon thread works best because it’s strong and slightly stretchy.
❓ Can I hem with a serger?
Yes! A rolled hem or coverstitch finish works beautifully for hems.
❓ Do I need a special table for my serger?
No, but a sturdy, vibration-free surface helps for smooth sewing.
For more serger tips as well as additional sewing resources, why not look around sewing.com?