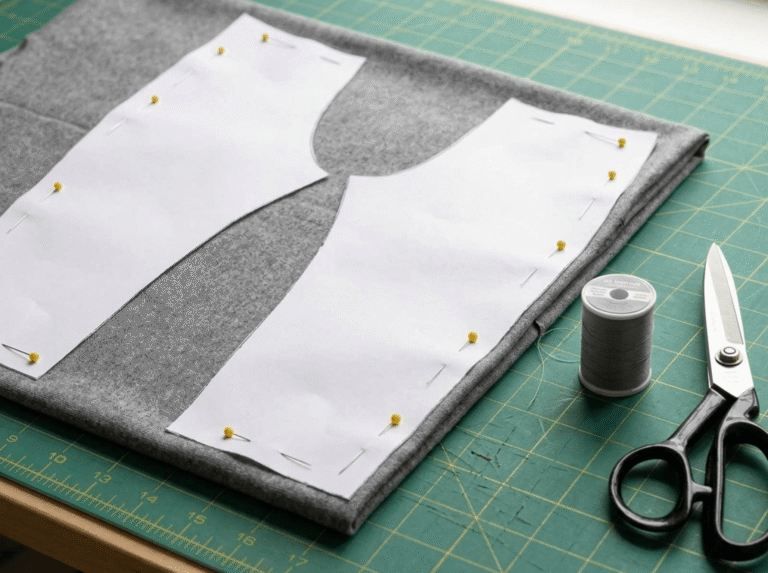
Looking for a table runner sewing tutorial? We’ve provided a video tutorial and also detailed step-by-step instructions so that you can sew your own reversible table runner today. Check it out now!
TL;DR: Reversible Table Runner
- It walks through making a table runner that’s reversible, two coordinated fabrics sewn together, so you can flip sides based on mood or décor.
- Key steps include: pre-washing/ironing fabric; cutting two matching rectangles (one for each side); layering right-sides together; sewing with a turn gap; snipping corners; turning right-side-out; and top-stitching.
- Interfacing or décor-weight fabric may be used to add structure so the runner lies flat and resists curling.
- You can easily customise size (to fit your table) and fabric combinations, print on one side, solid on the other for versatility and style.
- The project is beginner-friendly, relatively low in time and cost, and offers a practical, decorative accent for home décor that hides stains or supports seasonal changes.
How to Sew a Reversible Table Runner
Step-by-Step Tutorial
Table runners protect the dining table and other furniture in your home. They also help make your dining room eye-catching, especially if the table is accented with attractive colour combinations. Your choice of fabrics and colours for your table runner will add personality to any room.
What you’ll need
Materials:
- Two 1/2 yard pieces of fabric
- Thread
Tools:
Instructions
Step 1. Measure the fabric
Pre-wash your fabric first and iron it before taking the measurements.
Step 2. Cut the fabric
Cut out the fabric to your desired dimensions. Clara cut a 54 x 16-inch piece of each fabric.
Step 3. Pin the fabric
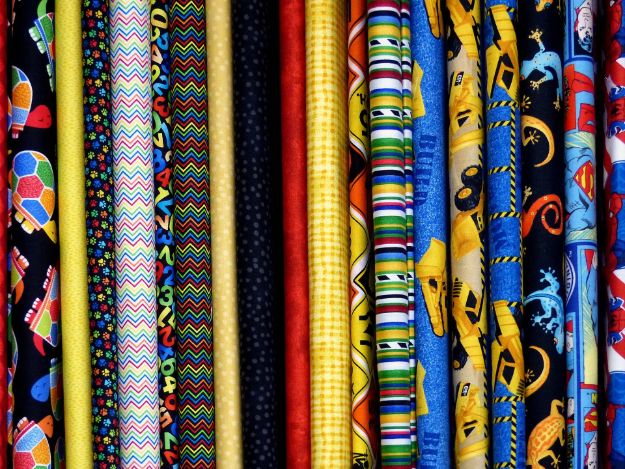
Pin the fabric together with the right sides facing each other.
Step 4. Create pointed ends
- To create pointed ends, make a mark in the center of the width of your fabric.
- Then measure down 4 inches on the sides and mark.
- Draw lines from the side mark to the center marks.
- Cut to create the point.
Step 5: Sew the fabric together
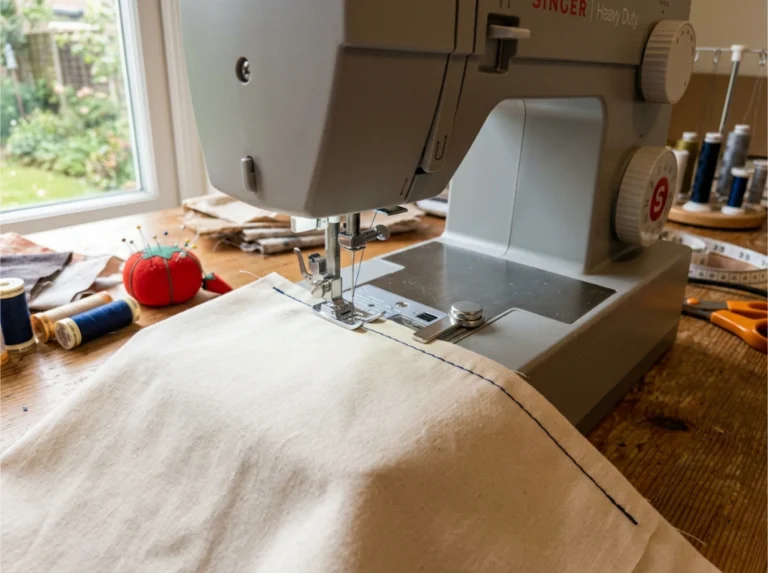
Sew around all the edges with a 1/4 inch seam allowance.
:max_bytes(150000):strip_icc():format(webp)/95588471-crop-56b70b535f9b5829f83612d9.jpg)
Leave a 5-inch opening on one of the long sides of the runner.
Backstitch at the beginning and end of your stitches.
Step 6. Trim the corners
Careful not to cut into the stitching. This helps to remove bulk at the corners.
Step 7. Turn the table runner right side out at the opening

Step 8. Iron the table runner
Iron the seams to flatten them by opening the seam and then ironing. Fold it back and iron again to create a sharp edge.
Step 9. Hand-stitch the opening
Hand-stitch the opening, then close with an invisible stitch.
Step 10. Finish sewing
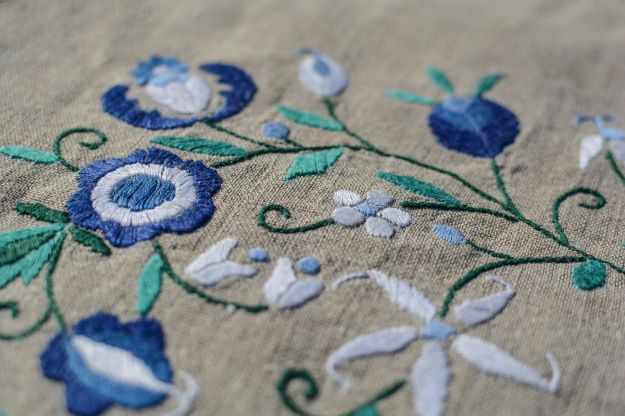
Finally, top stitch 1/4 of an inch in from the outer edge of the runner to secure all the pieces and create a finished look.
Voila!
Now, watch the video tutorial on How To Sew A Reversible Table Runner by Clara of OnlineFabricStore.net. Enjoy!
Make your home more beautiful with your own sewing creations like this reversible table runner. Get creative and start sewing!
Have you ever sewn a table runner for your dining room? Tell us about your projects in the comments below.
FAQs: Reversible Table Runners
What fabrics work best for a reversible table runner?
Answer: Medium-weight cotton, linen, or quilting cotton is ideal. Choose two coordinating fabrics, one for each side, that complement your dining room or seasonal theme.
How long should a table runner be?
Answer: A table runner typically measures 10–15 inches wide and should hang 6–12 inches over each end of the table. For example, a 72-inch table would look great with a 90–96-inch runner.
Can I make a table runner without pointed ends?
Answer: Yes! You can stick with a simple rectangle for a more modern or minimalist look. Just skip the angled cuts in Step 4 and sew straight edges instead.
Do I need a sewing machine to make this project?
Answer: While a sewing machine speeds up the process, you can sew a reversible table runner by hand using a backstitch and an invisible stitch to close the opening. It just takes a bit more time.
Can I add batting to make it thicker?
Answer: Definitely! If you want a quilted or padded look, insert a layer of lightweight batting between the two fabric layers before sewing. It adds texture and durability.