
Ready to make 2025 your best year yet? 🎉 One of the simplest ways to start strong is by sewing a handmade vision board cover with a matching journal cover. It’s a creative way to kick off the new year with intention. And let’s be honest: nothing feels better than bringing your ideas to life with fabric and thread.
But what are a vision board cover and a matching journal cover? Both are stylish fabric wraps that protect and beautify your goal-setting tools. A vision board cover keeps your dream board clean, polished, and uniquely yours. A journal cover, on the other hand, adds flair to your notebook while shielding it from daily wear. Together, they create a matching set perfect for manifesting dreams in style. Plus, sewing them is easy, thanks to their identical steps.
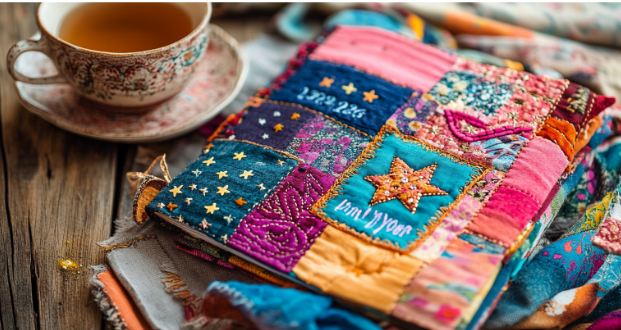
DIY Ideas for 2025: How to Sew Handmade Vision Board and Journal Covers!
New year, new dreams, new… sewing ideas? Yep, you heard that right! Why not sew your way into 2025 with handmade vision board and journal covers? These DIY projects will keep you inspired and organized as you tackle your goals this year. Follow this guide and let’s stitch those dreams into place—literally!
Materials You’ll Need:
- Fabric
- Interfacing
- Thread
- Scissors or Rotary Cutter
- Sewing Machine
- Iron
- Optional Embellishments
1. Measure Your Journal or Vision Board 📏
Before you thread your needle, grab your measuring tape! The trick to making a snug-yet-cozy fabric cover is all in the measurements. Here’s the golden rule: measure the length and width of your journal or vision board, then add 2 inches to each dimension.
For example, if your journal is 8″ x 10″, you’ll want to cut your fabric to 10″ x 12″. The same rule applies to a vision board. This extra inch on all sides gives you room to wrap the edges neatly and ensures a polished look. No one likes a too-tight cover, right?
Pro Tip: Don’t eyeball it—measuring is key for a perfect fit.
2. Cut Your Fabric
Cut your fabric to size. You’ll need two pieces for the front and back of the cover, plus a third piece if you’re adding a lining. Make it fun! Use a solid fabric, a pattern, or even mix different textures. It’s your design, so don’t be afraid to get a little bold. You’re creating a vision, after all.
3. Prepare Your Fabric
Iron the fabric to get rid of wrinkles, as smooth fabric makes for smooth sewing. Also, if you’re using interfacing (which I highly recommend for durability), iron it onto the wrong side of the fabric. That’ll give your cover the structure it needs to stay sharp throughout the year.
4. Sew the Edges
Once your fabric is ready, place the pieces right sides together. Sew all around the edges, leaving about a ¼-inch seam allowance. Remember, you’ll need a little opening on one side (about 2-3 inches) to flip it all inside out.
This part may be easy to do, but here’s a little tip: Take your time, and don’t rush the stitching—precision makes for perfection.
5. Turn and Press
Now comes the fun part—turning your cover inside out. Gently pull it through the opening you left. Use a pencil or a chopstick to poke out the corners carefully. Afterward, press the fabric with your iron for a crisp, clean finish.
6. Add Optional Decorative Touches
Now’s where you can get truly creative. Add some intricate details! Here are a few ideas to spark your imagination:
- Embroidery: Sew a quote that motivates you, like, “2025 is my year!”
- Appliqué: Sew on symbols or images that represent your goals (e.g., a small heart for love, a mountain for adventure).
- Sequins/Beads: Because, honestly, who doesn’t love a little sparkle?
Remember, this is your space to dream big and add that personal touch. Go wild!
7. Final Stitching
Once you’re happy with the design, it’s time to sew everything up. Sew around the entire cover again to secure the opening and topstitch. This will give it that “professional touch” and make sure everything stays in place.
Pro Tip: Topstitching is your best friend for that clean, finished look.
How to Use Your Handmade Vision Board and Journal Covers
Now that your board or cover is all sewn up, it’s time to make it work for you! If it’s a journal cover, start filling it with your thoughts, dreams, and goals for the year. If it’s a vision board cover, gather your favorite quotes, photos, and affirmations and glue them to a sturdy poster board.
Is it possible to combine the two? Yes, it is! A vision board for inspiration and a journal to track your progress is kind of genius, actually.
Tips for a Successful Project
- Choose Fabrics You Love: This project is all about you, so pick fabrics that feel good. After all, you’re creating something you’ll look at every day.
- Keep It Simple: Focus on what’s essential, and only add embellishments if it makes your heart sing.
- Use Up Scraps: Do you have leftover fabric from another project? This is the perfect opportunity to use it in a fun, practical way.
Let’s Sew Our Dreams into Reality! 🌟
By creating your own journal or vision board cover, you’re not just making a pretty piece of art—you’re setting the stage for an incredible year ahead. Every time you open it, you’ll be reminded of the goals you’ve set and the dreams you’re chasing. So grab your fabric, let your creativity flow, and get ready to sew your way into 2025!
FAQs
- What fabrics are best for a journal cover? Cotton is a great choice as it’s easy to work with, but linen or velvet adds a unique touch.
- Can I use fabric paint on my cover? Yes! Fabric paint can add personality, inspiring quotes, or decorative elements to your cover.
- How do I ensure my fabric edges don’t fray? Sewing the edges with a zigzag stitch or using pinking shears helps prevent fraying.
- What kind of interfacing should I use? A medium-weight fusible interfacing works well for added structure without being too stiff.
- Can I make a cover for a digital vision board? Absolutely! You can sew a cover for any project, whether it’s digital or physical.


