
Halloween is creeping closer and bringing the thrill of costumes, decorations, and candies with it. Make the season even more special by stitching your own spooky Halloween candy bag! The output is one durable candy bag that can carry a night’s worth of treats. Plus, it’s perfect for matching any costume or style you have in mind.
Craft Your Own Spooky Trick-or-Treat Bag: A Step-by-Step Guide
Forget the flimsy store-bought options. This guide shows you how to stitch a sturdy, resusable candy bag that can hold all your sweet treasures. Let’s get started!
Materials:
- Fabric
- Scissors
- Thread
- Sewing machine or needle
- Pins
- Measuring tools
- Handles
- Decorations
Step 1: Measure and Cut
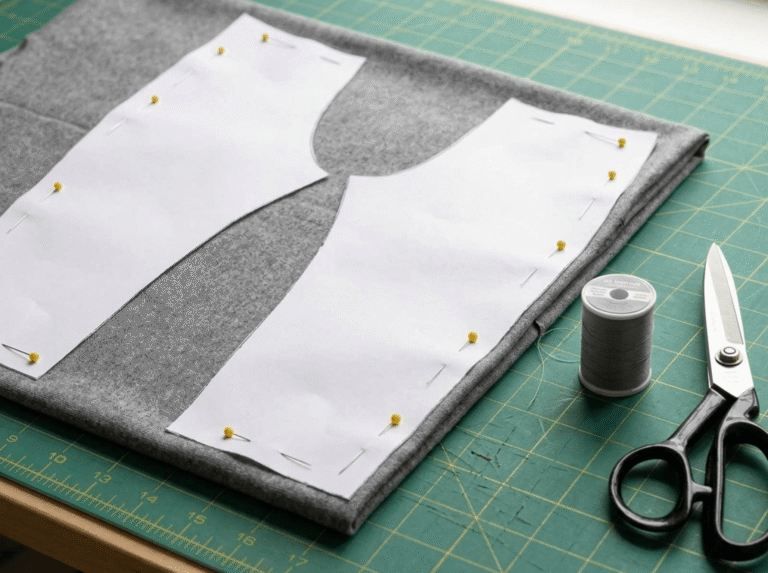
Cut two fabric rectangles, each 12 inches wide by 14 inches long. These will be the front and back of your bag. However, you can adjust the bag’s size based on your needs. For the bag handles, cut two fabric strips—each 18 inches long and 3 inches wide. You can also use ribbon or webbing as long as cut them to the same length.
Step 2: Pin and Prepare Fabric
Place the two fabric rectangles together with the right sides facing inward. Next, pin along the sides and bottom and leave the top open. This keeps the fabric in place for stitching. For the handles, fold each fabric strip lengthwise and pin along the edge.
Step 3: Sew the Bag Together
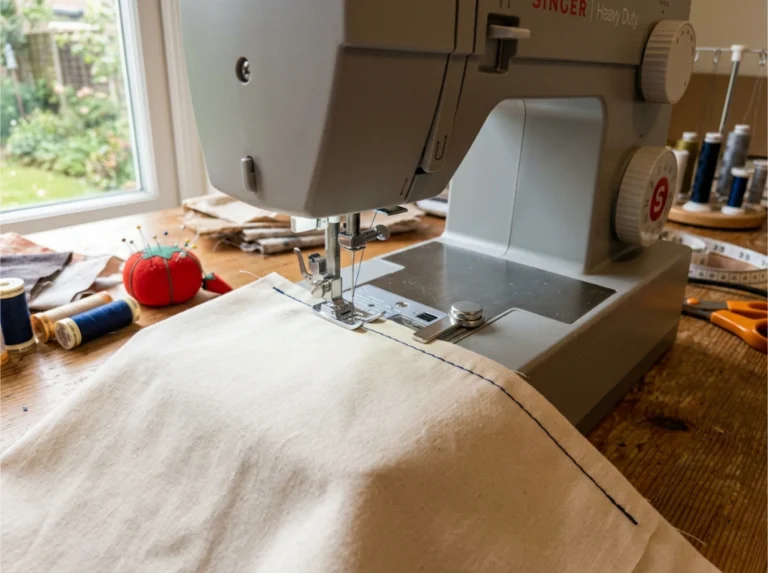
Stitch along the sides and bottom using a sewing machine or a needle. Afterward, use a sturdy technique like a straight or zig-zag stitch, to make sure the seams hold. Once done, turn the bag inside out to reveal the right side of the fabric.
Step 4: Sew the Handles
Sew each handle strip’s long edge. Then, use a safety pin to turn the handles inside out. When using ribbon or webbing, you can skip this step and proceed to the next.
Step 5: Attach the Handles
Pin the handles inside the bag and make sure they’re evenly spaced from the side seams. Afterward, stitch each handle securely using an “X” stitch. This method keeps the handles from tearing especially when the bag is full of candy.
Step 6: Hem the Top
Fold the top edge of the bag down about half an inch. Pin it, then sew to create a neat, finished edge. The hem prevents fraying and makes the bag more durable.
Step 7: Add Personal Decorations
Now it’s time to get creative. Cut spooky shapes like bats, pumpkins, or ghosts from felt. Sew or glue them to the bag. You can to apply a quicker option such as using fabric markers to draw Halloween designs or write fun sayings. Try glow-in-the-dark paints, reflective tape, or iron-on patches for other unique touches.
Step 8: Final Touches
After decorating, double-check your bag. Make sure all seams are secure and the handles are firmly stitched. Your bag is now ready to hold candy without breaking!
Creative Ways to Customize Your Trick-or-Treat Bag
Personalizing your Halloween bag can transform it into a piece you’ll treasure for years. While costumes get all the attention, your trick-or-treat bag can also be a canvas for creativity. Here are some creative ideas:
- Embroidery: Stitch names or spooky phrases like “Trick-or-Treat” for a professional, polished look.
- Fabric Appliqué: Sew contrasting shapes like ghosts, witches, or pumpkins for visual impact.
- Glow-in-the-Dark Details: Add glowing threads or decals for a fun, eerie glow and nighttime safety.
- Themed Pockets: Attach pockets for more treats, glow sticks, or costume accessories.
The Fun of DIY Trick-or-Treat Bags
This custom DIY Halloween bag adds a festive touch and long-lasting charm to your Halloween traditions. Plus, they are are more durable, eco-friendly, and highly reusable for many more Halloweens to come. Your trick-or-treat bag will surely stand out this spooky season!
Want more tricks for your treats? Click here for more creative DIY Halloween projects and ideas!