
Quick Look
What Is a Pillowcase Cushion Cover Pattern?
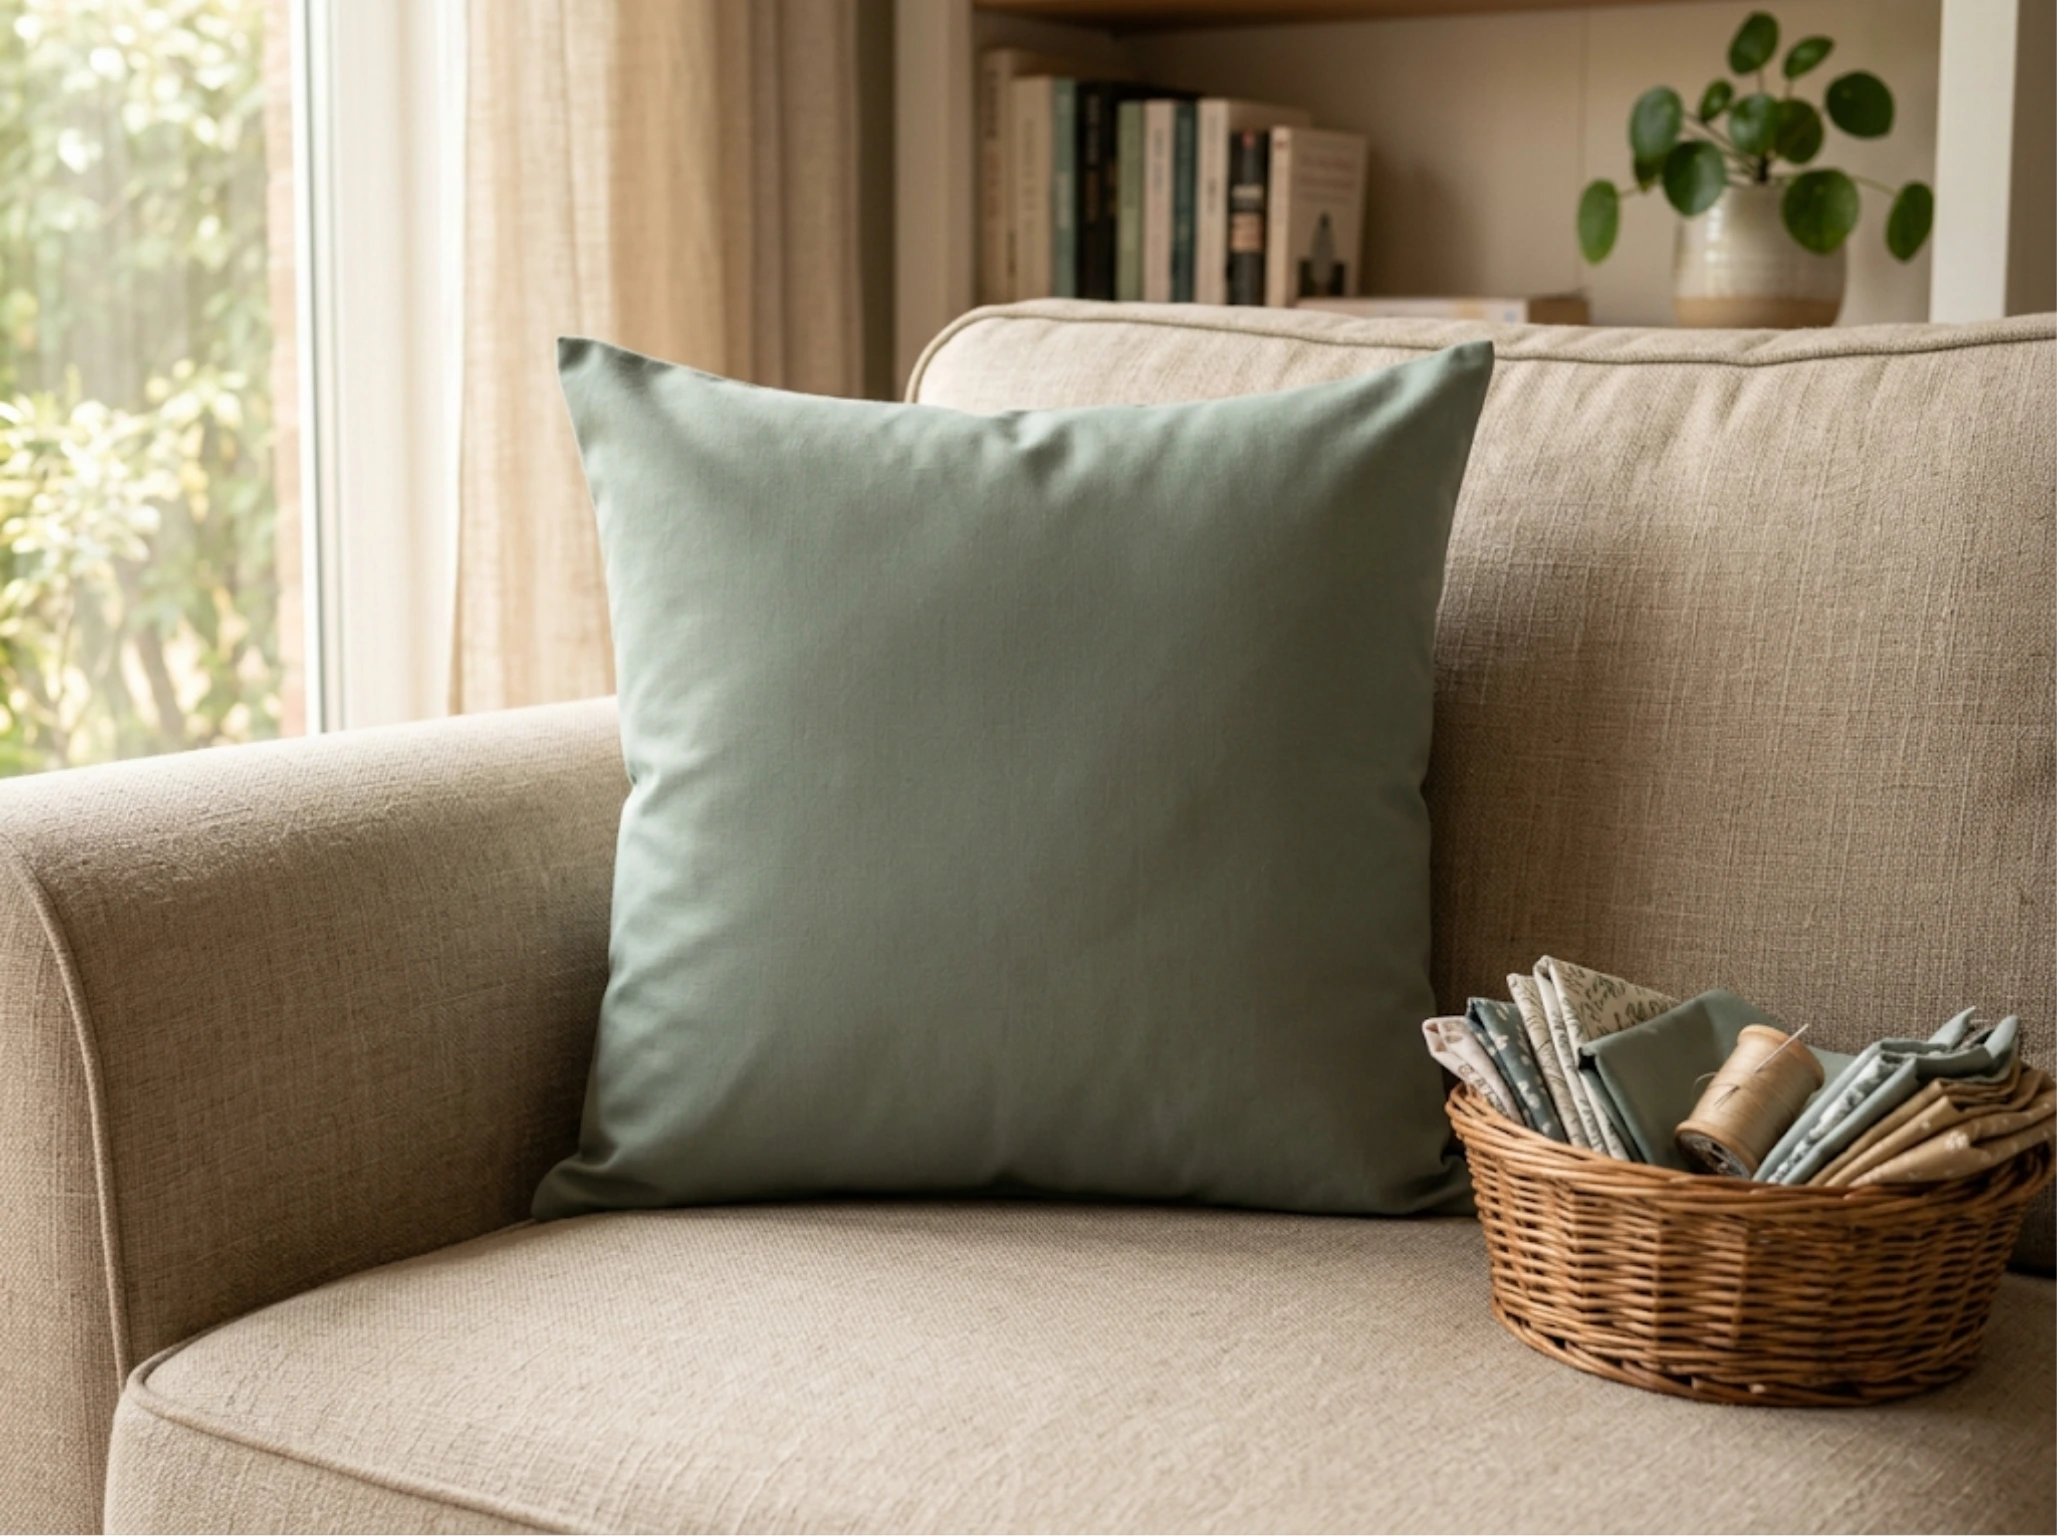
A pillowcase cushion cover is exactly what it sounds like. You fold and sew fabric the same way you would for a pillowcase, then close the open end with an overlap instead of a zipper. There is no invisible zipper to fight, no piping to match, and no fitting to check. Just straight seams from start to finish.
Plan on 45 to 75 minutes of active sewing time for your first pillowcase cushion cover, not five minutes. That estimate includes cutting, pressing, and sewing all four sides. If you rush it, the corners will show it. If you give it the full hour, it will look finished, and it will hold up in the wash.
The only skill this project asks of you is a straight stitch on your machine. You do not need to have finished a prior project. You do not need to know how to insert a zipper or match a pattern repeat. If your machine can sew a straight line, you can sew this cover.
What Do I Need to Sew a Cushion Cover?
Here is the full supply list for one standard cover, sized for a 16 by 16-inch pillow form.
- Three-quarters of a yard of fabric (quilting cotton, home dec weight, or linen blend)
- A 16-by-16-inch pillow form or insert
- Matching all-purpose thread
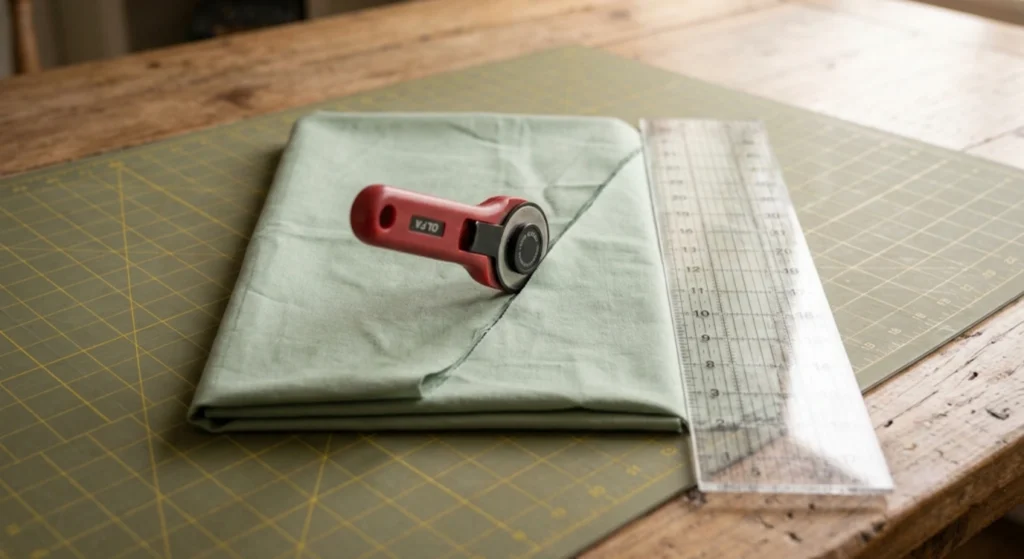
- Sharp fabric scissors or a rotary cutter and mat
- An iron and an ironing surface
- Straight pins or fabric clips
Fabric choice for a pillowcase cushion cover matters more than most beginner tutorials admit. Quilting cotton is fine for a decorative accent pillow that will not see daily wear. For a couch cushion that gets sat on and washed often, a heavier home dec fabric or a linen cotton blend will hold its seams longer over time, and it will resist the fraying that thinner cottons tend to show after a few wash cycles.
Fabric weight is not a guess. The Association for Contract Textiles measures abrasion resistance using the Wyzenbeek double rub test and recommends a minimum of 15,000 double rubs for home use. A heavier home dec fabric is built to survive more contact and washing than a lightweight quilting cotton, which is why it holds up better on a cushion that gets sat on daily.


How Do I Cut the Fabric for This Pattern?
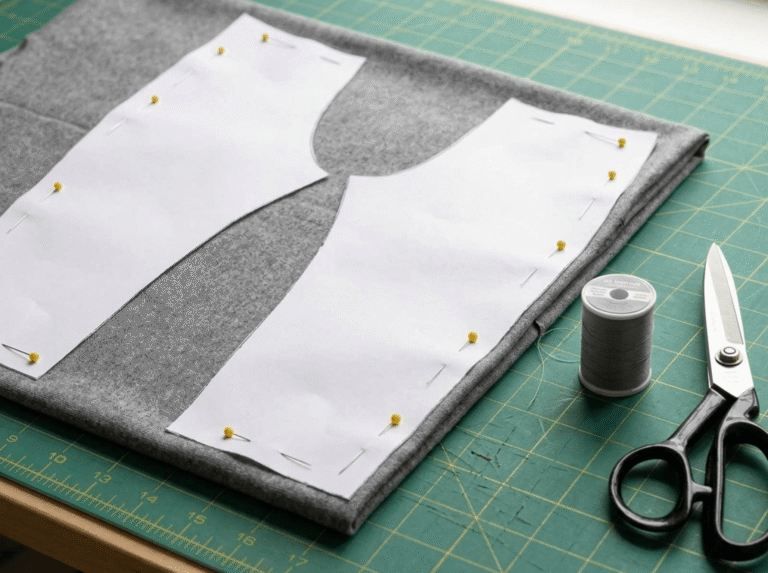
Cut one front piece at 17 by 17 inches for a 16 by 16 inch pillow form. For the back, cut two overlapping pieces, each 17 inches wide by 13 inches tall, to create the envelope opening.
If your fabric has a directional print, a stripe, or a one-way pattern, cut every piece facing the same direction. A pillowcase cushion cover with mismatched fabric direction on the back is one of the most common beginner mistakes, and it is entirely avoidable at the cutting stage. Lay all your pattern pieces out before you cut a single edge, and check the direction twice.
How Do I Sew a Cushion Cover Step by Step?
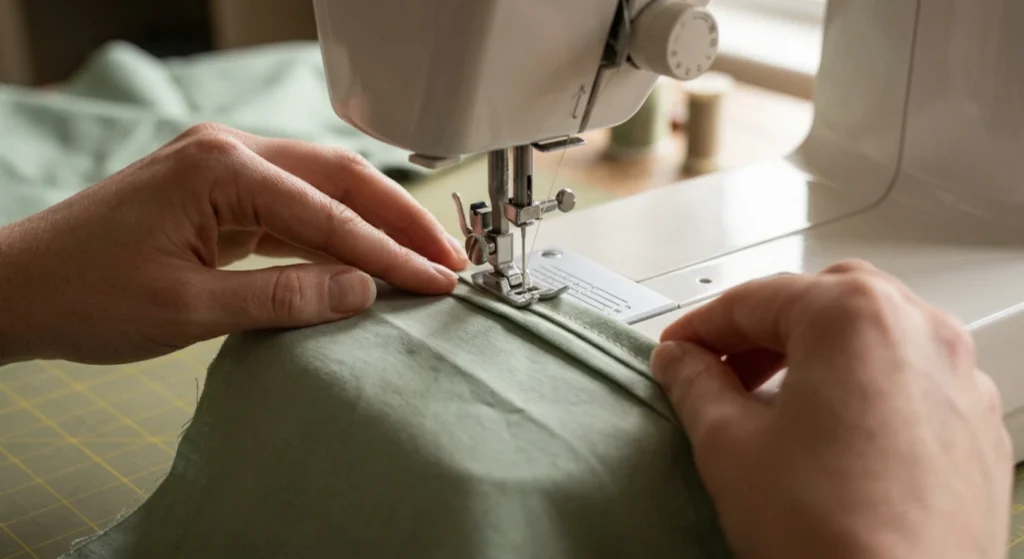
Step 1: Hem the overlap edges. Fold one long edge of each back piece under half an inch, press, then fold under half an inch again and press once more. Sew along this folded edge to create a clean, finished hem. This hemmed edge becomes the overlap opening of your pillowcase cushion cover.
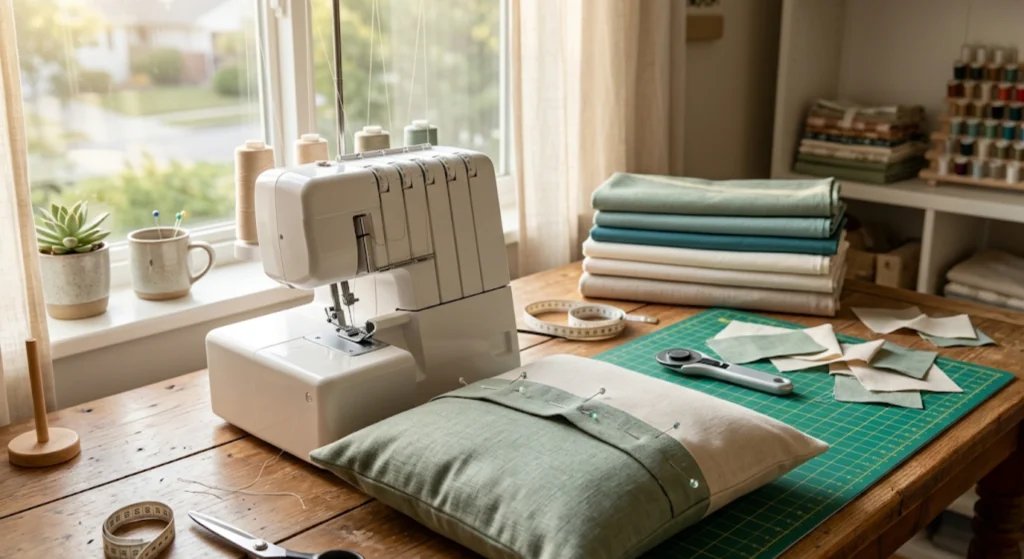
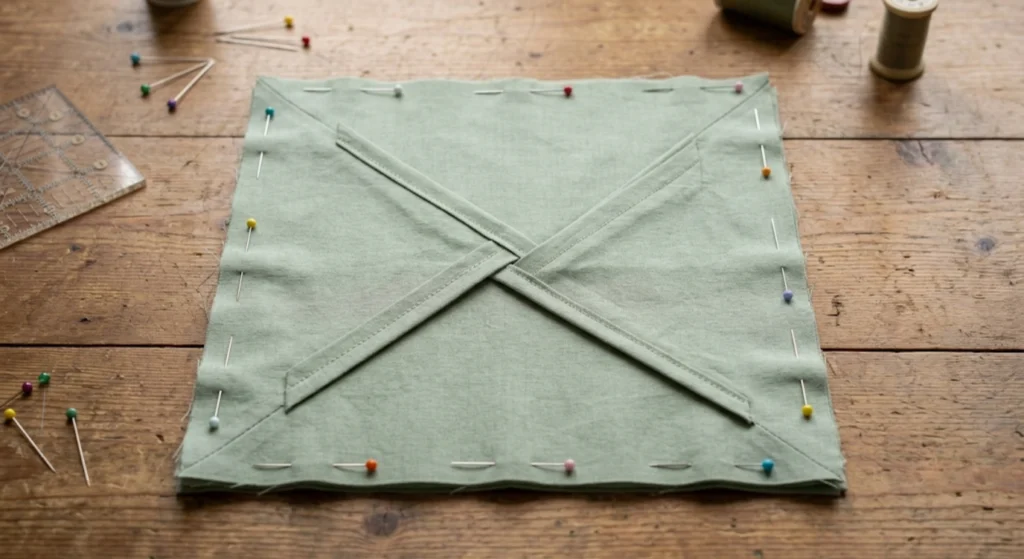
Step 2: Layer the pieces with the overlap facing in. Lay your front piece right side up. Place one back piece right side down on top, lining up the raw edges. Place the second back piece right side down on the opposite side, so the two hemmed edges overlap in the middle. Pin around all four sides.
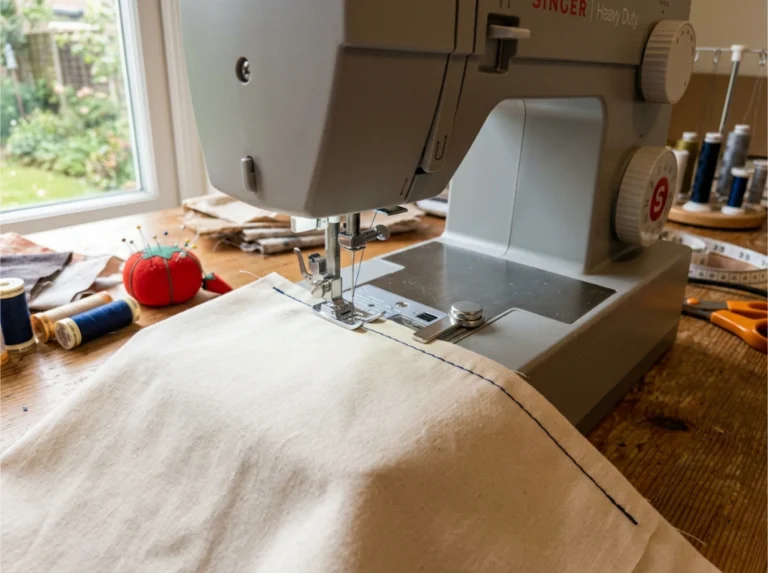
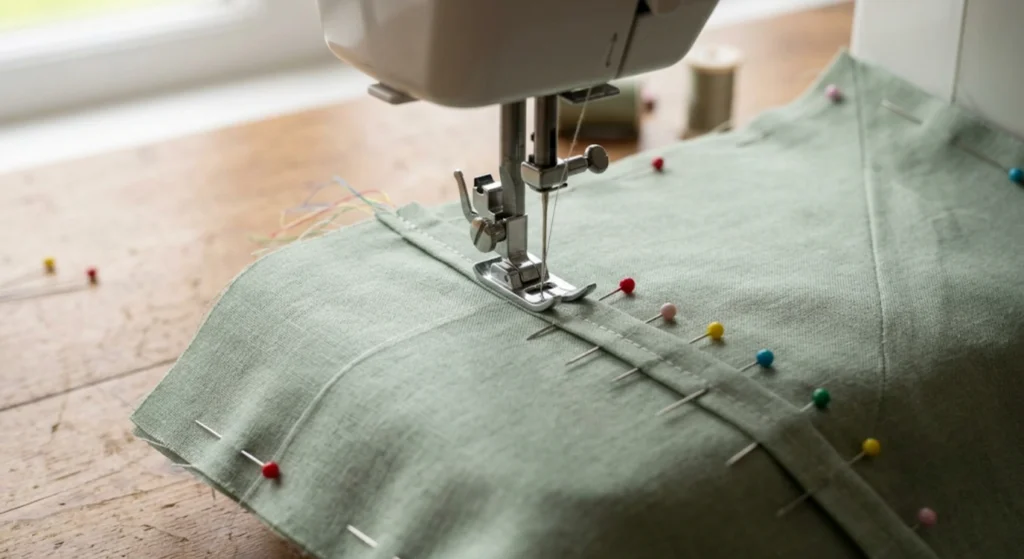
Step 3: Sew around all four sides. Sew with a half-inch seam allowance around the entire perimeter, backstitching at the start and end. Sew directionally, with the grain rather than against it, on every side. This one habit prevents most of the bias distortion that shows up as wavy edges later, and it costs you no extra time.
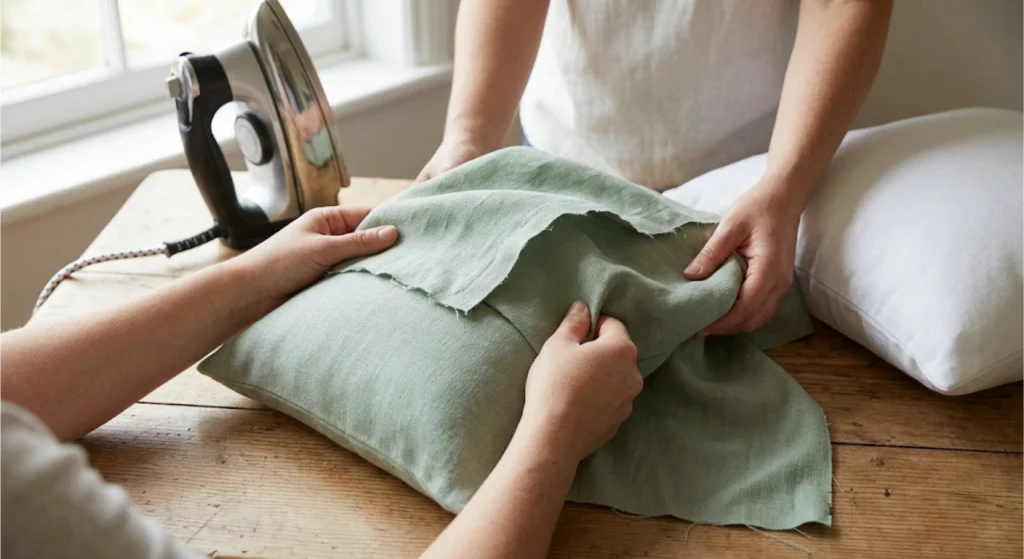
Step 4: Trim the corners and press the seam. Clip each corner diagonally, close to the stitch line without cutting through it. Press the seam flat before you turn anything right side out. Pressing at this stage, not after turning, is what keeps the corners of your cover crisp instead of rounded.
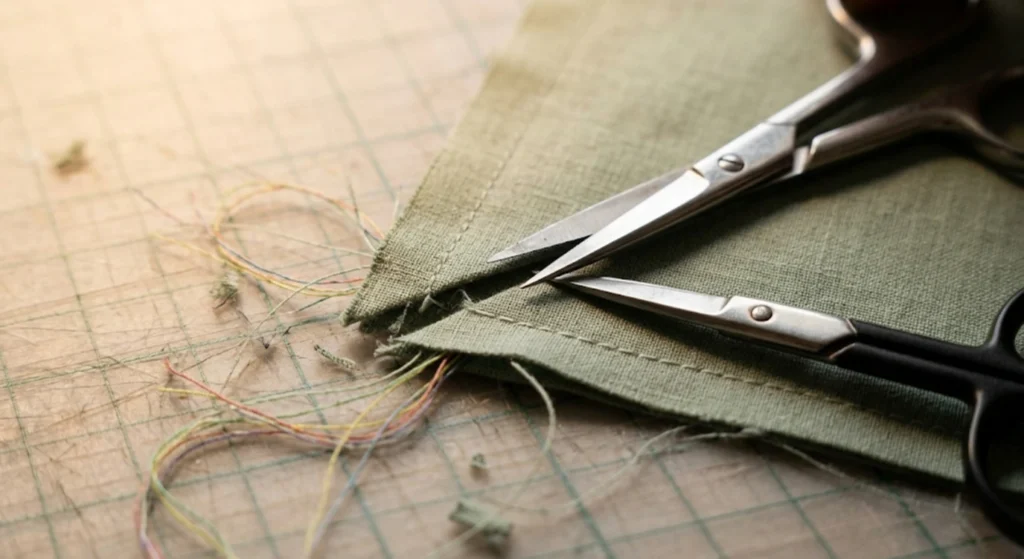
Step 5: Turn right side out and press flat. Reach through the overlap opening and pull the cover right side out. Push each corner out fully with a blunt point turner or a closed pair of scissors, then press the whole cover flat. Slide your pillow form through the overlap opening, and your pillowcase cushion cover is done.
How Do I Fix Common Pillowcase Cushion Cover Mistakes?
If your seam puckers, stop and rethread your machine from scratch before you change anything else. A large share of stitch problems traces back to a threading error, not to the tension dial. Test the corrected stitch on a fabric scrap before you return to your project.
If the finished cover looks baggy or too tight, check your cut size against your pillow form. Cutting fabric to the exact size of the form usually results in underfilling once sewn. Cut about one inch larger on each side for a fuller, finished result.
If your fabric frays at the seams after a wash or two, a plain, straight seam was not enough for that fabric. Finish the raw edges with a zigzag stitch, pinking shears, or a serger if you have one. This is an optional upgrade, not a required step for most quilting cotton or home dec fabric, and it adds only a few minutes to your total time.
How Do I Get the Free Printable Pattern PDF?
The printable version of this pillowcase cushion cover pattern includes the exact cutting dimensions, a full supply checklist, and the same five sewing steps laid out above, sized for both 16-by-16 and 18-by-18-inch pillow forms, so you can match whatever insert you already own.



What Should I Sew Next After This Project?
Sewing this pillowcase cushion cover just taught you a straight seam and an overlap closure from start to finish. That is not a small thing. Those are the same two skills behind tote bags, simple aprons, and a long list of beginner garments. This project is not the end of your sewing list; it is the first item checked off it.
How Do I Download This Free Pattern?
Grab the printable pillowcase cushion cover guide PDF below and keep it at your sewing machine for your next project.
Frequently Asked Questions
-
Do I need a sewing machine to make a pillowcase cushion cover?
A sewing machine makes this project faster, with a straight stitch only, no special feet required. It can be hand sewn with a backstitch, but plan on closer to two hours instead of one. Either way, no zipper foot or specialty tools are needed for this overlap closure version.
-
What’s the easiest cushion cover closure for a beginner?
An overlap closure is the easiest. It uses two overlapping back pieces instead of a zipper, so there’s no zipper foot, no matching tension settings, and no risk of a jammed slider. It closes with fabric alone and still looks finished from the front.
-
Can I use quilting cotton instead of home dec fabric?
Yes, quilting cotton works fine, especially for a decorative accent pillow that won’t see heavy daily use. For a couch cushion in regular use, a heavier home dec weight or linen blend holds up longer against friction and repeated washing.
-
How much fabric do I need for a standard cushion cover?
For a 16-by-16-inch pillow form, plan on about three-quarters of a yard for the front and back combined, including the overlap. Add extra if your fabric has a directional print, since every piece needs to face the same way.
-
Why does my cushion cover look baggy or too tight?
It depends on how your cut size compares to your pillow form. Cutting fabric the exact size of the form usually looks underfilled once sewn. Cut about one inch larger on each side than the form’s dimensions for a fuller, finished look.
-
Is an overlap closure less durable than a zipper?
Not for typical use. An overlap closure has fewer moving parts to fail than a zipper, which is one reason it holds up well on decorative pillows. For cushions removed and washed constantly, a zipper only becomes the sturdier choice when properly reinforced.
-
How long does a pillowcase cushion cover actually take to sew?
Plan on 45 to 75 minutes of active sewing for a first attempt, including cutting and pressing. That is not a five-minute project, despite how some tutorials frame it. Give yourself the full hour, and it will feel achievable instead of rushed.
Why did you vote that way? Drop your take in the comments.