Do you want to learn how to sew a sleeve cuff on your shirt? Honestly, learning how to sew a sleeve cuff is fairly simple and can be quite fun. It’ll give you a lot of room for creativity as well. This tutorial will show you the step-by-step instructions on how to sew a sleeve cuff in a very easy and simple way.
In casual settings or events, it is appropriate to wear a shirt with cuff sleeves. It certainly gives your outfit a tailored, more put-together look. Moreover, adding single cuffs to your shirt sleeves can transform your outfit into something dressier and more elegant.
Why not jazz up your boring old shirts by adding a stylish cuff on the sleeves? I am happy to share with you this tutorial I found from Marina Brumpton as she’s going to teach us how to sew a sleeve cuff. To get started, just follow steps and guidelines here.
Upcycle and Turn Your Old Shirt into a Sleeve Cuff
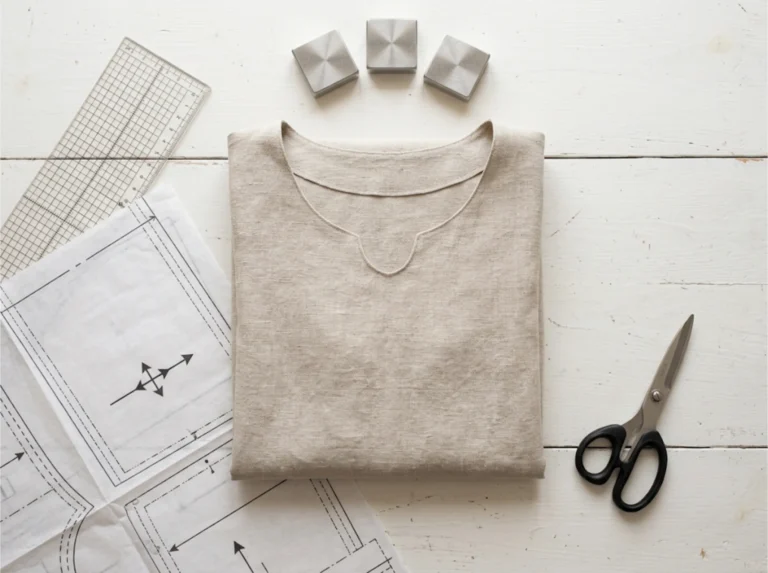
Here are the things you will need:
- Fabric (cotton satin for the sleeve pattern)
- Scrap fabric (for the cuff, you can choose your own design)
- Needle and thread
- Scissors
- Sewing machine
Instructions:
Step 1. Cut Two Pieces of Fabric

Cut two pieces of fabric for the sleeve and another two pieces for the cuff/interfacing. They should have exactly the same size of your sleeve. Don’t forget to put an extra length on the sides for the seam allowance.
Step 2. Cut a Slit on Both Pattern Piece
Opposite the front, put a slit on the end of the pattern piece and interfacing.
Step 3. Put the pattern piece and interfacing together
Put the interfacing on top of each pattern piece with the right sides together.
Step 4. Sew the top edge of the cuff
Sew the top edge of the cuff with a 1/2 inch seam allowance, and make sure to turn from where the slit is and stitch the top of it.
Step 5. Cut

Cut right on the top of the slit and on the corners.
Step 6. Turn right sides out
Turn the cuff rights sides out and iron it.
Step 7. Sew along the sides to lock or close
To lock or close all the way along the sides, put the right sides together of the cuff and sew along the sides.
Step 8. Sew the sides of the cuff right on the seam allowance
After sewing, iron the cuff. To make the cuff stay in place, look for the seam allowance of the cuff and sleeve on the sides. Pin it and sew.
Step 9. You’re done!

Turn the right sides out and you’re done. I suggest you watch the video for detailed measurements and an extra tutorial for another design of your cuff. Enjoy!
You can also watch the full video tutorial of Marina Brumpton from Frocks & Frolics Sewing Patterns:
Add this sewing project to your list. It’s super fun and easy. Use your creativity and choose the right pattern for adding cuffs to your sleeve. Just make sure your design will complement the color and design of your shirt. Well, I hope you liked and enjoyed this tutorial!
What do you think about this sleeve cuff sewing tutorial? Share your thoughts in the comments section below!
Up Next: How To Sew Your Old Jeans Into Comfy And Stylish Denim Shorts
Editor’s Note: This post was originally published in June 2016 and has been updated for quality and relevancy.