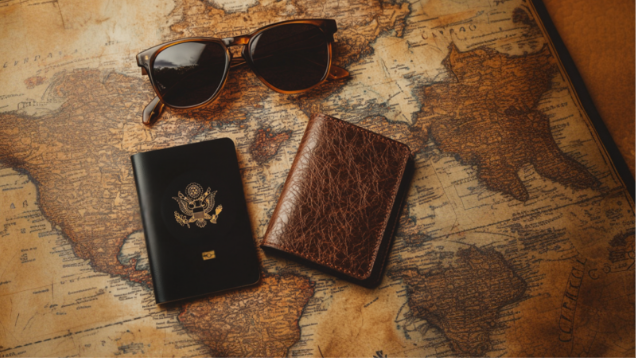

Traveling offers endless opportunities for discovery yet it also presents unique challenges. Safeguarding your travel documents is a must, and what better way to do so than with a DIY passport holder? Even better, youll only need 30 minutes to complete this project. Welcome to our comprehensive guide to sewing a chic passport holder in half an hour!
Step-by-Step Guide to Crafting Your DIY Passport Holder
This guide can help you turn basic materials into a sleek and functional accessory for securing your travel documents. Let’s get started!
Materials You’ll Need
Before starting the tutorial, gather the following materials:
- Fabric: This is for the holder’s exterior and interior.
- Interfacing: Medium-weight interfacing to give your holder some structure.
- Elastic: A small piece of elastic to keep the holder closed.
- Thread: A coordinating thread for sewing.
- Sewing Machine and Basic Sewing Tools: Basic tools include scissors, pins, and iron.
Step 1: Cutting Your Fabric
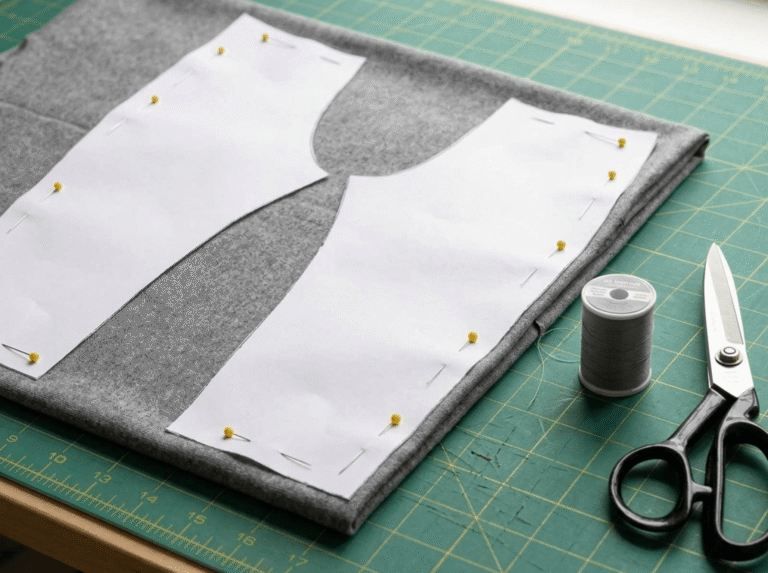
Start by cutting two pieces of fabric, one for the exterior cover and another for the interior design. Also, cut a piece of interfacing that measures approximately 10 inches by 6 inches. Then, cut two smaller pieces for the pockets, each about 5 inches by 4 inches. These pieces will form the foundation of your passport holder.
Step 2: Preparing the Pockets
Next, fold each pocket piece in half, keep the wrong sides together and press them with an iron. After that, topstitch along each pocket’s folded edge to create a neat finish.
Step 3: Assembling the Layers
Now, place the interfacing on the wrong side of the exterior fabric and press them together to bond. Lay the interior fabric right side up, then position the pockets on the interior fabric’s short ends to align the raw edges. The topstitched edges should face the center, ready to hold your passport securely.
Step 4: Adding the Elastic
Add the elastic by cutting a 6-inch piece and fold it in half to make a loop. Pin the elastic loop at the center of the exterior fabric’s one short edge. Make sure the loop faces inward. This acts as a closure for your passport holder.
Step 5: Sewing the Layers Together
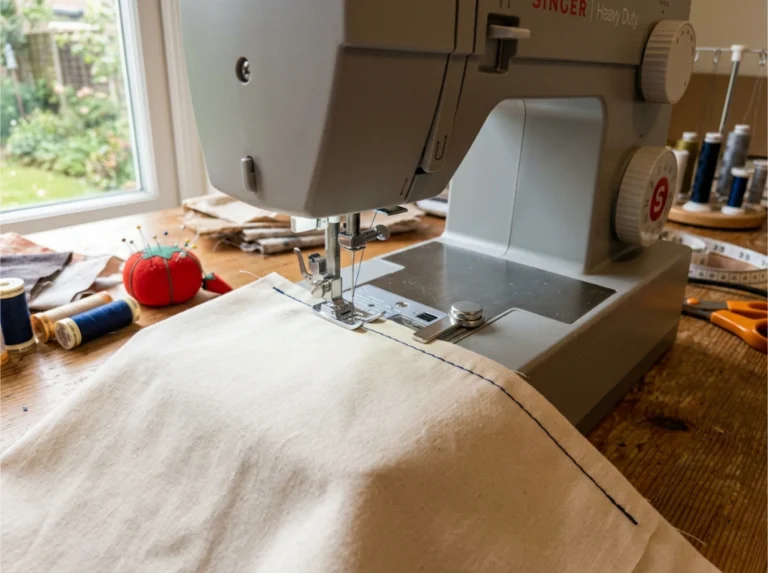
Place the exterior fabric (with interfacing) right side down on top of the interior fabric and pockets. Ensure the right sides of the fabric face each other. Pin the layers while leaving a 3-inch gap on one long side. Sew around the edges with a 1/4-inch seam allowance. Backstitch at the start and end but leave the gap unsewn.
Step 6: Turning and Finishing
Trim the corners to remove bulk, then turn the holder right side out through the gap. For a crisp appearance, use a pointed tool to push out the corners. Then, press the holder flat with an iron to smooth the edges. Finally, topstitch around the entire holder to secure the opening and give the piece a professional finish.
Personalizing Your DIY Passport Holder
Now that your passport holder is complete, it’s time to personalize it! Here are a few ideas:
- Embroidery: Before assembling, add your initials or a travel-themed design to the exterior fabric.
- Pockets: Add additional pockets or card slots to the interior.
- Fabric Choices: Use a fun print for the exterior and a vibrant color for the interior.
Tips for Success
Here are some key tips to help you achieve a flawless finish:
- Practice Makes Perfect: If you’re new to sewing, practice on scrap fabric before starting your project.
- Ironing: Use an iron to press your seams and edges. As you sew, this ensures crisp and clean lines.
- Measuring: Accurate measurements and cutting produces a professional-looking result. For precision, use a ruler and rotary cutter.
Wrap Up and Jet Off!
Crafting a DIY passport holder is a rewarding project that blends craftsmanship with practicality. Plus, you can protect your important documents while customizing your travel essentials. So gather your materials, follow our guide, and take pride in creating something fashionable and functional.
Looking for more creative travel hacks? Click here for more tips and tutorials that make every trip a breeze!