
Sewing machine tension problems can happen anytime while you are learning how to sew. It’s important to learn how to recognize the problem and fix it. It may seem daunting at first but you can do it! Keep reading for the steps.
Let’s learn how to address sewing machine tension issues with this basic tutorial. Explore your sewing machine and learn its quirks. Once you’re able to do that, troubleshooting will be a breeze.
Sewing Machine Tip: How to Adjust Sewing Machine Tension
A Guide to Nice and Tight Stitches
If you’ve noticed that your stitches aren’t coming out perfect (either they’re too tight or slack), it might be a problem with the sewing machine tension. Having the right sewing machine tension is vital to creating consistent stitches on both sides of the fabric.
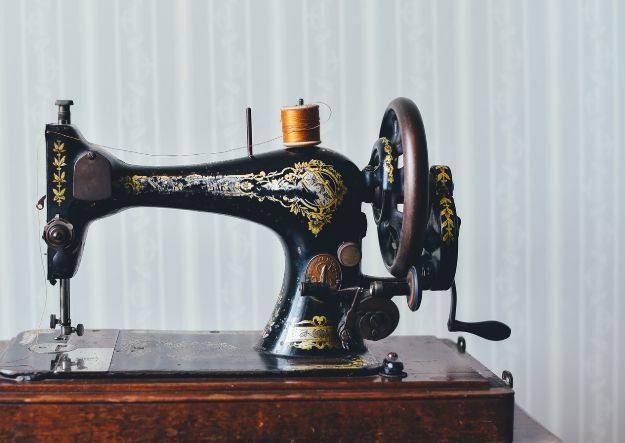
Adjusting the sewing machine tension is a task that even seasoned sewers don’t mess around with. It’s something usually left for skilled professionals, but a basic knowledge of this process will help you gain a better understanding of your machine and your stitches. A little practice with this method and you will be dealing with sewing machine tension problem like a pro.
Sewing machines usually have a tension knob that is numbered from 0 to 10. This varies from one sewing machine model to another. Ten is usually the tightest. The sweet spot is from 2 to 6. Finding out which number is best for your project is a three-step trial and error method.
Get ready, get set… sew!
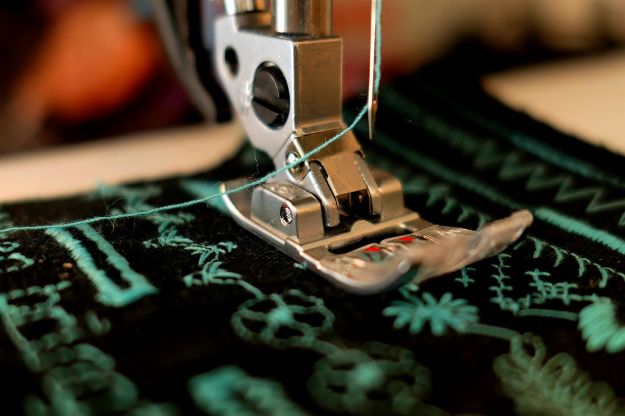
Step 1. Set up your sewing machine.
Before you begin, you need to set up your sewing machine and thread it properly. Check to make sure that the bobbin pin has been wound correctly. You need to do accomplish these tasks to ensure that these are not the causes of your sewing machine stitch tension problem.
Step 2. Adjust your tension knob
Now, put a piece a fabric under the presser foot. Run a stitch and evaluate the tension on it. If it is too tight, you will notice it on the front of the fabric. If it is too loose, this is more noticeable at the back. Based on this, adjust your sewing tension knob accordingly.
Step 3. Run a series of seam tests
After switching the tension, run another stitch again and evaluate what you see. Based on your findings you can continue to adjust the sewing tension knob until you find the perfect tension. This is usually in the middle part of the tension knob.
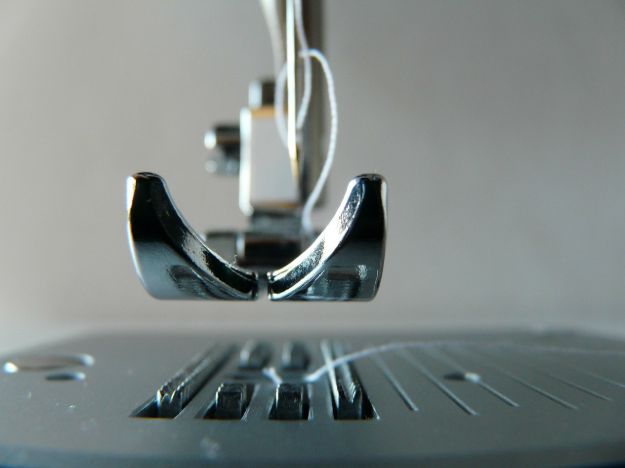
Let’s observe how TheHikingFool fixes her sewing machine tension problem in this video:
This is an exercise that requires patience. You will need to evaluate your stitches time and time again while adjusting the sewing machine tension knobs. You’ll know that you have found the golden combo when the stitches on the front have the same look and tension as the stitches on the back.
Now that you know how to fine turn your machine, I wish you luck and happy sewing!
If you have some tips on how to adjust sewing machine tension, please share them with me by leaving a comment down below.