
Start Here
Why Turn Old T-Shirts Into a Quilt?
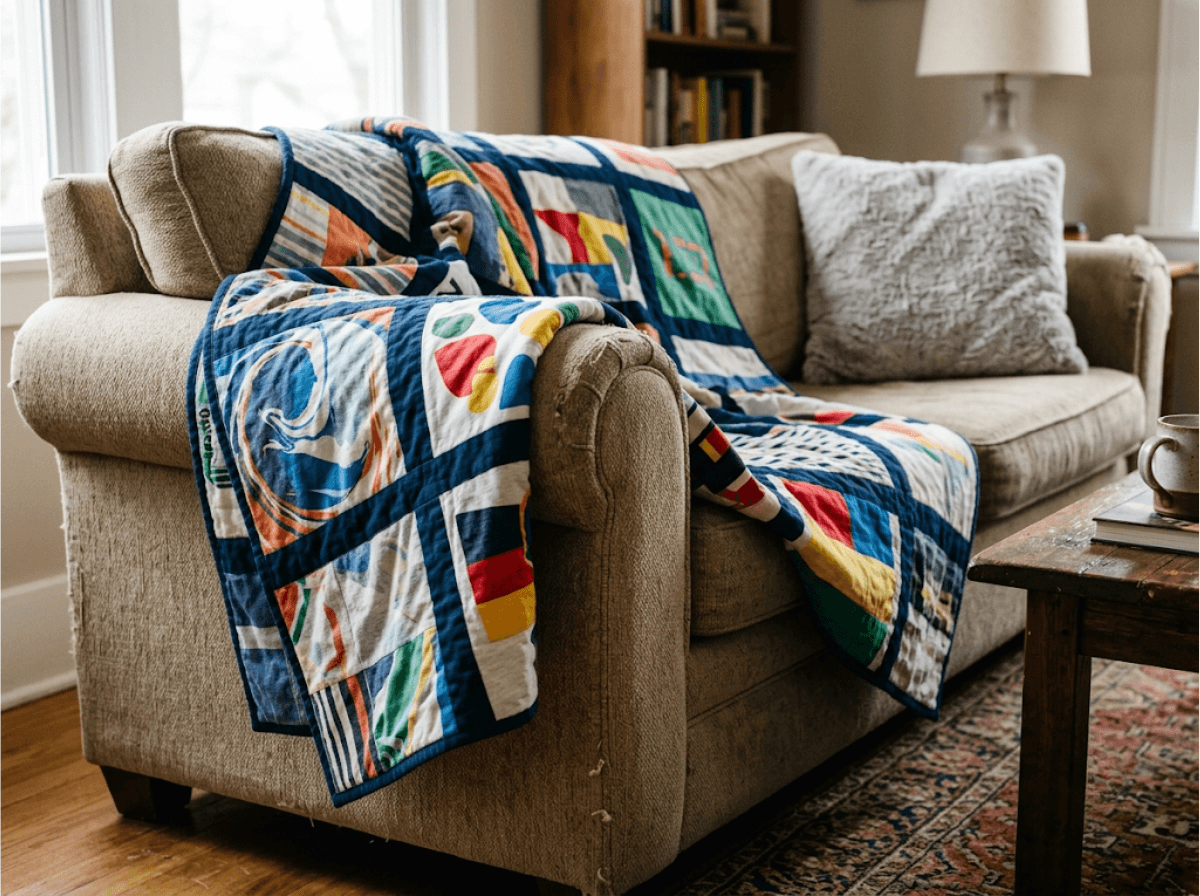
An upcycled T-shirt quilt turns shirts you can no longer wear into a blanket you will actually use. That box of shirts in your closet, the concert tee, the old team jersey, the race shirt, is not doing anything folded up in the dark.
This is not a quick weekend craft, and it should not be sold as one. Knit fabric behaves nothing like quilting cotton, and it takes real technique to keep it from stretching out of shape while you cut and sew. The payoff is worth the extra care: a properly built quilt holds up for years on a couch or a bed, instead of falling apart after the first wash.
This pattern assumes you already know how to thread your machine and sew a straight seam. If you have never used a sewing machine before, start with a beginner sewing machine guide and come back to this one once you have a completed project or two behind you.
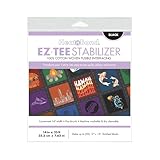
- For T-Shirt Quilts, Memory Quilts, Honor Quilts, College Quilts, Baby Quilts, Concert Quilts
- Make up to (20) 12” x 12” finished blocks. Note: Yield will vary with block size.
- 100% Cotton Woven Fusible; Pre-shrunk
- Available in: White for lights shirts & Black for dark shirts
- Machine washable and dry cleanable; Made in U.S.A.
What Materials Do You Need for a T-Shirt Quilt?
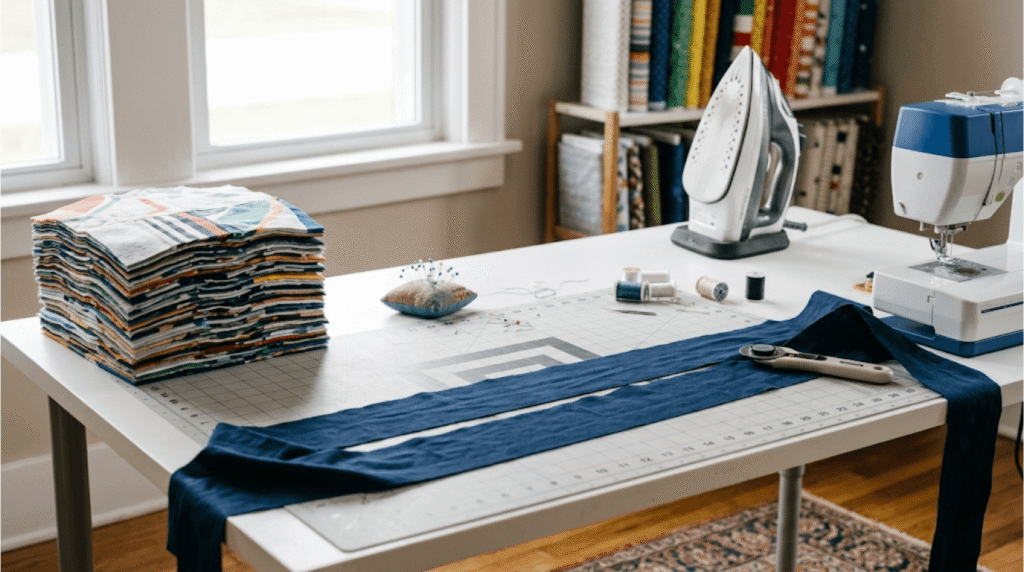
For a lap-size upcycled T-shirt quilt, plan on 12 to 20 T-shirts. A twin-size quilt usually takes 24 to 30. You will also need fusible knit interfacing, cotton fabric for sashing strips, quilt batting, a backing fabric or soft fleece panel, a rotary cutter, a self-healing cutting mat, a square quilting ruler, and a sewing machine. A walking foot is not required, but it makes the quilting step noticeably easier on thick, stabilized fabric.
None of these tools need to be expensive. A basic rotary cutter and mat from a craft store work fine for a first t-shirt quilt, and you do not need a specialty machine. Save the upgrade budget for a walking foot attachment if your machine takes one, since that single tool does more for quilting knit fabric than any other purchase on this list.
How Do You Stabilize Stretchy Knit Before Cutting?
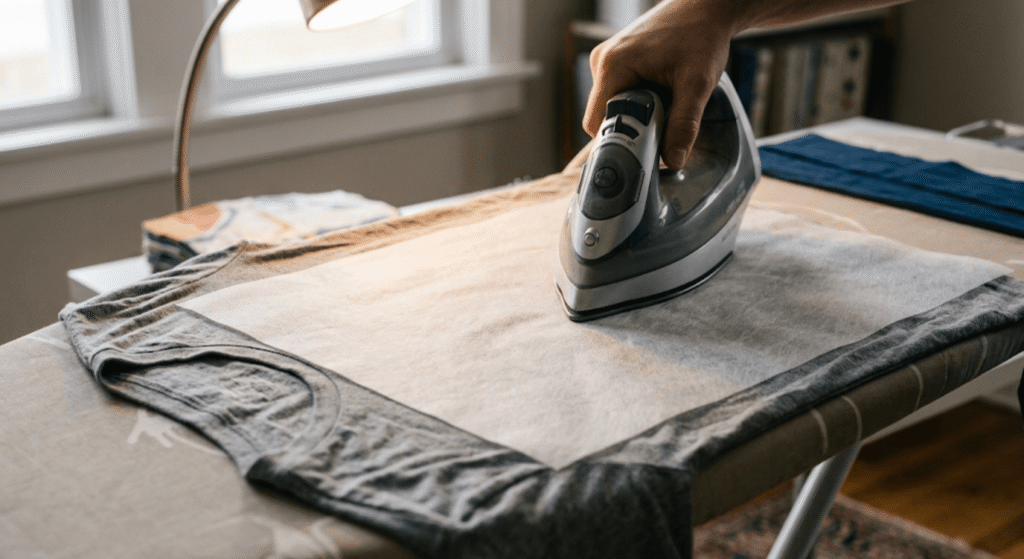
Stabilize before you cut. There is no fixing a stretched block after it is sewn into the quilt top. T-shirt knit stretches in every direction, and if you cut a block before stabilizing the fabric, that block will wave, pucker, and pull out of square once it is sewn into the quilt top.
Start by cutting the sleeves off each shirt and cutting up the side seams so the shirt lies flat. Lay the shirt face down on your ironing surface and press a piece of fusible knit interfacing onto the back of the fabric, using firm, even pressure. Do not slide the iron; lift and press instead, section by section. Let the fabric cool completely before you move it, since moving it while warm can shift the bond before it fully sets.
Skipping the stabilizer is the most common reason a t-shirt quilt block waves or puckers once it is sewn into the top. It is not a step you can add back in later.
How Do You Cut and Square Your Blocks?
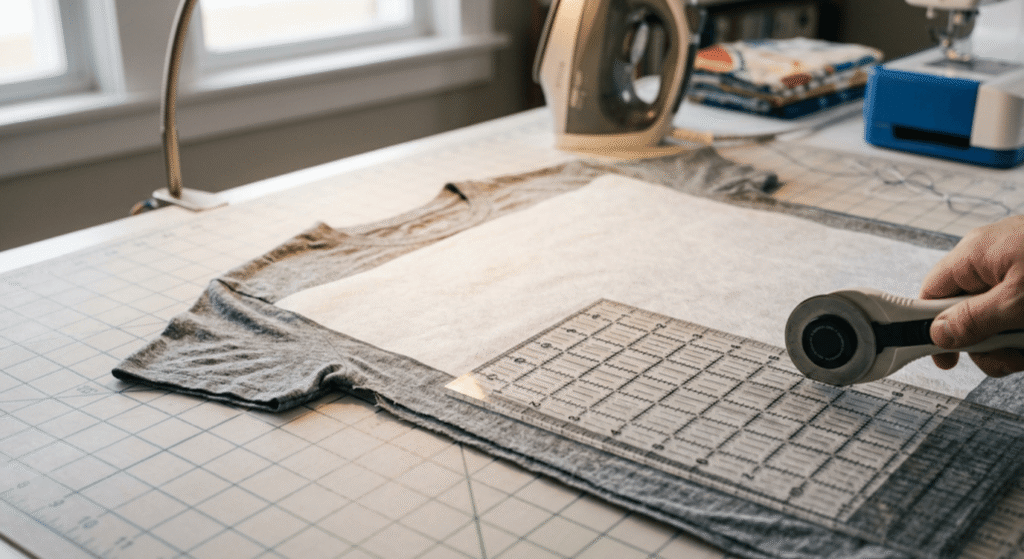
Once every shirt panel is stabilized, cut it down to your chosen block size. Most upcycled t-shirt quilt patterns use 12 to 14 inch square blocks, which usually captures a full chest graphic without wasting fabric around the edges. Center any logo or text carefully before you make your first cut, since you will not get a second chance at that placement.
Square every corner using your ruler, not just by eye. An out-of-square block will throw off your whole layout once you start joining pieces, and the problem only gets more visible as you add rows. One frustrated maker summed up the reputation this project has: “T-shirt quilts are awful to make. Awful.” That reputation mostly traces back to skipping the stabilizing step above, not to the project itself being unreasonably hard. (PatternReview.com)

- ALL-IN-ONE SEWING SUPPLIES AND ACCESSORIES KIT – Get the ultimate sewing cutting tool set! This kit includes a 45mm rotary cutter for fabric with 5 blades, a 9x12 rotary cutting mat for sewing, and a clear 6x12 sewing ruler for fabric. Use this fabric ruler and cutter set for quilting, sewing, crafts, and hobby projects.
- PREMIUM FABRIC ROTARY CUTTER SET – Top sewing tools and gadgets! The sewing rotary cutter features a replaceable 5 high quality SKS-7 extra blades.Ideal rotary cutters for fabric cutting and trimming paper, leather, vinyl, mesh, wood, foil, cardboard, wallpaper, and plastic. Our quilting rotary cutters are designed for smooth control and precise cutting results.
- HIGH GRADE QUILTING CUTTING MATS – Get superior precision! This 9"x12" self-healing sewing mat features 1" and 1/2" grids, 1/8" ruler marks, and 45/60 angles. Engineered with durable 5-ply PVC, this fabric cutter mat and rotary mat is the ultimate sewing cutting mat or quilting mat that helps protect blades from dulling. Plus, it doubles beautifully as a hobby mat, clay mat, or sturdy craft mat for a variety of creative projects.
- ACRYLIC RULER FOR CUTTING FABRIC – This 6"x12" acrylic ruler features bold black and yellow markings for easy visibility on light or dark materials.This clear sewing ruler includes 30°, 45°, and 60° angle guides for precise cuts, making it an ideal craft ruler and rotary cutter ruler. Perfect for sewing rulers and guides for fabric, quilting projects, and quilt cutting tools.
- SATISFACTION GUARANTEED – This is a excellent choice for sewing gifts, sewing accessories and supplies, and quilting enthusiasts of all skill levels. We build our products to last, giving crafters and quilters reliable sewing essentials for everyday projects. If the quality of our self healing mat, fabric cutter rotary tool, and quilters ruler set falls below your expectations, contact us and we’ll make it right.
How Do You Assemble Blocks With Sashing?
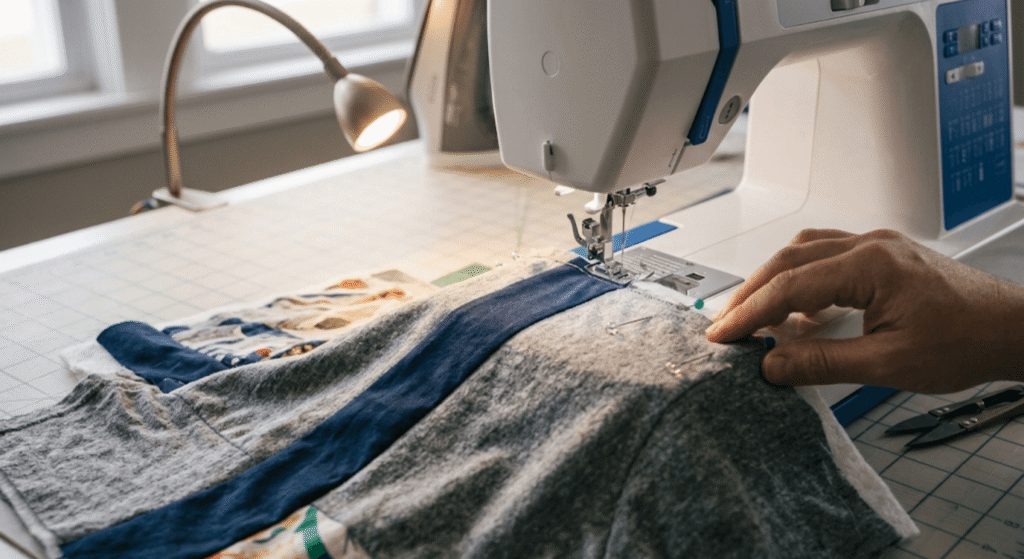
Cut sashing strips from your cotton fabric, typically 2.5 to 3 inches wide. Sashing is not a design choice. It is structural insurance, since it keeps the strain of construction off the stretchy knit seams instead of letting one shirt panel pull directly against another.
Sew a sashing strip between each block first, working in short seams, then join your rows together with longer horizontal strips. Press every seam toward the sashing fabric rather than toward the knit, since pressing the seam into the stretchier fabric can distort the block underneath. Quilters who have made several of these agree that sashing between blocks is what keeps knit seams from bearing the full strain of construction, and it also hides small variations between shirts of different weights. If this is your first pieced project, our beginner quilting patterns roundup has a few gentler starting points.
How Do You Layer, Baste, and Quilt It Together?
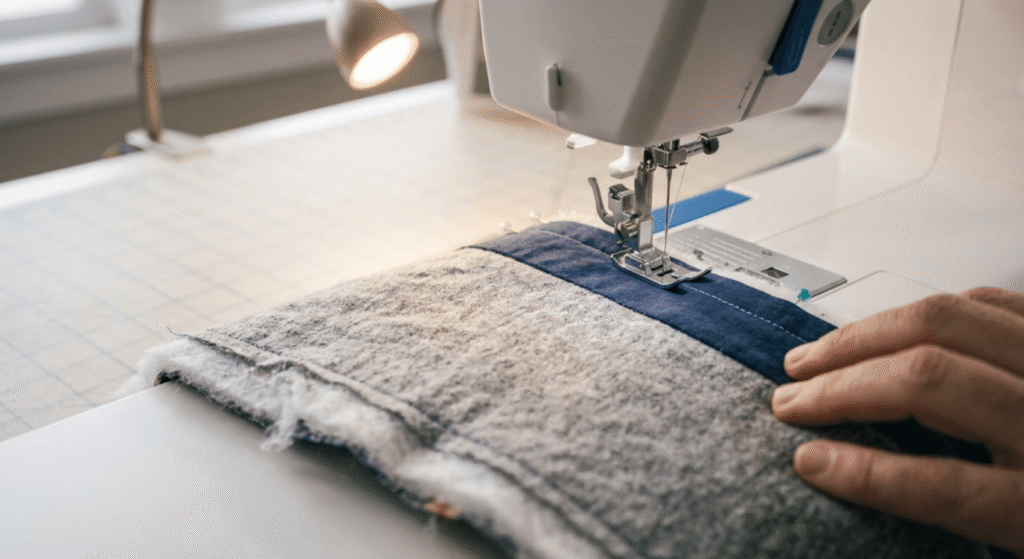
Layer your backing fabric right side down, your batting in the middle, and your pieced quilt top right side up on top. Smooth out every wrinkle before you baste, working from the center of the quilt outward with pins or basting spray, so the layers stay flat and even across the whole surface.
Quilt through the sashing seams, not through the knit panels. This is often called stitching in the ditch, and it keeps the needle line hidden inside the existing seam instead of adding a new line of stitching across stretchy fabric. Quilting directly over the shirt panels is one of the most common causes of puckering in a finished upcycled t-shirt quilt, and it is avoidable if you plan your quilting lines around the sashing grid from the start.
How Do You Bind a T-Shirt Quilt’s Edges?
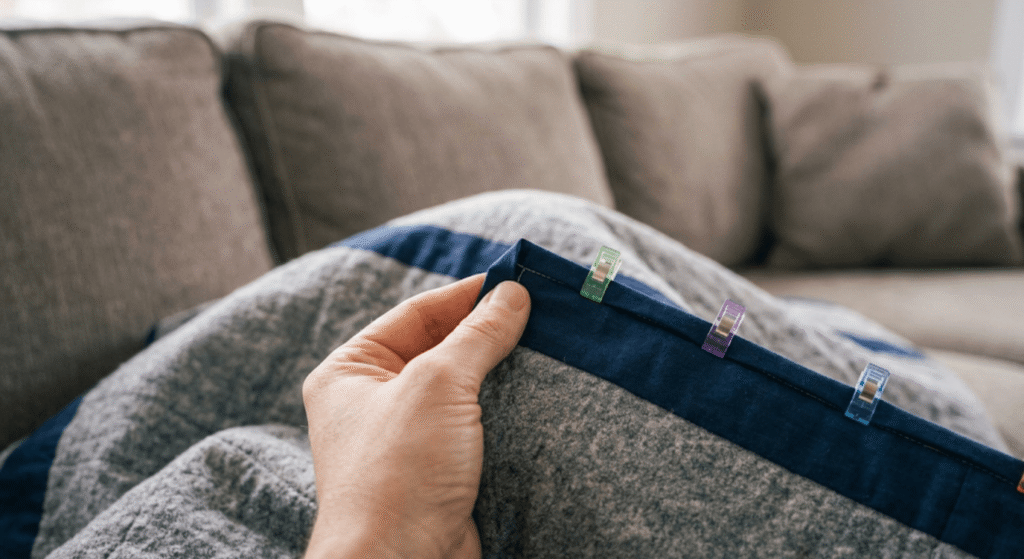
Trim the excess batting and backing so they sit flush with the edge of your quilt top. Cut your binding strips, sew them end to end into one long strip, fold the strip in half lengthwise, and press it flat.
Sew the folded binding to the front edge of the quilt first, then fold it over to the back and stitch it down, either by machine for speed or by hand for a cleaner finished look. Either method holds up fine on a well-stabilized upcycled t-shirt quilt, so pick whichever matches how much time you have left in the project.
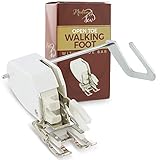
- HANDLE THICK FABRICS EFFORTLESSLY – The Madam Sew Open Toe Walking Foot for Brother sewing machine and others allows you to stitch multiple layers of fabric smoothly. Works perfectly with tricky materials like knits, minky cloth, and plaids, making it an essential walking foot singer sewing machine accessory..
- PREVENT FABRIC SHIFTING – Featuring a moving feed system, this walking foot sewing machine attachment holds multiple layers simultaneously, eliminating puckering and misalignment. A must-have for Brother quilting foot and Janome walking foot sewing machine users and other popular brands, ensuring professional-grade results.
- EXCEPTIONAL STITCHING VISIBILITY – The Madam Sew open toe walking foot for quilting and sewing provides a clear view of the stitching area, essential for stitch-in-the-ditch and top-stitching. Compatible with Brother sewing machine feet, it ensures precision and control for thick fabrics like leather and vinyl.
- COMPATIBLE WITH LOW-SHANK MACHINES – This low-shank walking foot fits most machines including Brother, Singer, Janome, Babylock, Kenmore, Husqvarna Viking, and more. It's ideal for sewing machine walking foot tasks like matching plaids, ensuring enhanced alignment, and eliminating fabric jams.
- MULTIPURPOSE SEWING TOOL – The Madam Sew walking foot simplifies top-stitching and stitch-in-the-ditch techniques on thick materials. Compatible with Brother walking foot attachment, Janome walking foot and other walking foot singer sewing machine attachments, it’s a versatile tool for quilting and sewing multiple layers.
Ready to Start Your Upcycled T-Shirt Quilt?
Stabilize first, cut second. That single rule decides whether this quilt lasts through a decade of washes or falls apart after one. Every other step in this pattern- the sashing, the quilting lines, the binding- exists to protect that first decision.
If you have a box of shirts waiting for this project, this is your sign to cut into them finally. Once you’ve got the stabilizing and sashing techniques down, they carry over directly into other pieced projects, like our vintage quilting patterns roundup. Download the full step-by-step pattern guide below and keep it open next to your machine while you work through each part.
Download the Free Upcycled T-Shirt Quilt Pattern Guide (PDF)
How to Make a T-shirt Quilt Tutorial from Fat Quarter Shop.
Frequently Asked Questions
-
How many t-shirts do I need for a t-shirt quilt?
For a lap-size quilt, plan on 12 to 20 shirts. A twin-size quilt typically needs 24 to 30. Count usable graphic or logo areas per shirt, not total shirts, since some shirts yield more than one block. Oversized shirts sometimes give you two blocks each.
-
Do I have to stabilize the shirts before cutting?
Yes. Skipping fusible interfacing is the single most common reason t-shirt quilts wave, pucker, or stretch out of square. Iron fusible knit interfacing to the back of each shirt panel before you cut a single block. This step takes time but prevents the fabric from shifting during sewing.
-
Can I use a regular sewing machine, or do I need a serger?
A regular sewing machine works fine. Use a walking foot if you have one, since it feeds the stabilized knit evenly and reduces puckering. A serger is helpful but not required for this pattern.
-
What if my t-shirts are different sizes and fabric weights?
That’s normal and doesn’t ruin the quilt. Stabilize every shirt the same way regardless of weight, then trim all blocks to one uniform size using a square ruler. Sashing strips between blocks hide small variations in the original shirt fabric.
-
My quilt top isn’t lying flat. What went wrong?
This almost always traces back to skipping or unevenly applying the stabilizer before cutting. Check whether interfacing was pressed with full, even heat across each panel. If a block is still loose, you can re-press interfacing on the back before final assembly.
-
Can I make a t-shirt quilt without a sewing machine?
Hand-sewing is possible but slow and less durable for a project this size, since knit seams need consistent tension. A tied quilt, where you hand-tie yarn through the layers instead of machine quilting, is a workable no-machine alternative for the quilting step.
-
How do I keep the quilt from stretching out of shape after washing?
Proper stabilizing before cutting is the main defense, plus sashing between blocks to take the strain off the knit seams. Wash the finished quilt in cold water on a gentle cycle and air dry or tumble dry low to limit further stretch over time.
Why did you vote that way? Drop your take in the comments.