Fast Facts
Related: Vintage Reproduction Apron Sewing Patterns
Most people who put off making an apron are not afraid of the apron. They are afraid of the word “pattern.” One maker described the idea of a pattern as intimidating, like complex charts and a pile of pieces that would never click together (Maria Sew, blog). That fear does not hold up here. This project is one rectangle, two ties, a strap, and a pocket. If you can guide fabric in a straight line, you can finish it in an afternoon.
Affiliate disclosure: This article contains affiliate links. If you buy through them, Sewing.com may earn a small commission at no extra cost to you. We only recommend tools we have tested in our own sewing room.
What Makes This Simple Apron Pattern Good for Beginners?

This simple apron pattern skips every part that scares new sewists: no zipper to line up, no buttonhole to fight, no fitted seam to ease. The whole thing is straight stitching with one gentle curve under each arm, so you build confidence on a finished object instead of a practice swatch.
You also walk away with named skills you will reuse: hemming a straight edge, attaching a strap, reinforcing a stress point, and adding a patch pocket. Those four moves show up in tote bags, pillowcases, and curtains, so this is a foundation, not a throwaway. Set honest expectations: one hour means active machine time after your fabric is cut and pressed, not a magic ten minutes.
What Do You Need to Sew a Simple Apron?
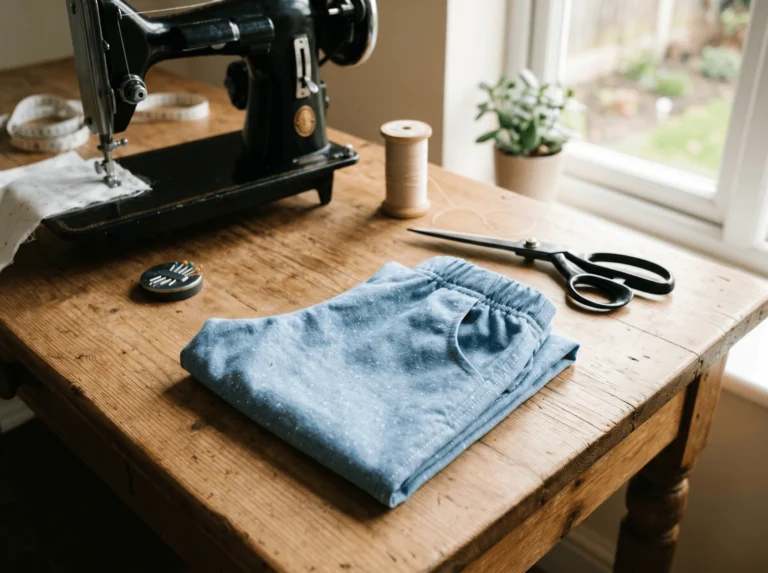
You need very little, and you can scale to your budget. The core list: one yard of mid-weight cotton, canvas, or linen, coordinating thread, pins, an iron, and a sewing machine.
Here are three ways to gather what you need for a simple apron:
- Stash and no-spend: Use an old cotton bedsheet, a thrifted tablecloth, or the legs of worn jeans. A large safety pin handles the ties.
- Starter kit (about $8 to $15): A small notions bundle with bias tape, pocket fabric, and ribbon.
- Upgrade (about $12 to $20): A pre-cut fabric bundle plus a loop turner that pays for itself the first time you make ties.
Pick a tightly woven, non-stretch fabric. Slippery or stretchy material shifts under the needle and frustrates beginners fast.

- Turn spaghetti straps, button loops, frog closures, string belts and much more
- Latch-hook end catches fabric to pull it through bias tubing
- Made of wire, hooked end grabs and hangs on to fabric as you pull
How Do You Cut and Sew a Simple Apron Step by Step?
Work through these five steps in order, and each one names what you build plus how to recover if it goes sideways.
-
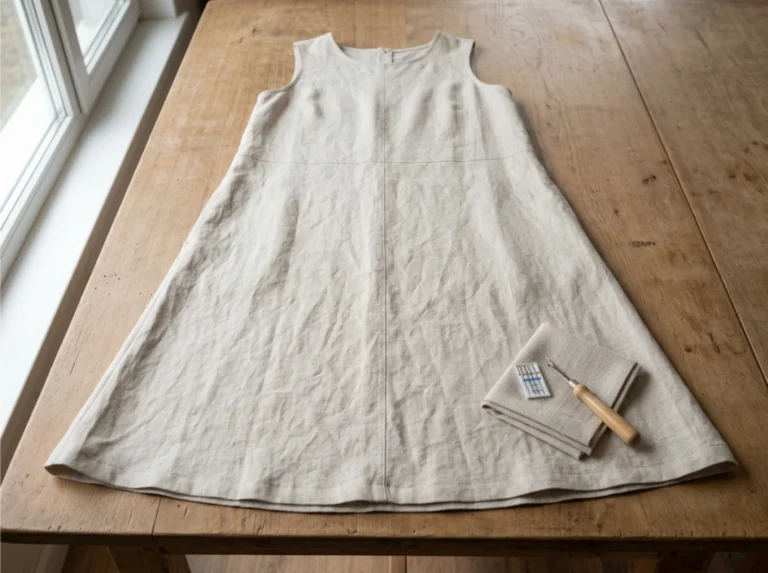
Step 1. Cut the body and curve the underarms.
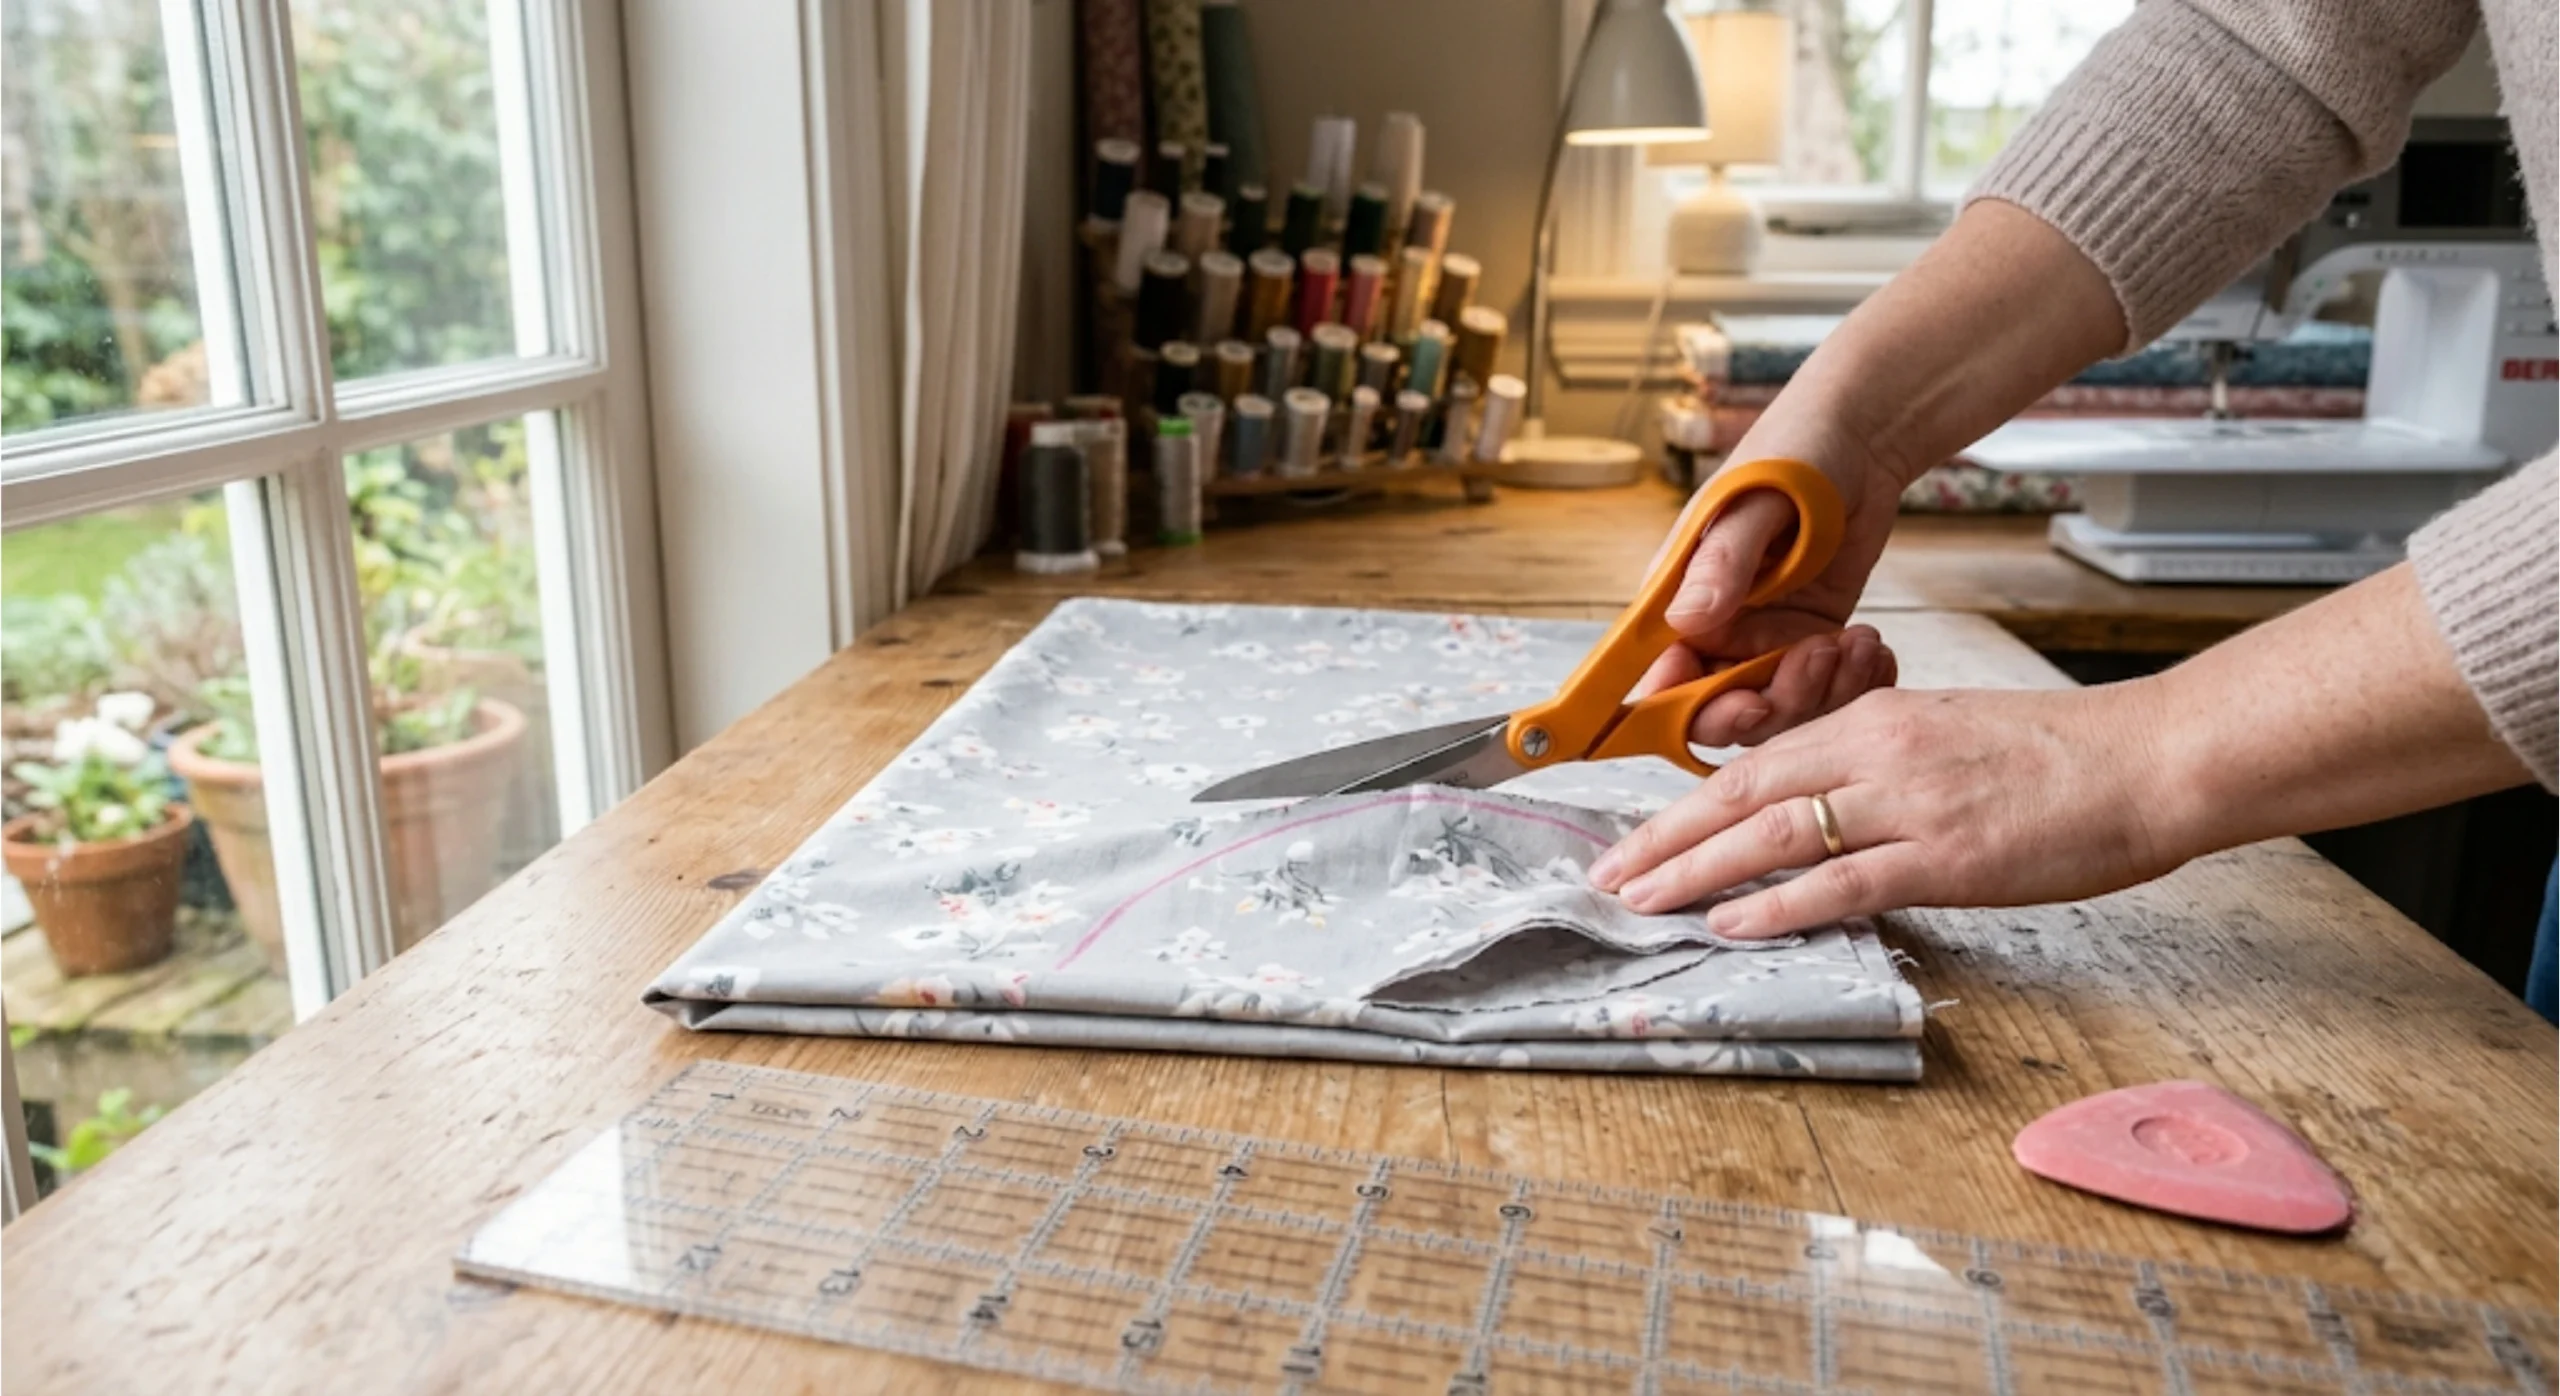
Cut one rectangle roughly 32 inches tall by 27 inches wide. Fold it in half lengthwise, mark the neckline width at the top, then draw a soft curve from the upper sides inward for the armholes and cut. Fix-it: clip small notches into the curved seam allowance before you hem it, or the curve will pucker and refuse to lie flat.
-
Step 2. Hem every edge.

Fold each raw edge under a quarter inch, press, fold again, and topstitch. Do the straight sides first, then the curves. Fix-it: shorten your stitch length on the curves and pause with the needle down to pivot, which stops the puckering most beginners hit here.
-
Step 3. Make the ties and neck strap.
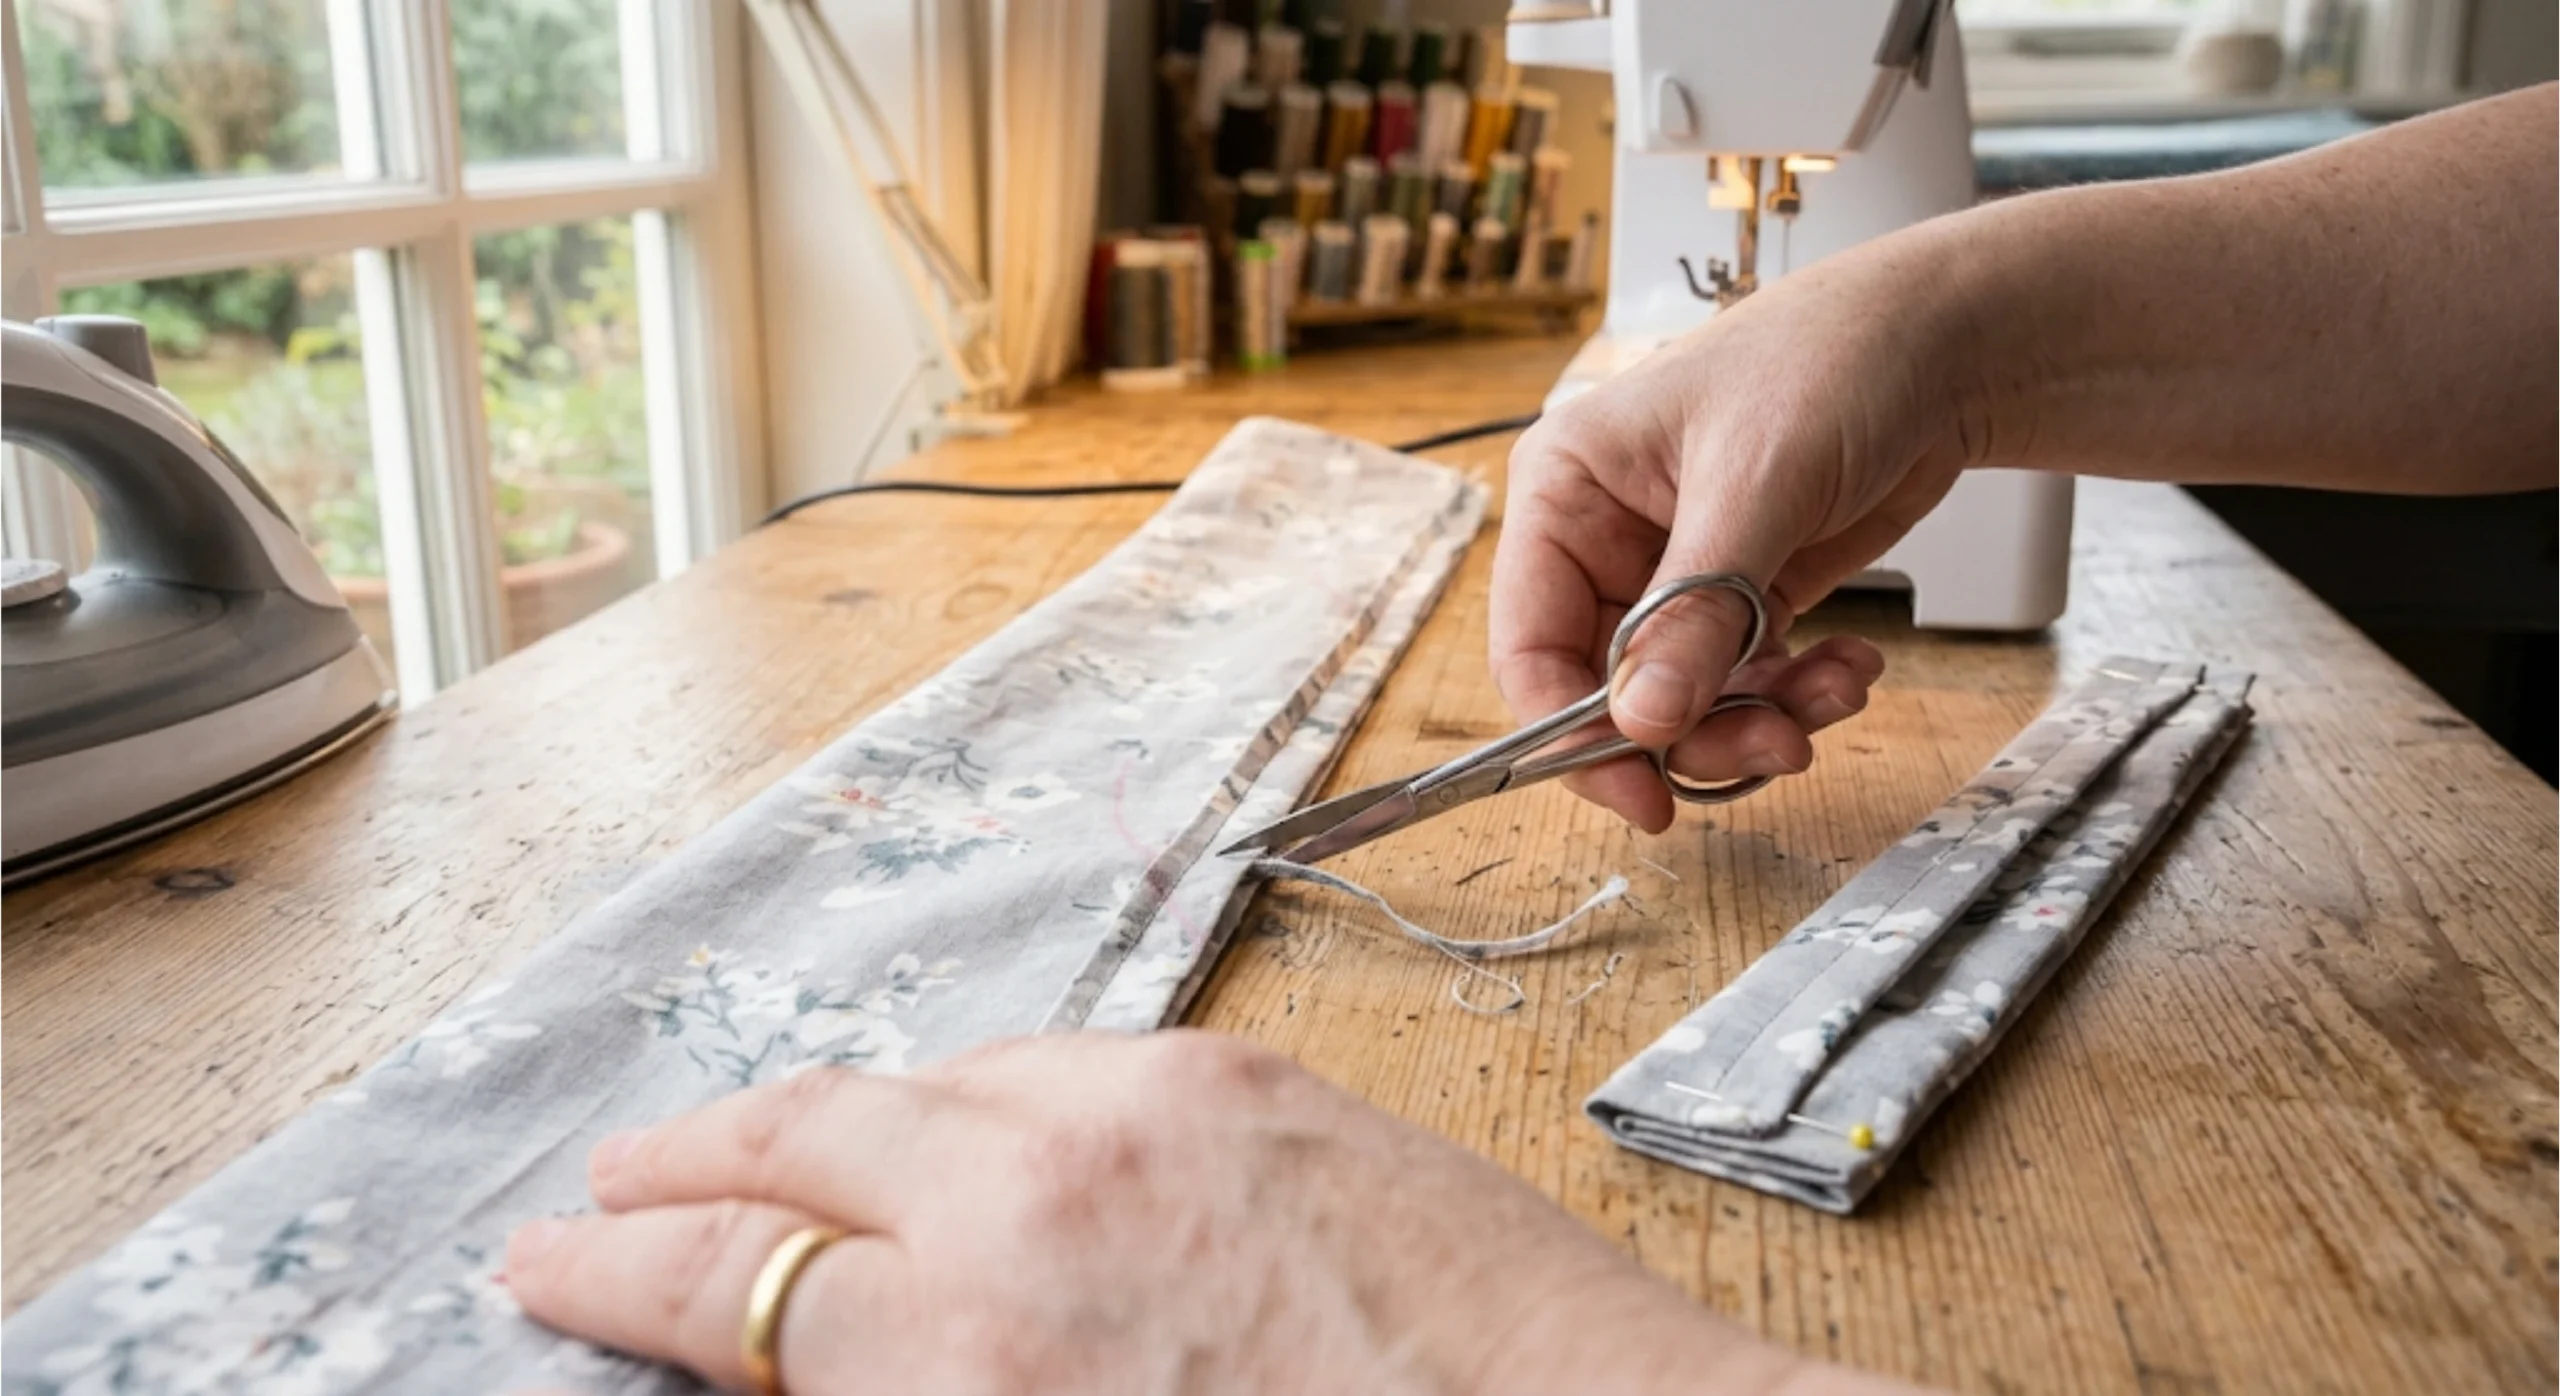
For each piece, fold the fabric strip in half lengthwise with right sides together and stitch the long edge. You will turn these or topstitch them in the next section. Fix-it: trim the seam to a steady quarter inch and press the tube flat before turning, which is the single best cure for ties that twist.
-
Step 4. Attach the straps with a reinforced stitch.
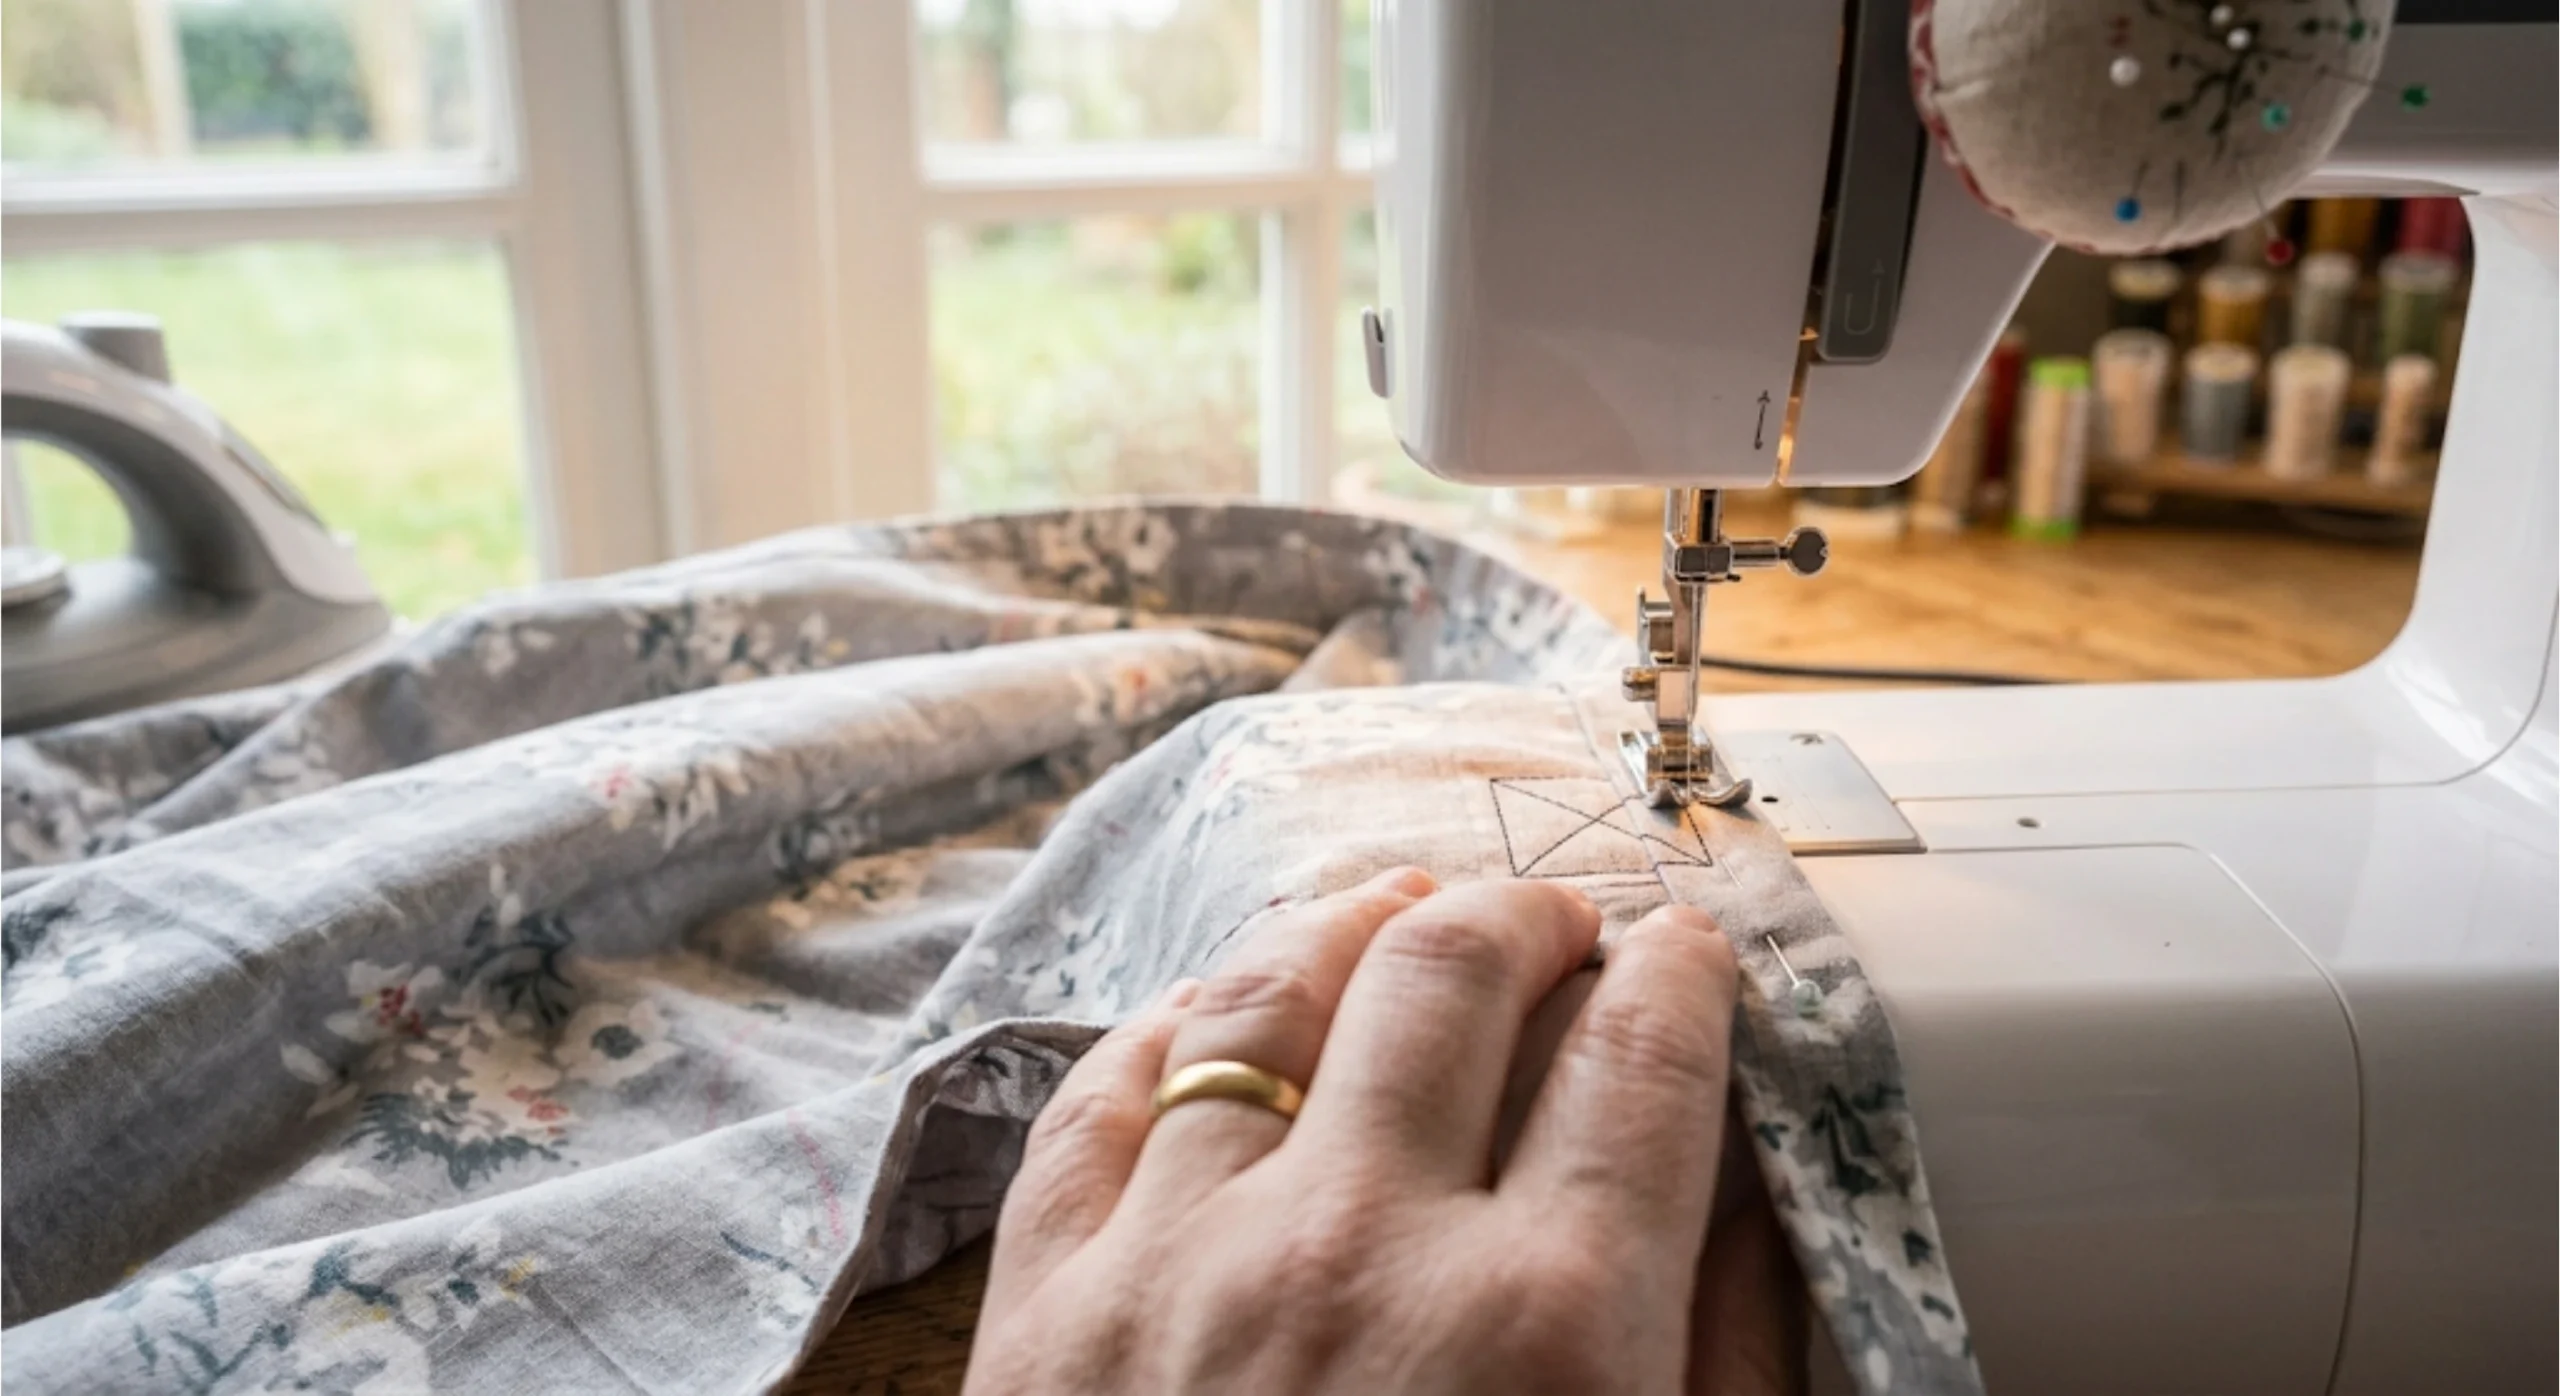
Pin the tie ends to the sides at the waist and the strap to the neckline corners. Stitch a small square, then sew an X inside it so the joins last through years of tying and pulling. Fix-it: backstitch firmly at each join, and if you are sewing by hand, use doubled thread at these four points.
-
Step 5. Add the pocket.
Hem the top edge of a fabric square, press the other three edges under, center it on the apron, and topstitch down the sides and bottom. Fix-it: hem the pocket top before you attach it, or the opening will gape and fray after a few washes.

- Comes with (24) 3-yard packages of extra wide Wrights double fold bias tape, including 3 packages of each color: yellow mini gingham, pink mini gingham, multi-colored gingham, floral, blue ticking, daisies, yellow poppies, and pink poppies.
- Each double fold bias tape is 1/2" and are 100% cotton.
- Our double fold bias binding tape is great for binding thicker fabrics along straight and curved edges or as a bolder color accent on apparel and craft projects, and is designed to be visible on both sides of a project or garment.
- Use this Wrights bias tape for sewing, springtime gifts and crafts, quilts, placemats, aprons, table runners, as a simple strap or tie for bags, or to bind necklines, hems, and clothing.
- Designed to be stretchy so it perfectly binds to both straight and curved edges.
Do You Have to Turn the Ties Right Side Out?
No, and this is the step where most first aprons get abandoned. Turning a long, narrow tube right side out is the part maker’s dread. One sewist confessed to digging for half an hour with an eyebrow plucker to turn a single tie (Professor Pincushion, forum). Another said she left a project sitting for a month because a tie would not cooperate (the thread, blog).
So choose your finish on purpose. If your finished tie is wider than about an inch and a half and you want a crisp, rounded edge, turn it: trim, press, and pull it through with a loop turner or safety pin. If your tie is narrow, or this is your first apron, skip the turn entirely. Fold the raw edges in, press, and topstitch both long sides. One maker laughed that she never thought to simply press under and topstitch instead, and wondered what planet she had been on (PatternReview.com). That topstitched tie is a real finish, not a shortcut to apologize for.
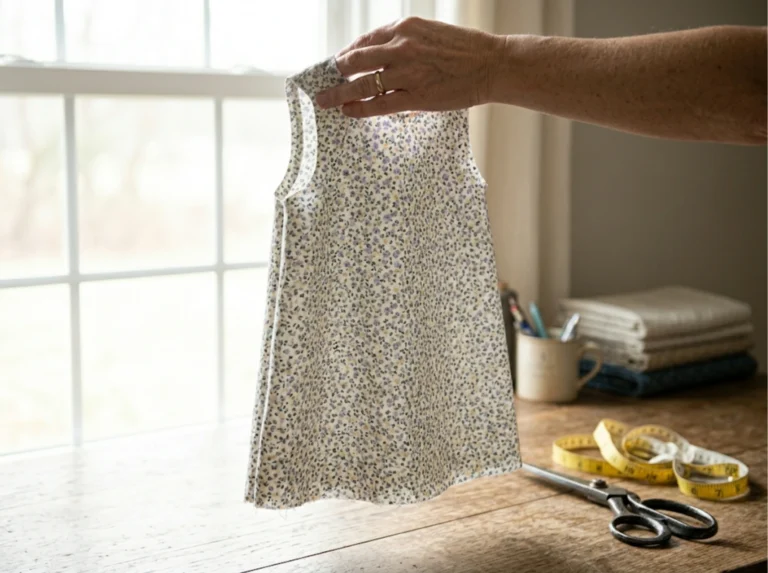
How Do You Make a Simple Apron Fit Any Body?
A simple apron is forgiving, but a few numbers make it fit any body better. For a taller person, add length to the main rectangle before cutting. For a fuller frame, add four to six inches to each waist tie so the ties wrap and knot comfortably rather than pulling at the sides. For broader shoulders, lengthen the neck strap by two to three inches.
The safest move is a quick scrap mock-up held against the body before you cut your good fabric. Coverage and tie length are personal, and checking first costs nothing.

- Extra wide double fold bias tape
- Made of 55 percent polyester and 45 percent cotton material
- It's great for binding straight or curved edges or as a color accent on apparel
- Colorfast and needs no ironing
- Available in white color and measures 3-yards length by 1/2-inch width
How Can You Personalize Your Simple Apron?
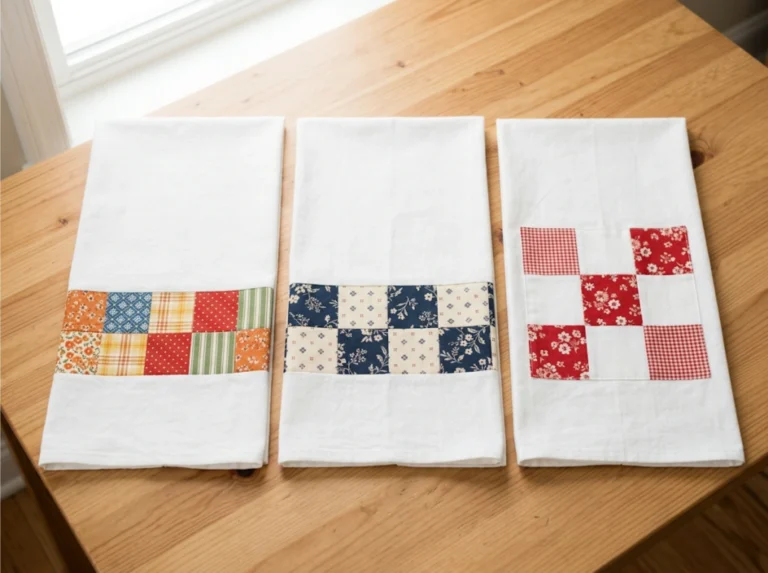
This is where a plain project becomes a gift someone keeps. Stitch a monogram on the pocket, cut the pocket from a bold contrast fabric, or swap fabric ties for soft cotton webbing. A print that matches the recipient’s hobby, coffee, gardening, or baking, turns a simple apron into something personal. For summer entertaining and housewarmings, a coordinating set of two reads as intentional rather than last-minute.
How Long Does It Really Take to Sew an Apron?
Plan on about one hour of active sewing, plus fifteen to twenty minutes to cut and press first. By hand, expect two to three hours. Tutorials that promise a ten-minute apron usually only time the final seams and skip the cutting, pressing, and tying work. Trust the clock, not a number that was never honest.
No products found.
Ready to Sew Your First Simple Apron?
You now have everything to finish a simple apron in a single sitting: the shapes, the steps, the fix-its, and two ways to handle the ties. The point is not a flawless object. It is a finished one in your hands today, because a completed apron teaches you more than a perfect one you never started. Download the free PDF, pick your fabric, and make the first one for yourself before gifting one.
Download the free Simple Apron PDF here
Check this video from Tailoring Joy.
Frequently Asked Questions
-
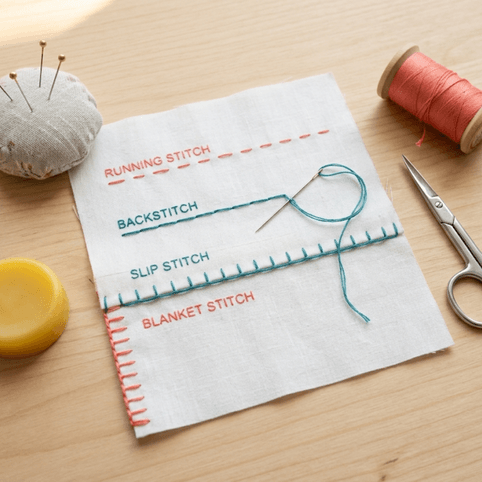
Can I make a simple apron with just a needle and thread?
Yes. A simple apron is mostly straight seams, so a sturdy backstitch by hand holds fine. Expect two to three hours instead of one, and use doubled thread at the tie and strap joins, since those spots take the most pulling stress over time.
-
What fabric can I use if I do not have cotton or canvas?
Any tightly woven, non-stretch fabric works: a cotton bedsheet, a thrifted tablecloth, or old denim from jeans. Avoid slippery or stretchy material, which shifts under the needle. Mid-weight is the sweet spot, since thin fabric soaks through and thick fabric is hard to hem cleanly.
-
Why does my thread keep bunching into loops underneath the fabric?
That nest of loops underneath almost always means the top thread is not seated in the tension discs, not a bobbin fault. Raise the presser foot, re-thread the machine from scratch with the foot up, and test on a scrap. Re-threading fixes most sudden stitch trouble.
-
Can I cut the apron now and finish sewing it later?
Yes, and it is a smart way to fit the project into a busy week. Cut all pieces, label them with a sticky note, and store them flat in a folder or zip bag so the edges do not fray. Pressed, pre-cut pieces sew up faster when you return.
-
How do I wash and care for a handmade apron?
Wash a finished cotton or canvas apron in cold water on a normal cycle and tumble dry low. Press it while slightly damp for the crispest look. If you used a bold print, wash it inside out for the first few cycles to protect the color from fading.
-
Do I really need a printed pattern to sew an apron?
No. An apron is built from simple rectangles and one gentle curve, so measurements alone are enough. A printed pattern or PDF helps you skip the math and cut faster, but it is optional. Many makers trace a store-bought apron they already like and copy its shape.
-
Should I make one long tie or two separate ties?
Two separate waist ties are easier for beginners than one long sash, because shorter pieces are simpler to turn or topstitch and to attach. One continuous tie threaded through a casing looks sleek but adds steps. For your first apron, use two ties and reinforce each join.
Why did you vote that way? Drop your take in the comments.