
Quick Look
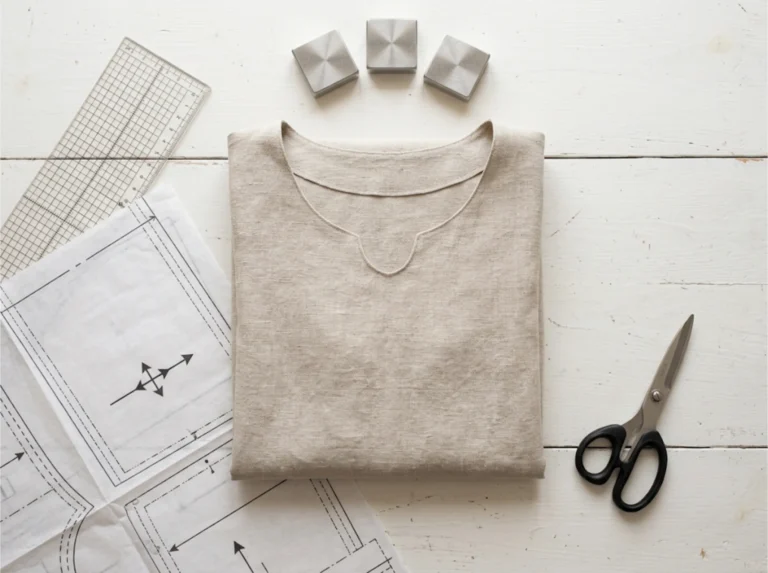
A girls dress pattern is a printed or digital template showing where to cut fabric and how to sew the pieces into a finished dress. Beginner-friendly patterns have three to five pieces, no zipper, and a pullover or tie closure. Before cutting, measure the child’s chest, waist, and shoulder-to-hem length. Sizes vary by brand. The measurement outperforms the envelope label.
Related: Girls Sundress Patterns That Actually Work
The number on the front of a commercial pattern envelope is not the child’s size. It is the finished garment measurement, assigned to a size label using a grading chart that may not have been updated in decades. One maker described her approach at PatternReview.com (https://sewing.patternreview.com/SewingDiscussions/topic/116792): she stopped trusting size labels entirely and instead measures a piece of clothing that already fits the child before selecting any pattern size.
That single adjustment, measuring before selecting, solves most of the fit problems that cause beginners to abandon girls dress patterns after one failed attempt.
This article covers how to choose girls dress patterns that match how a child is actually built, which pattern types are manageable for a beginner, which fabrics hold up through repeated washing, and how to sew a dress from cut to hem in a logical sequence. For more styles to choose from, see the full collection of girls dress patterns and free toddler clothing patterns on Sewing.com.
Which Girls Dress Patterns Work Best for Beginners?
The easiest girls dress patterns for beginners have three to five pattern pieces, no zipper, and a pullover or tie closure that removes fitting pressure from the first project entirely.
Before starting: you should be able to sew a straight seam, start and stop with a backstitch, and read the seam allowance markings on a pattern piece. If any of those three are unfamiliar, spend one session on a simple pillowcase or straight skirt first. That is not a delay. It is the preparation that makes the dress go right.
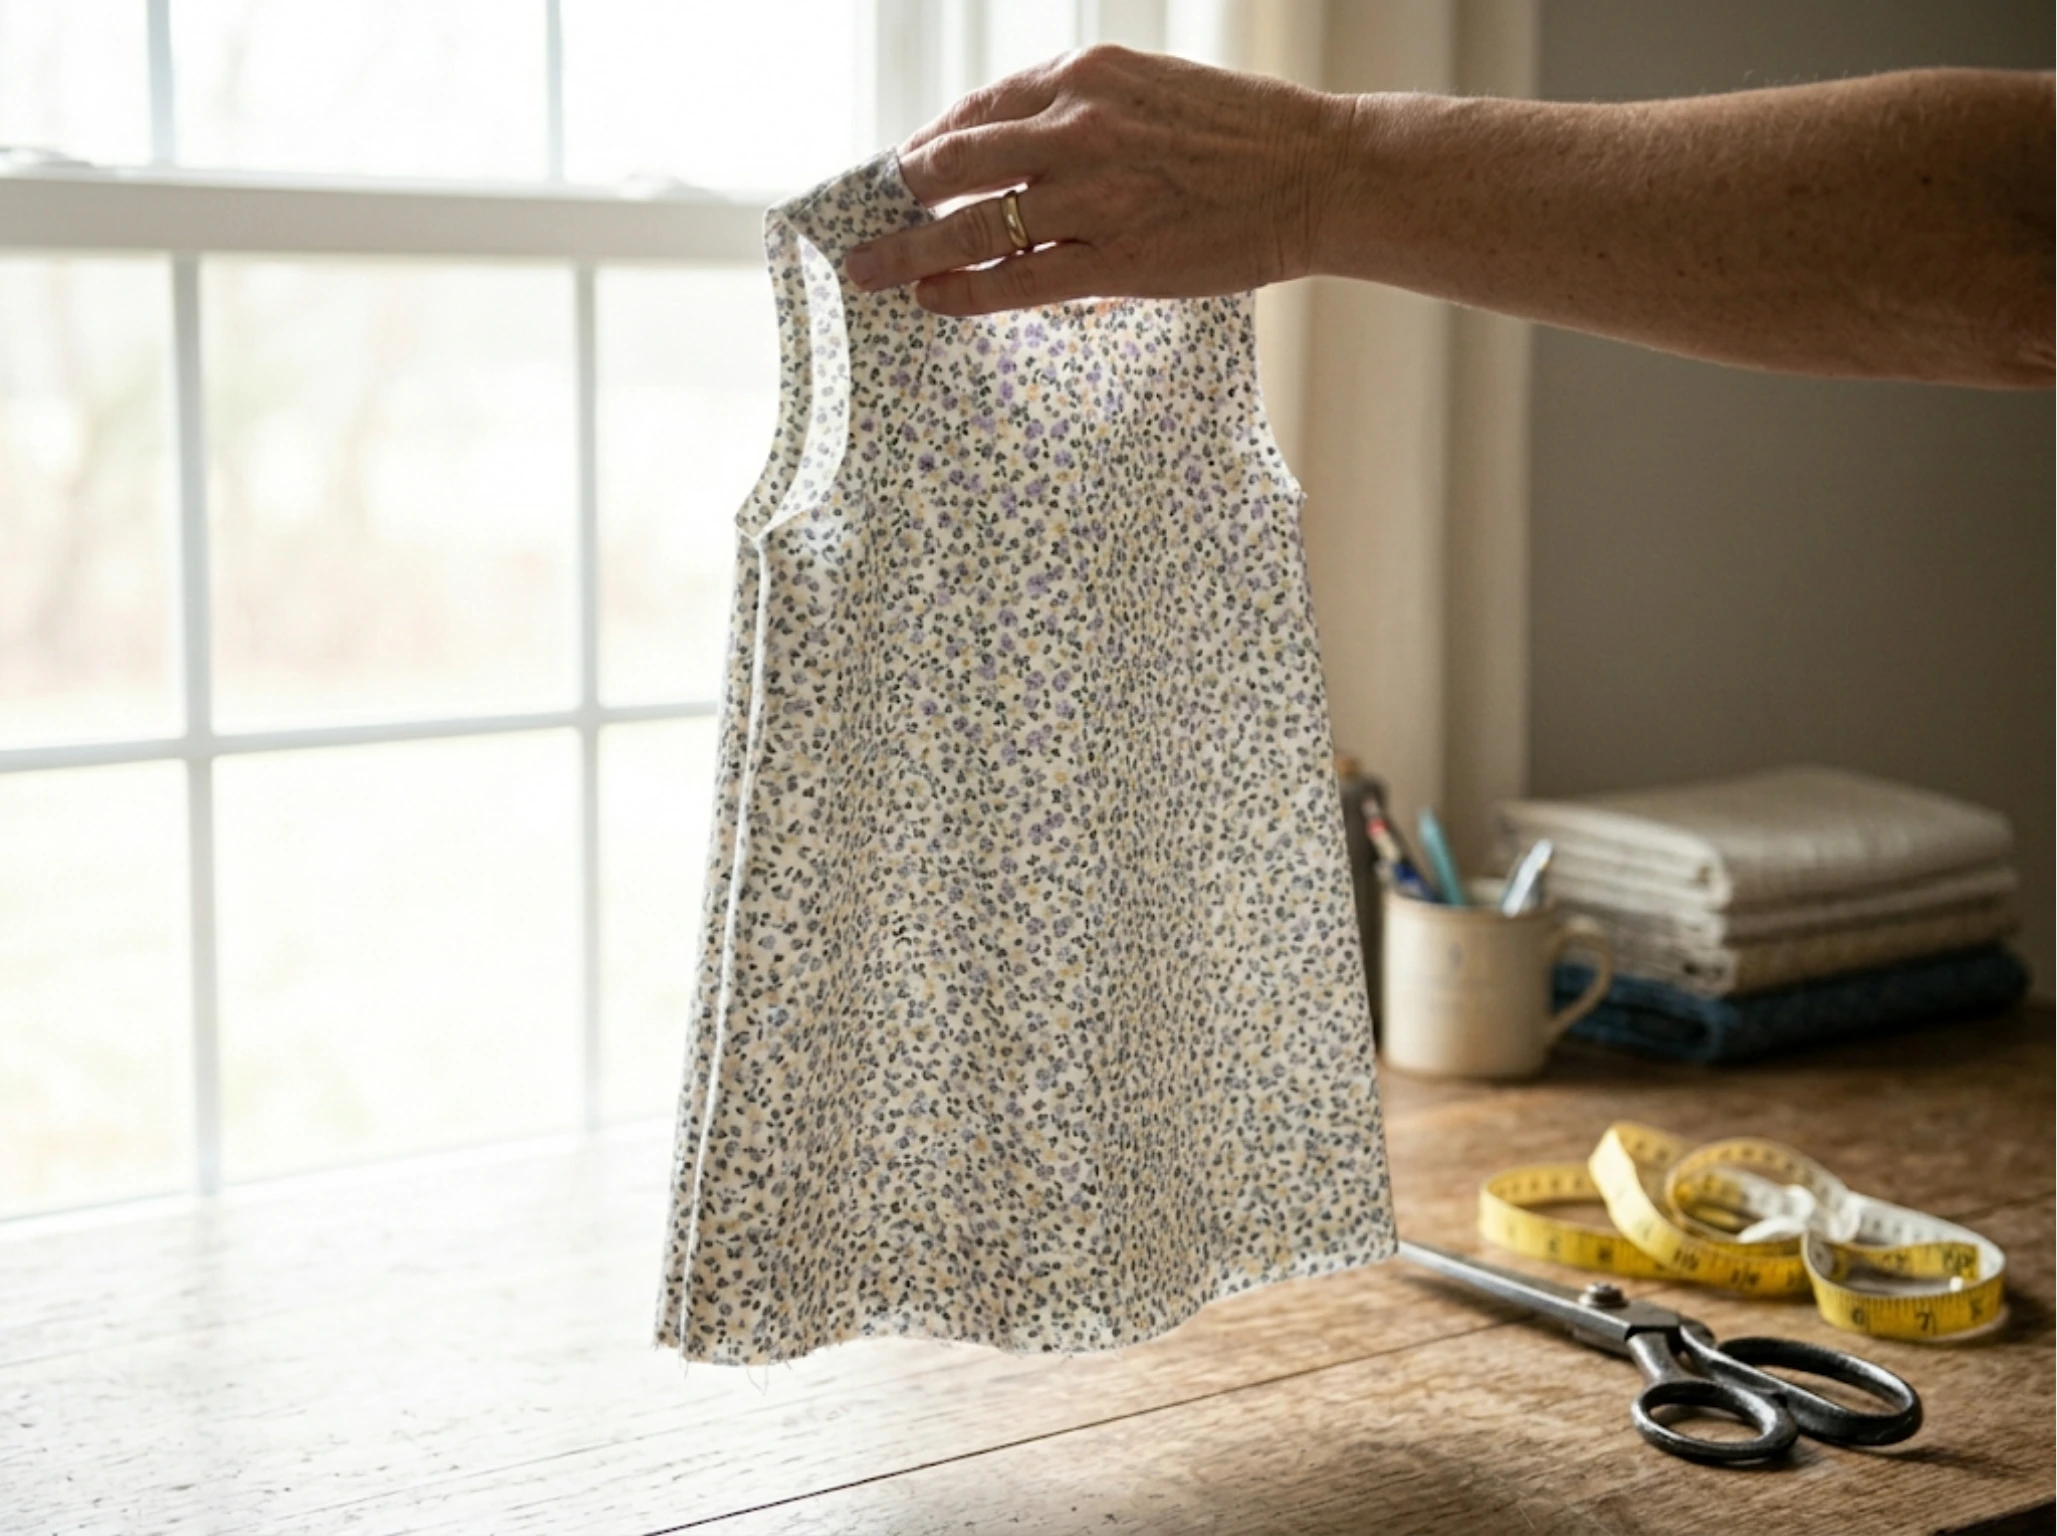
Pullover shifts, pillowcase dresses, and tie-shoulder knot dresses are the right entry point. They use three to five pattern pieces. They have no zipper, no button placket, and no faced neckline. The silhouette is forgiving enough that small variations in seam placement do not ruin the finished garment.
One community roundup at Sew Modern Kids (https://sewmodernkids.com/free-girls-dress-sewing-patterns/) described what makes a tie-shoulder knot dress useful for beginners: it has ties at the shoulders instead of a zipper or button closure, which removes one of the trickiest construction steps entirely.
The next level up is a gathered-skirt dress with a waistband seam and an elastic casing. That is a four-to-five-skill project. Save it for after you have finished one dress at the entry level. Smocked bishop dresses, princess-seam bodices, and invisible zippers are not beginner girls dress patterns. They require fitting knowledge and construction experience that take time to build.
Fix-it note: If the dress pulls at the shoulders and rides up at the hem, the armhole was cut too small or the seam allowance was not maintained consistently at the shoulder seam. Re-check that measurement before resewing.
How Do I Measure a Child for a Dress Pattern?
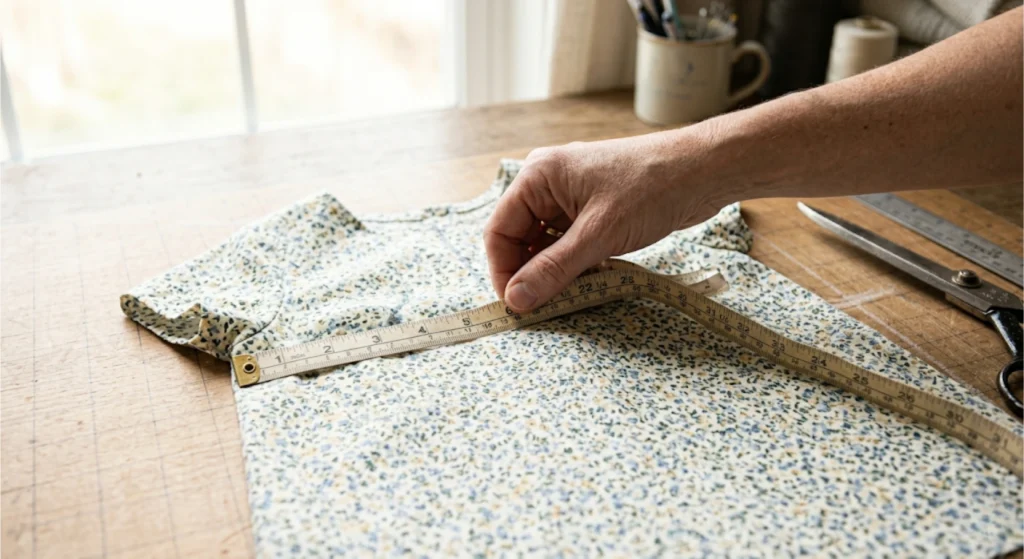
Measure chest circumference, waist circumference, and shoulder-to-hem length before selecting any size, then compare all three to the finished garment measurements printed inside the pattern, not to the size label on the envelope.
- Chest: Measure around the fullest part of the chest with the tape parallel to the floor. Do not pull the tape tight. One extra inch of ease is already built into most girls dress patterns, but you need the true measurement to select accurately.
- Waist: Measure at the natural waist, the narrowest point above the hip. For children under age four, this number will be close to the chest measurement.
- Length: Measure from the top of the shoulder straight down to the desired hem point. This is the measurement most often skipped, and skipping it is the source of most “it came out too short” complaints in girls dress patterns.
A community member at PatternReview.com put it directly: “If in doubt, size up. They keep growing.” (https://sewing.patternreview.com/SewingDiscussions/topic/116792) Sizing up at the chest is recoverable. A dress that is too short has no easy fix.
Many children are narrow through the chest but tall through the torso and legs. This is normal and requires grading between two sizes on the pattern. Draw the smaller size cutting line from the shoulder to the underarm, then taper smoothly to the larger size line at the waist. Grading between sizes is a standard adjustment for girls dress patterns, not an advanced technique.
Fix-it note: If the finished dress is too short but fits well through the chest and waist, add length at the hem only. Do not cut into the bodice. Next time, measure shoulder-to-hem on a dress that already fits the child and add that number to your size selection checklist.
How Do I Measure a Child for a Dress Pattern?
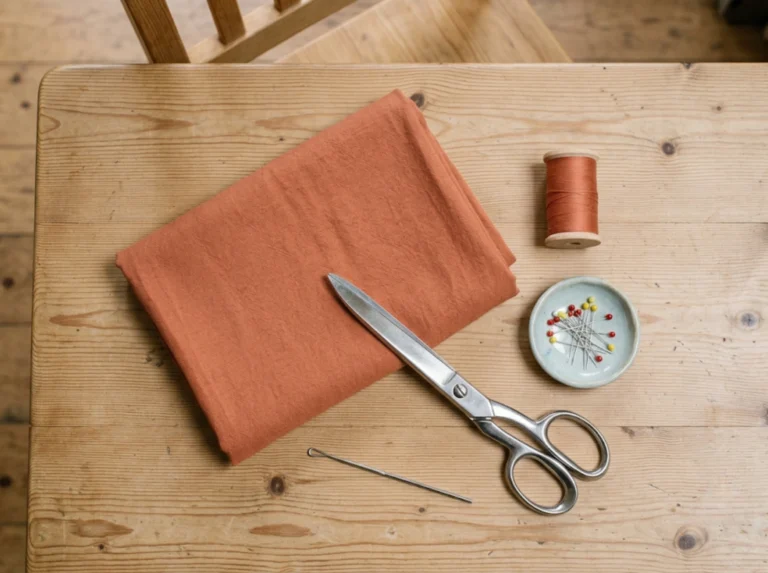
Quilting cotton and cotton lawn are the most forgiving woven fabrics for children’s dress construction because they press crisply, hold their shape, and survive repeated machine washing without special handling.
- For pullover shifts and A-line girls dress patterns: Quilting cotton (44 to 45 inches wide), cotton lawn, or chambray. All press well, fray predictably, and are easy to cut accurately on a flat surface.
- For gathered-skirt bodice dresses: The same woven options work well. A lightweight linen-cotton blend is a good warm-weather choice. Avoid slippery fabrics such as rayon challis or silky polyester for first projects. They move while you cut, shift under the presser foot, and fray unpredictably.
- For knit dresses: A stable cotton interlock or jersey with no more than 50 percent stretch removes the need for a zipper, a button placket, or a waistband seam. If your machine has a stretch stitch or a narrow zigzag, a knit pullover is a manageable option for girls dress patterns at the beginner level.
- Seam finishing is not optional. Woven cotton frays. A seam that is not finished will fail at the underarm within 20 washes. Three methods all work: French seams (sew wrong sides together at 1/4 inch, trim, turn, sew right sides together at 3/8 inch), a serged seam, or a tight zigzag at 3.5mm width sewn 1/4 inch from the seam line. The method matters less than whether you use one. Apply a seam finish at every stress seam regardless of how fast you want to move.
- Pre-wash the fabric before cutting. Cotton shrinks three to five percent in the first wash. A dress that fits on Saturday will not fit on Sunday if the fabric was not pre-washed before it was cut.
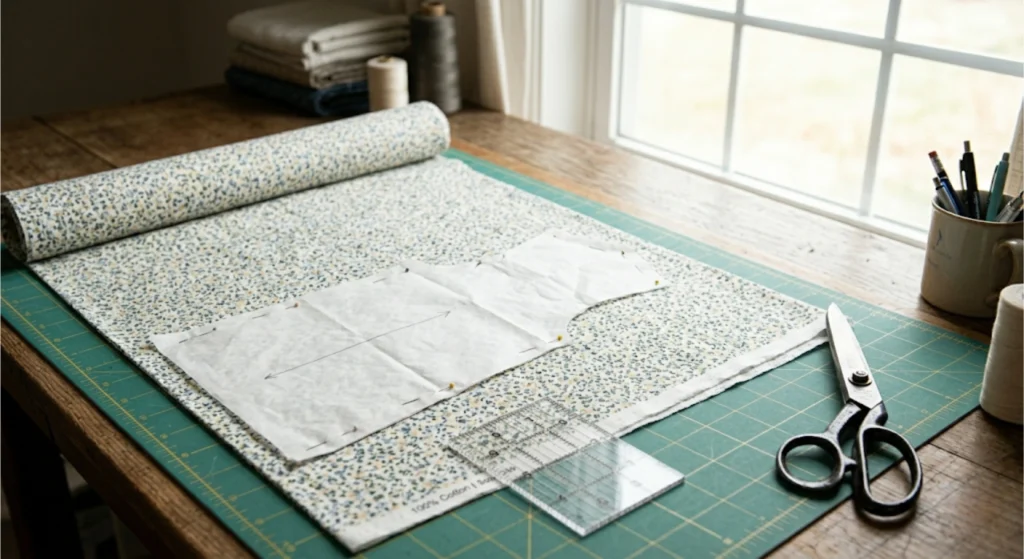
Once fabric is pre-washed, pressed, and folded grain-to-grain on your cutting surface, the construction sequence below walks you through cut to finished hem.
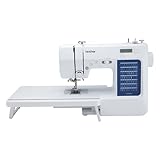
- 70 UNIQUE BUILT-IN STITCHES: The Brother CS7000X sewing and quilting machine includes 70 built-in stitches including utility, decorative, heirloom and quilting stitch functions, and 7 1-step auto-size buttonholes
- IMPROVED NEEDLE THREADER: Easier than ever to use, the automatic needle threader reliably pushes the thread through the needle. The convenient, jam resistant drop-in top bobbin easy to load and helps ensure your bobbin stays in place
- INCLUDED ACCESSORIES: The CS7000X includes a wide table, 10 sewing feet plus a quilt guide, protective hard case, a trilingual English/Spanish/French user manual and more
- METAL FRAME and FIXED NEEDLE BAR: The durable metal frame construction allows your machine to tackle any project, and the needle is fixed in place while you work, allowing for cleaner stitching and even lines
- LARGE NEEDLE-TO-ARM WORKSPACE: A larger workspace with increased width in needle-to-arm space allows users to work on larger projects including quilts
How Do I Sew a Girls Dress from Cut to Finished Hem?
Sew girls dress patterns in sequence: machine check first, then cut, sew shoulder seams, finish all seams before crossing them, attach skirt to bodice, add closure, and hem last.
Skill prerequisites for this section: straight seam, backstitch start and stop, reading seam allowance markings, and pressing a seam open or to one side. If pressing between seams is new, practice on a scrap before starting the project pieces. Pressing is construction, not finishing. A seam that is not pressed before the next seam crosses it stays thick and twisted for the life of the garment.
Step 1: Machine readiness.
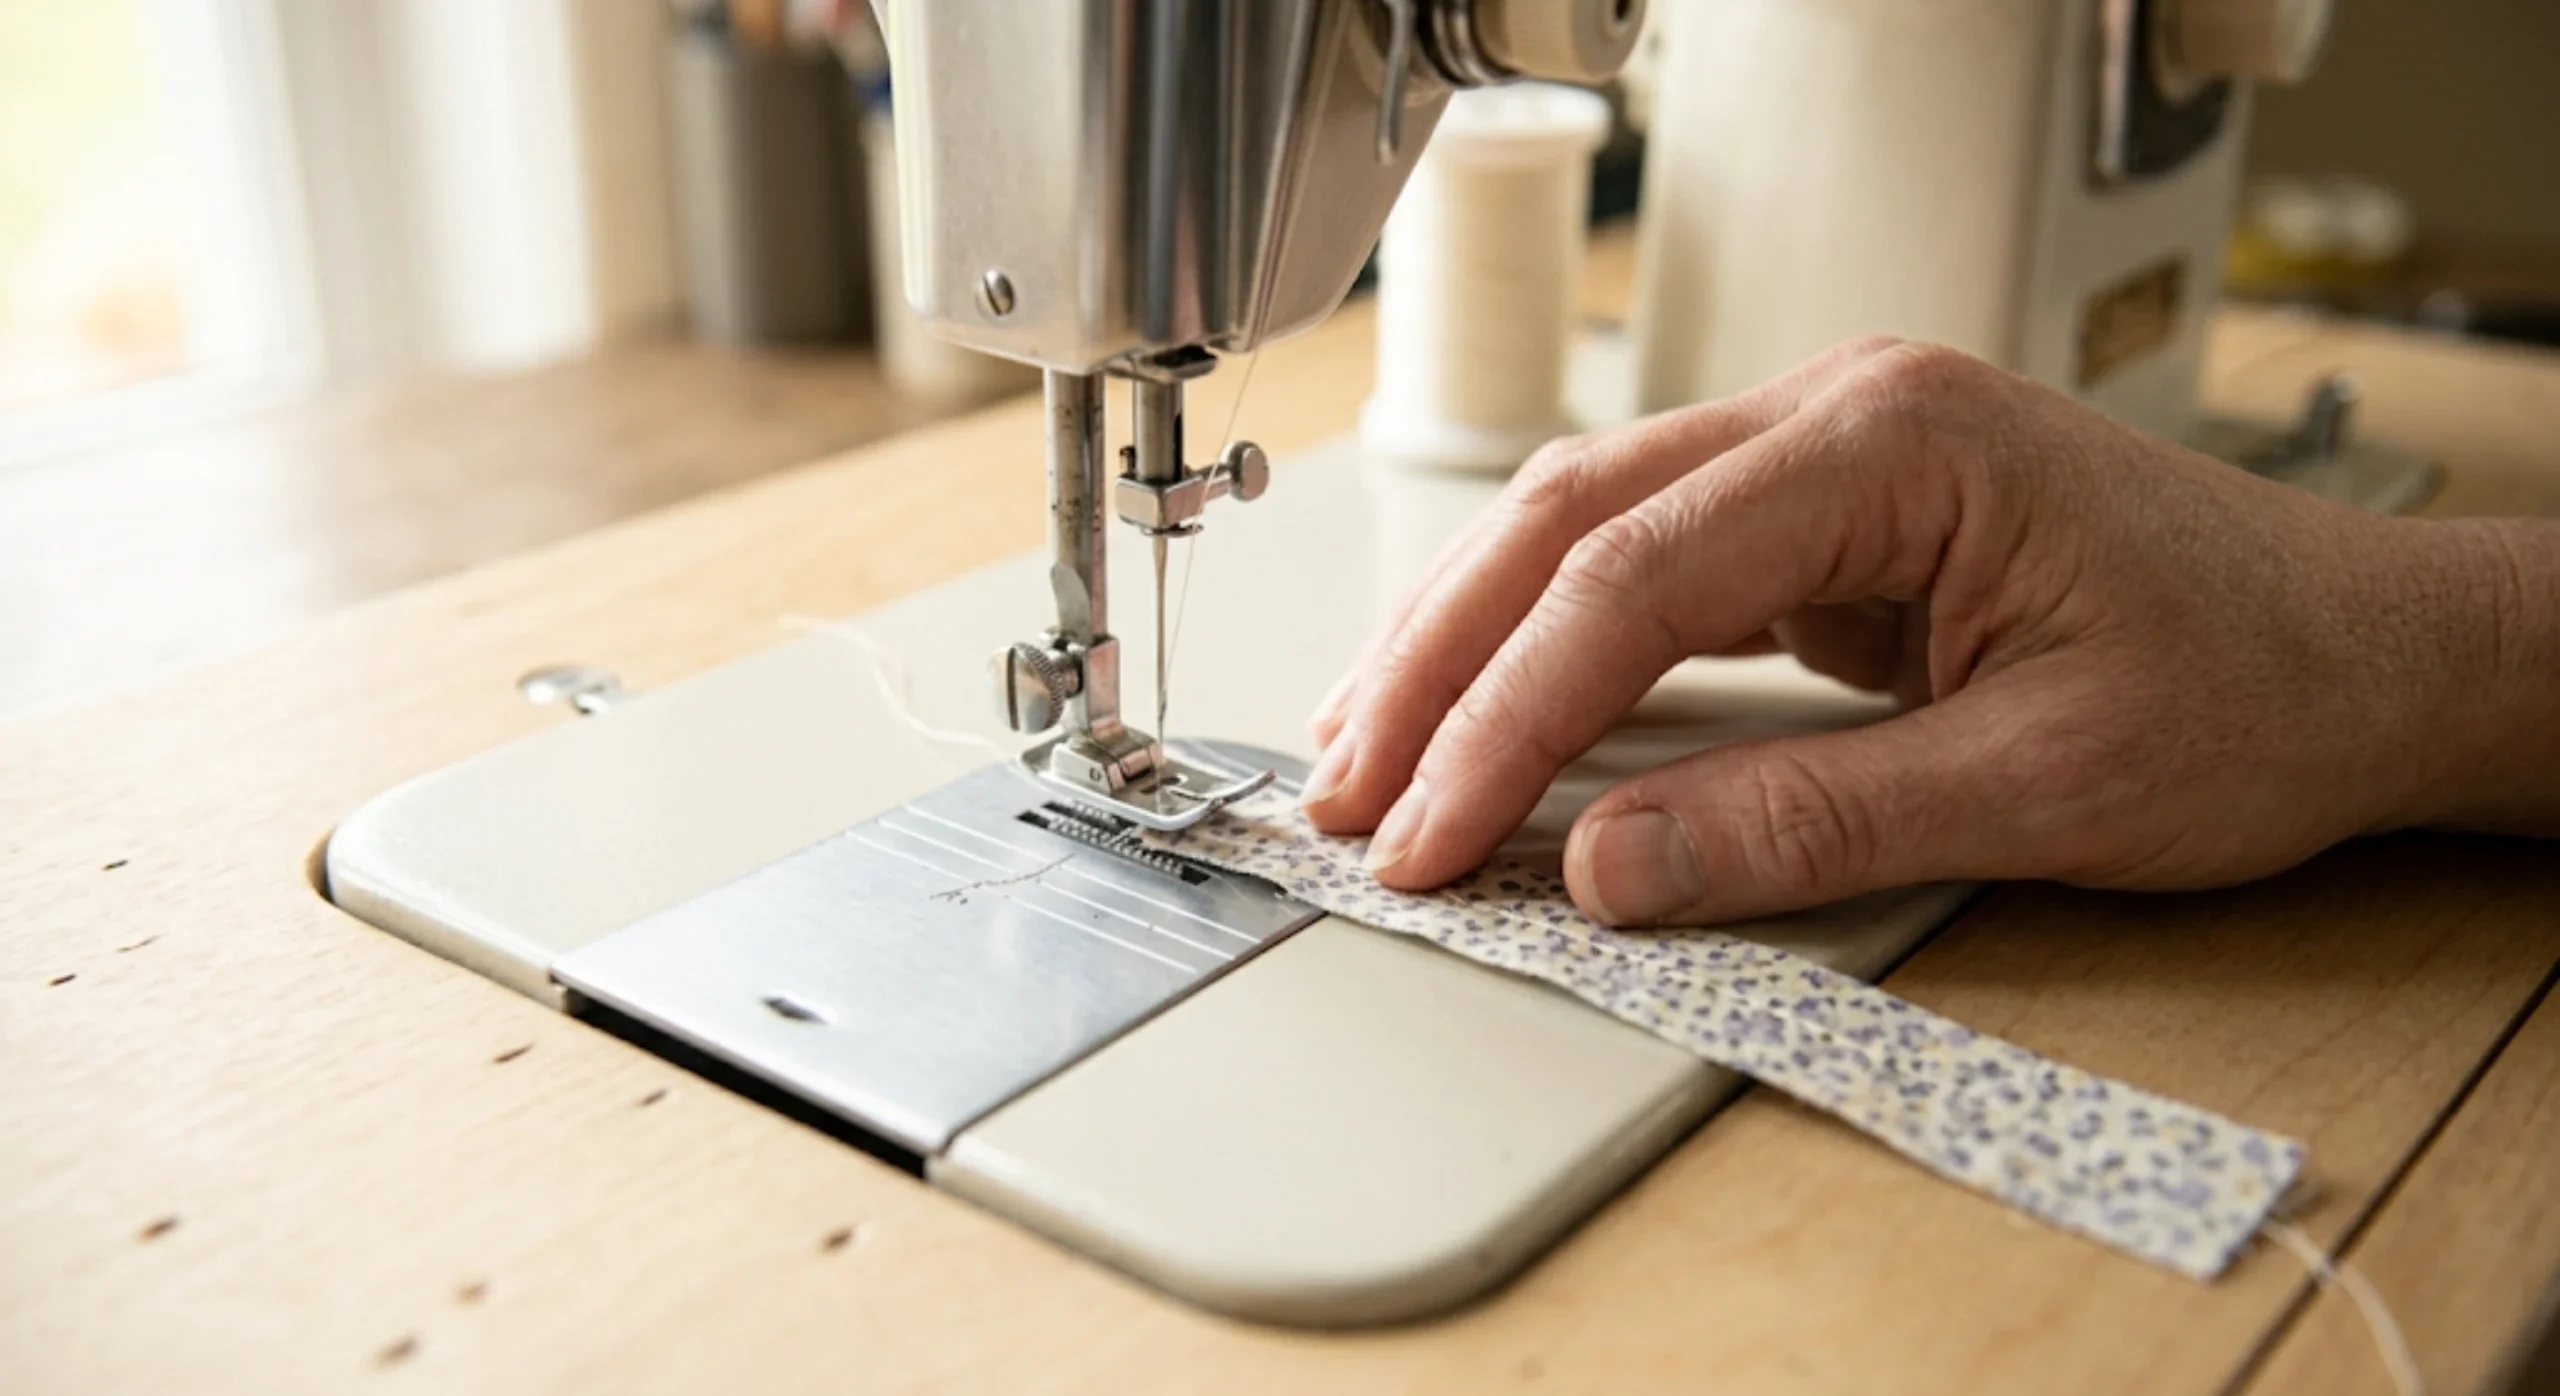
Re-thread the top thread and bobbin from scratch. Insert a fresh needle: 80/12 for quilting cotton, 75/11 for lightweight lawn. Run a test seam on a scrap of the actual project fabric before touching any pattern piece. Check for consistent stitch length and even tension on both sides of the scrap. If loops appear on the underside of the test seam, the top tension needs adjustment or the thread is not seated in the tension discs. Fix the machine before cutting.
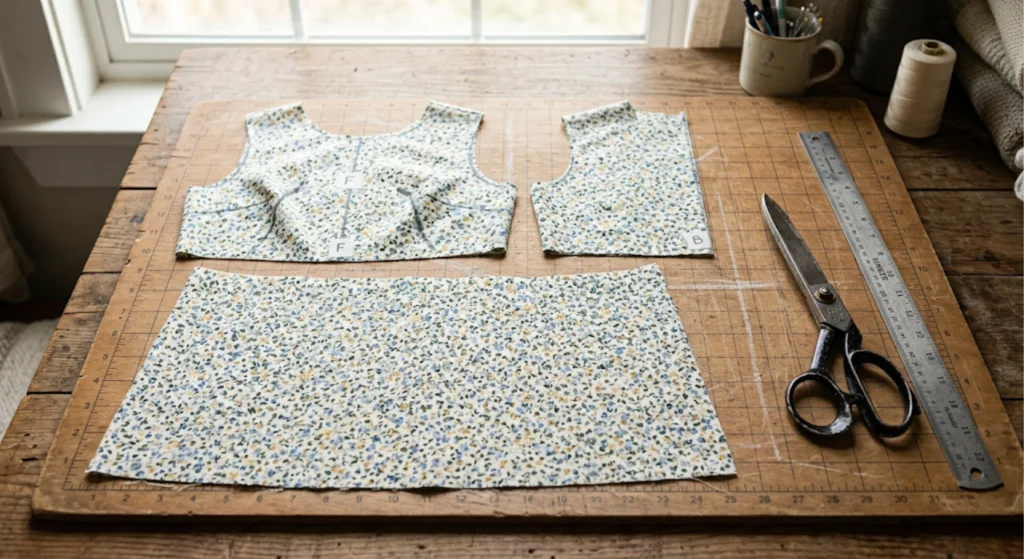
Step 2: Cut accurately.
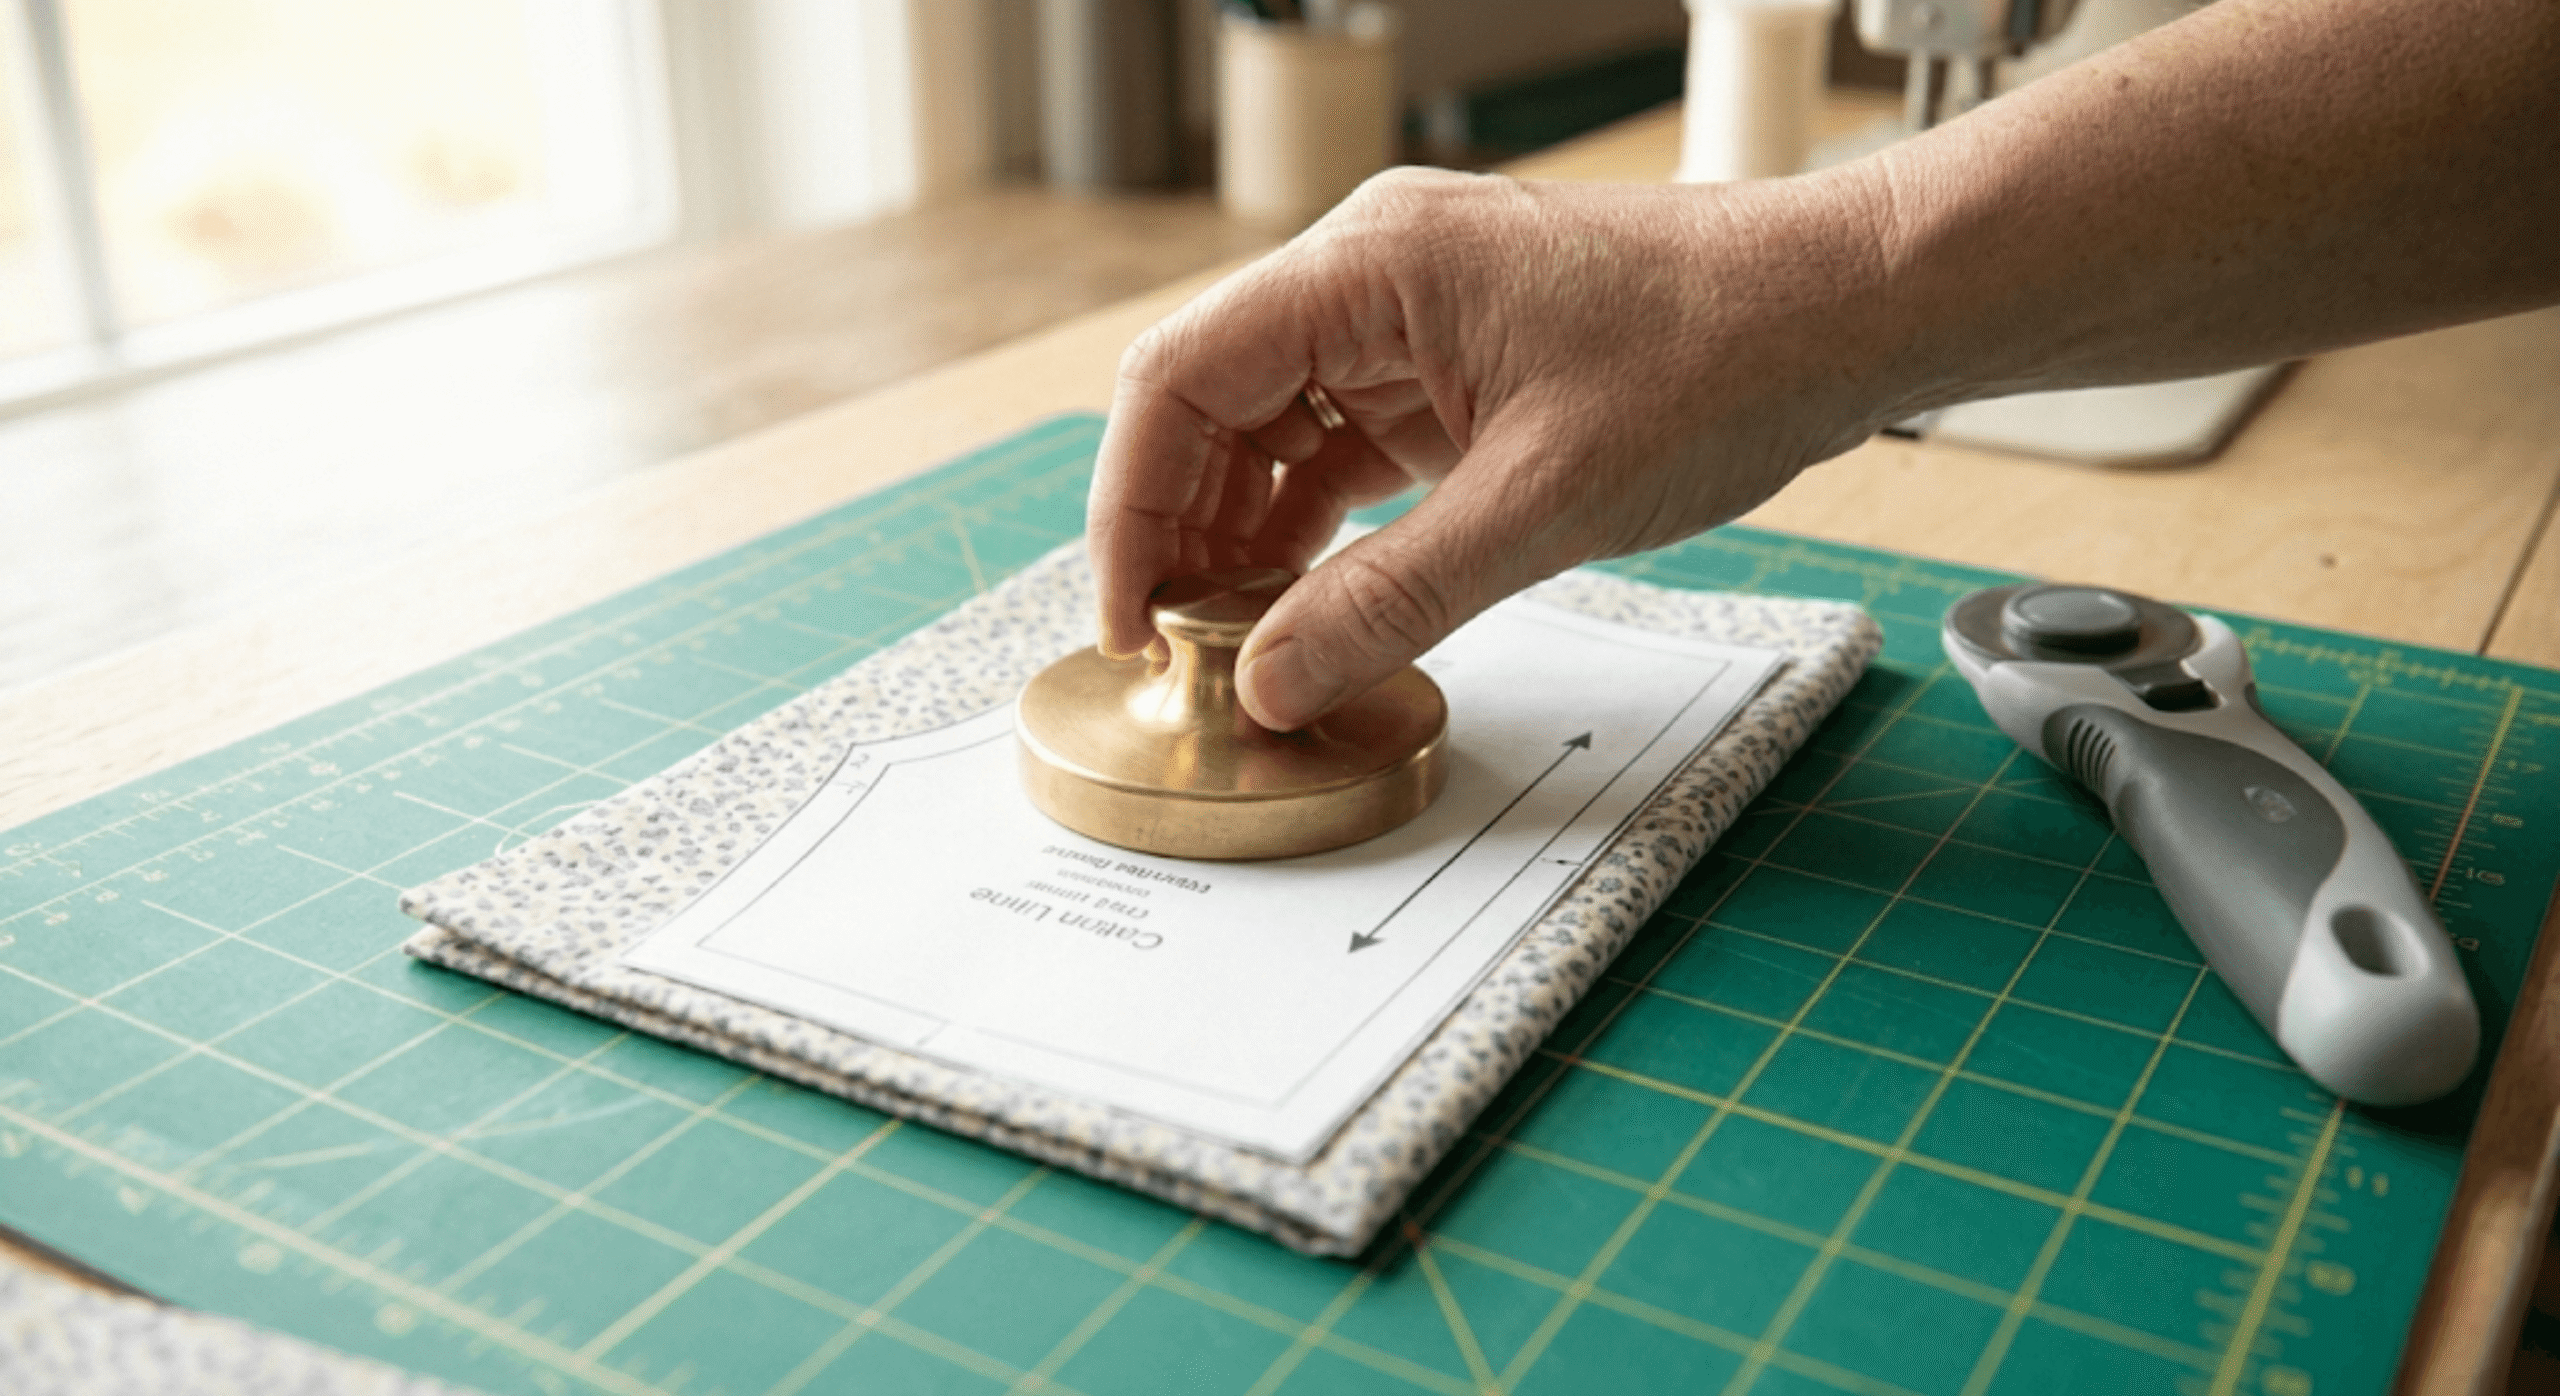
Cut on a flat surface. Use fabric weights on tissue patterns to reduce distortion during cutting. Cut notches outward from the seam allowance edge, not inward. Notches cut inward on a child’s 5/8-inch seam allowance leave almost no margin for correction.
Step 3: Sew shoulder seams.
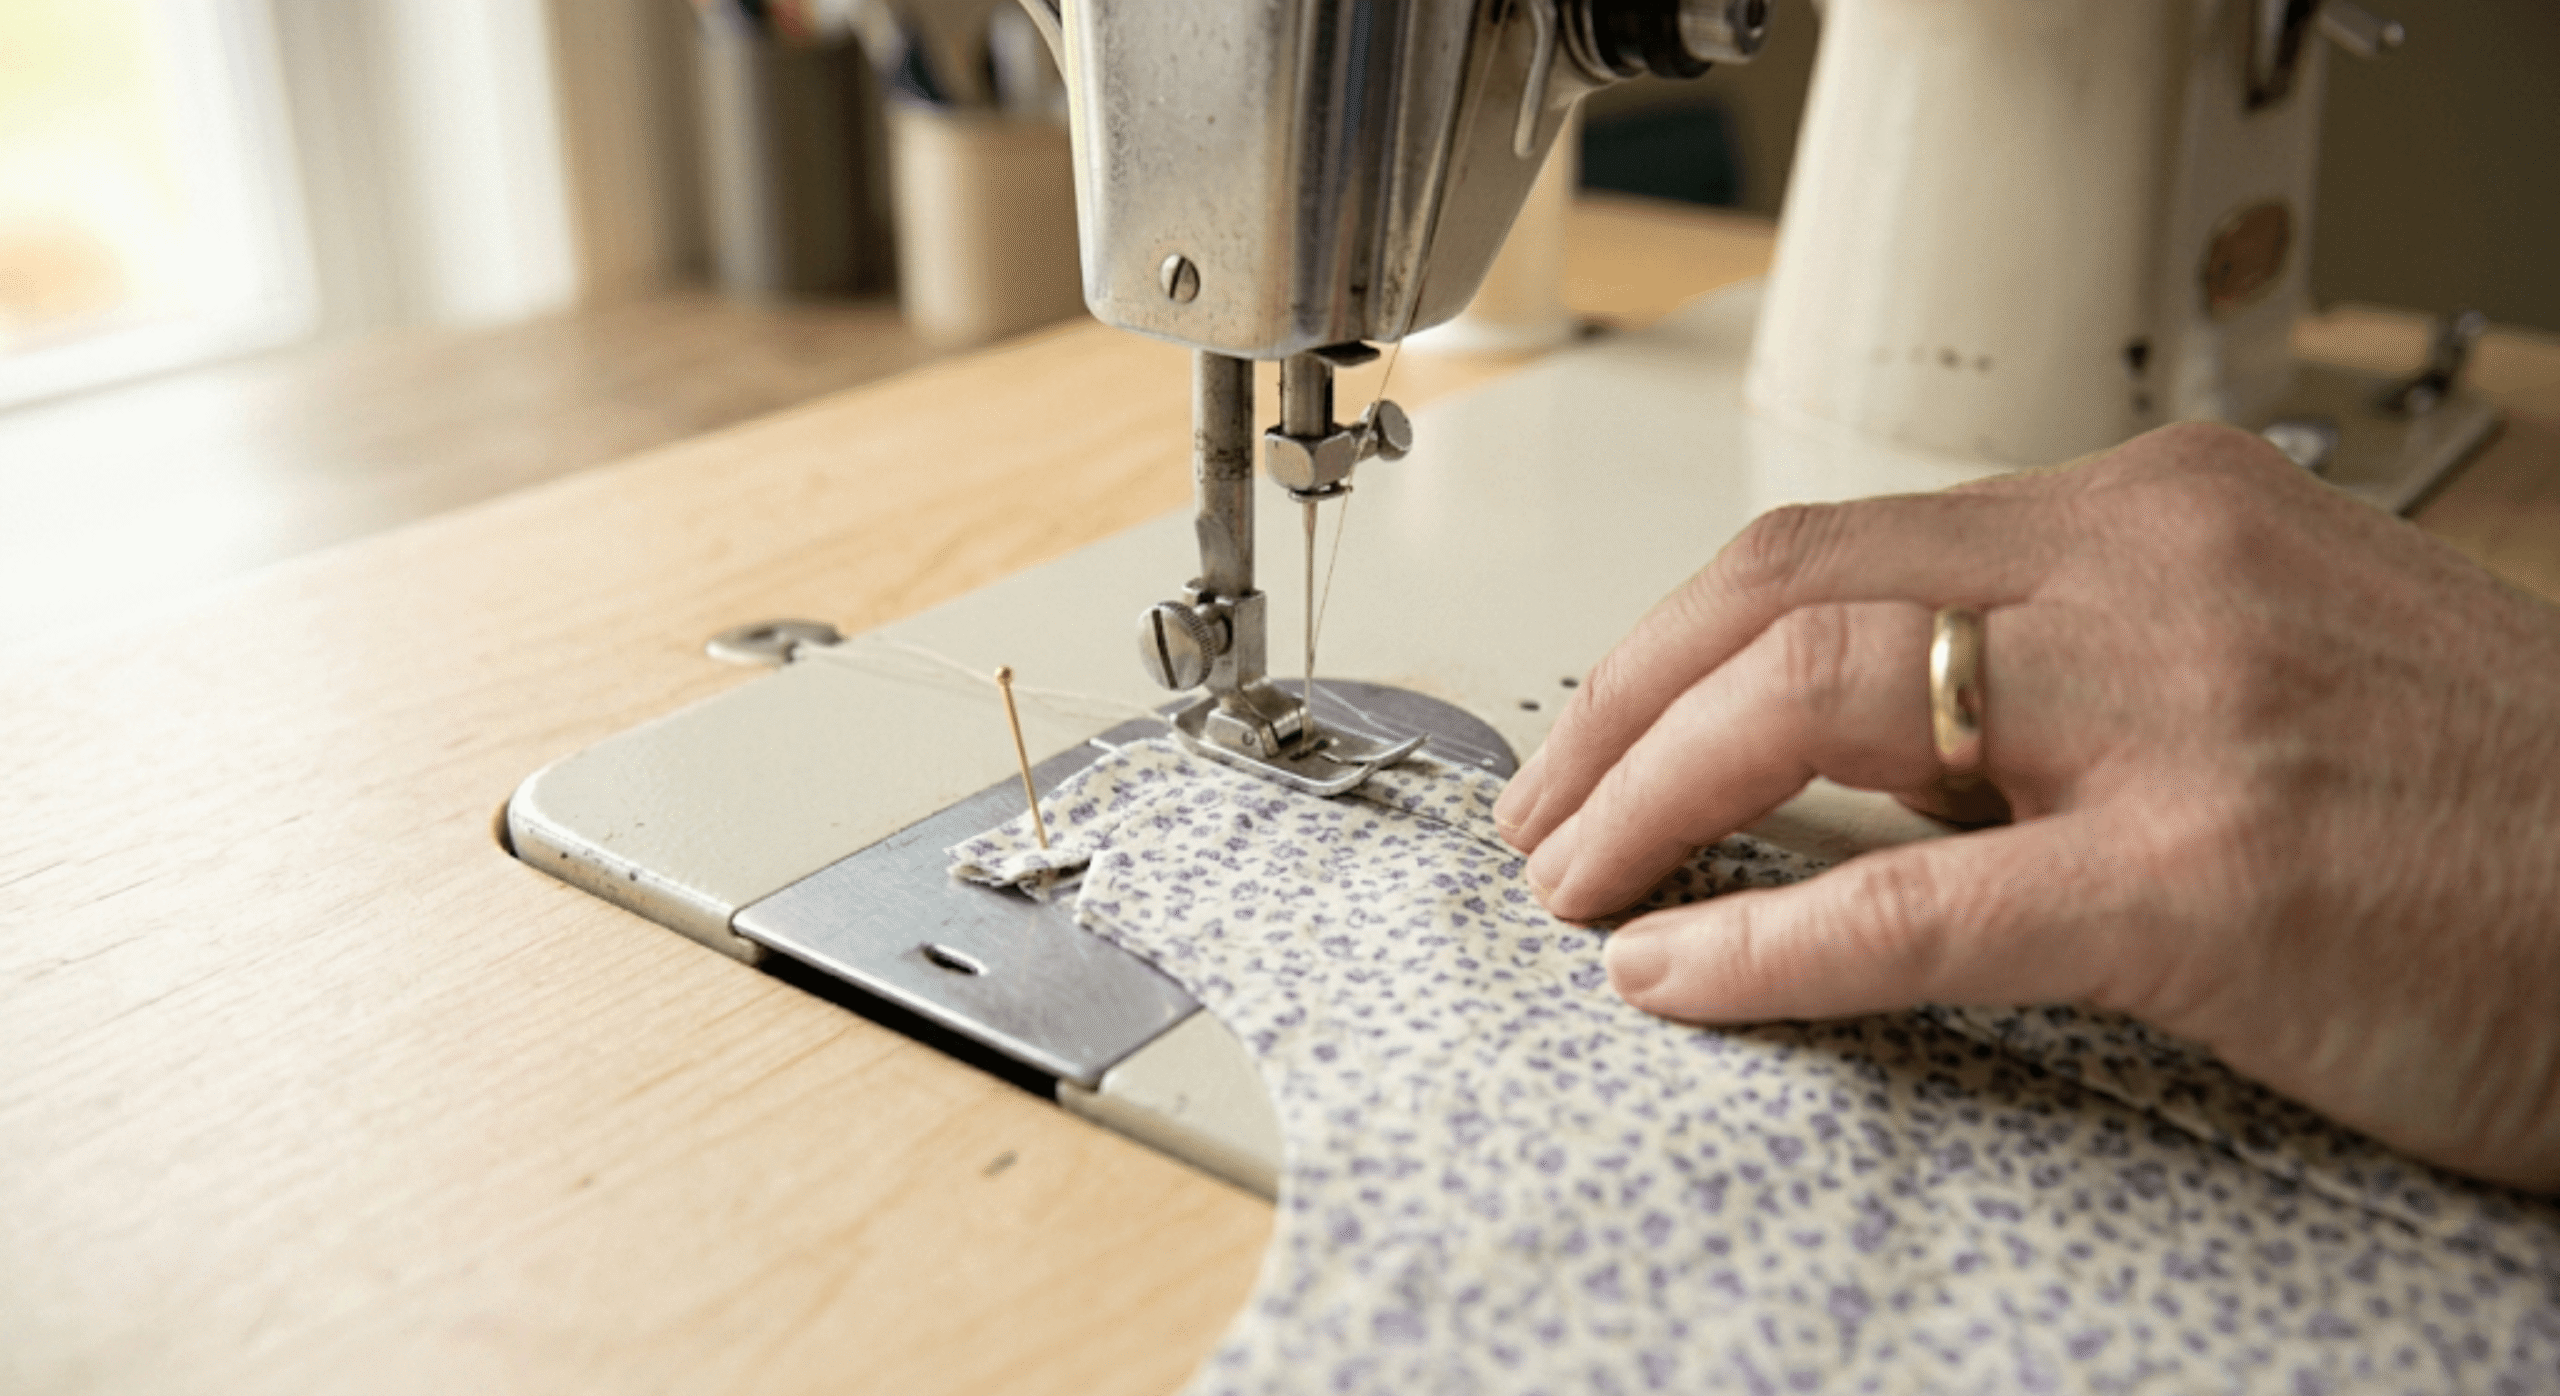
Place front and back bodice pieces right sides together. Sew the shoulder seams at the seam allowance marked on the pattern: typically 5/8 inch on commercial patterns and 1/4 inch on most PDF indie patterns. Press the seam open or to one side. Finish the seam edges immediately. Do not cross a raw seam with another seam.
Step 4: Attach skirt to bodice.
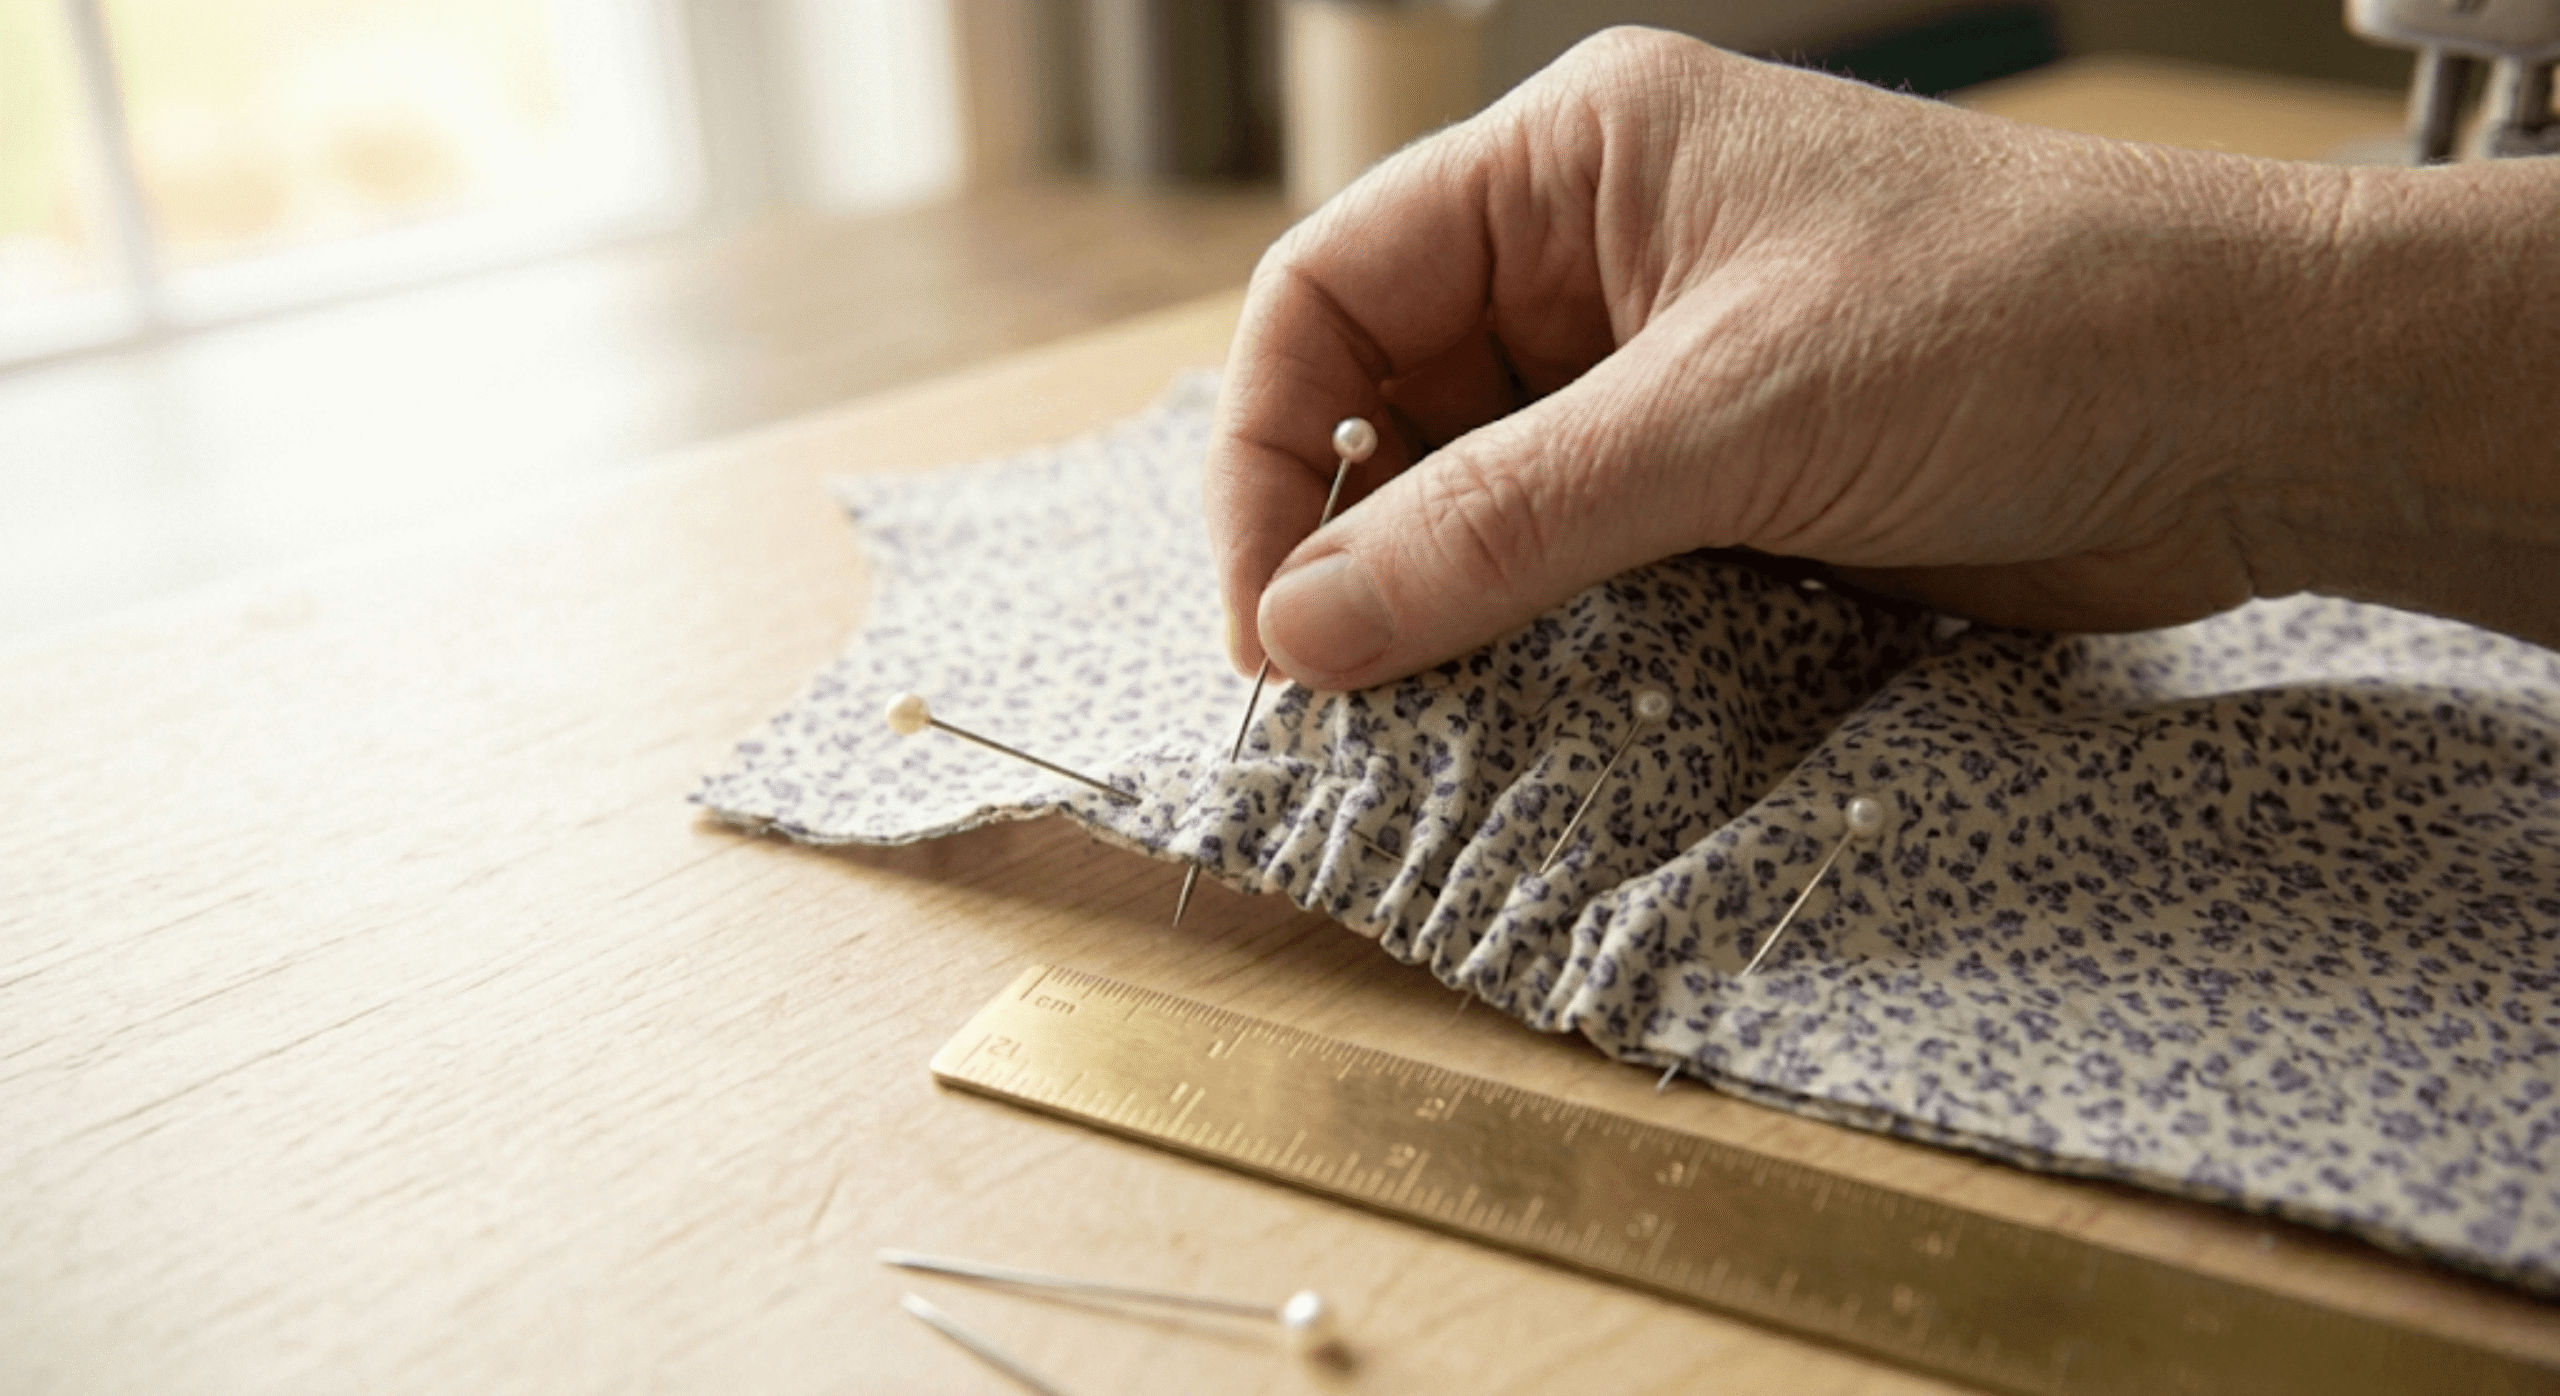
Divide the top edge of the skirt into quarters with pins or chalk marks. Divide the bottom edge of the bodice the same way. Match the quarter points. Distribute any gathers or ease evenly between pins. Sew. Press the seam toward the bodice.
Step 5: Add the closure.
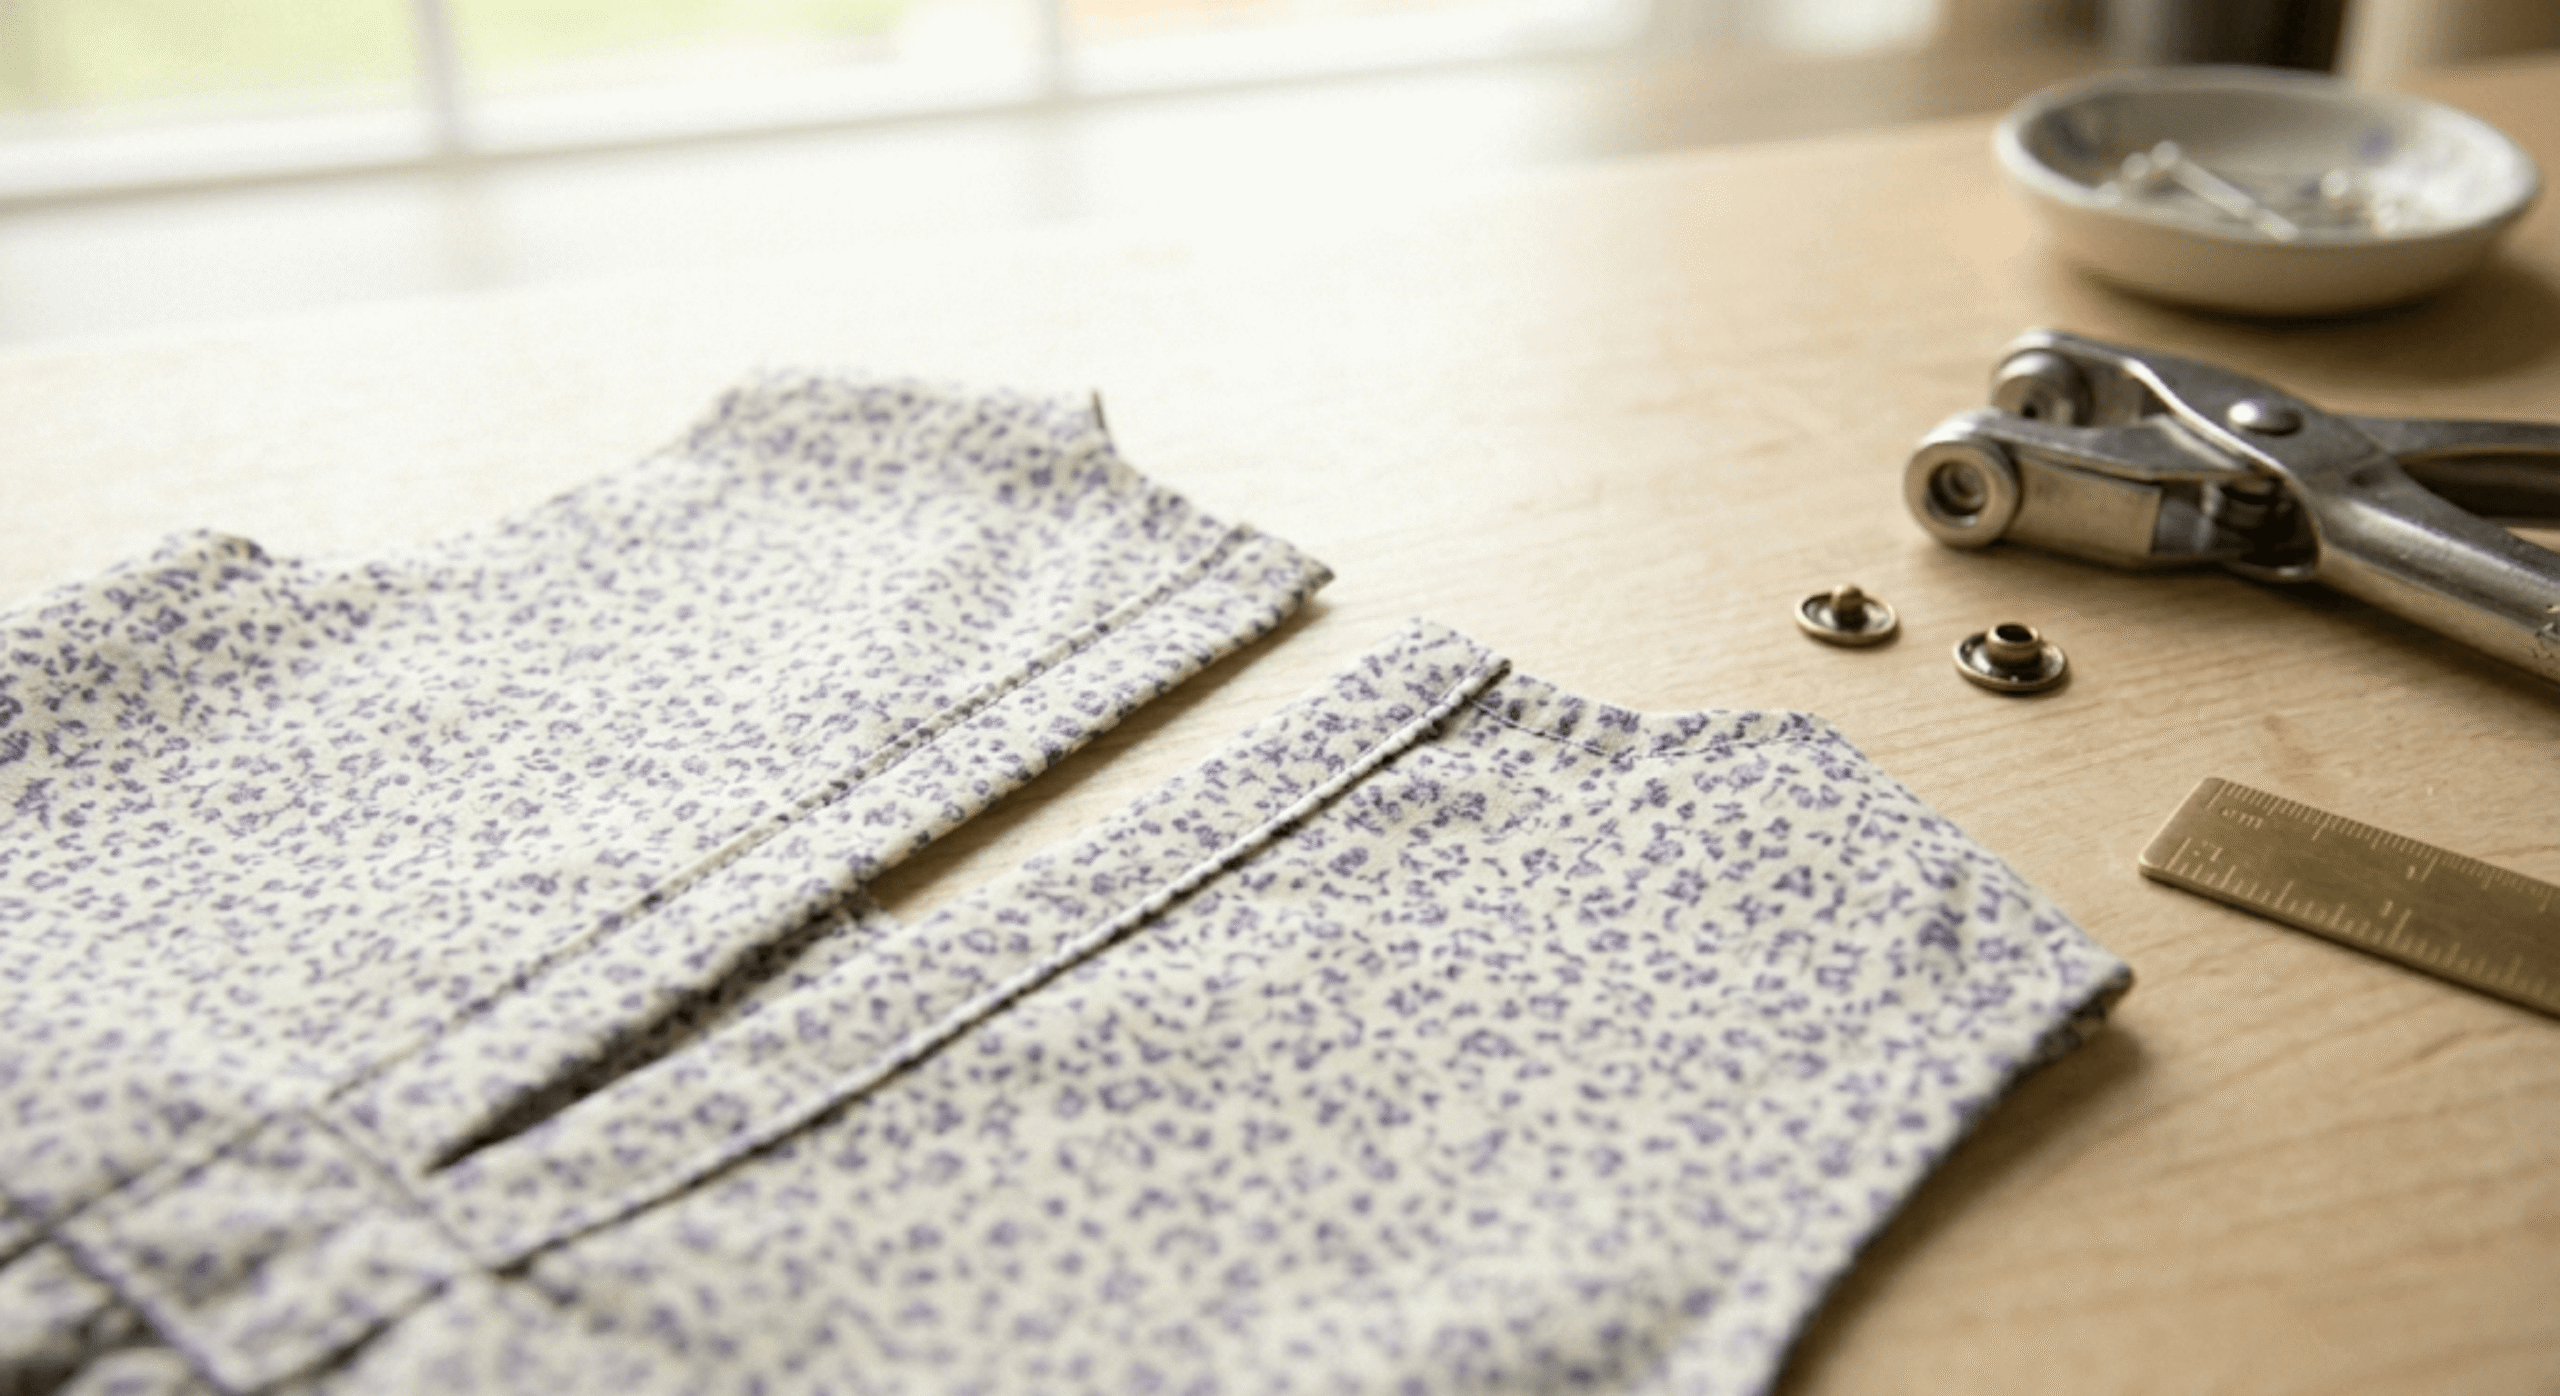
For tie-shoulder or pullover girls dress patterns, no closure is required. For a back opening, finish both back edges with a double-fold hem (fold 5/8 inch to the wrong side, press, fold again, topstitch), then attach snaps or small buttons with hand-sewn thread loops.
Step 6: Hem.
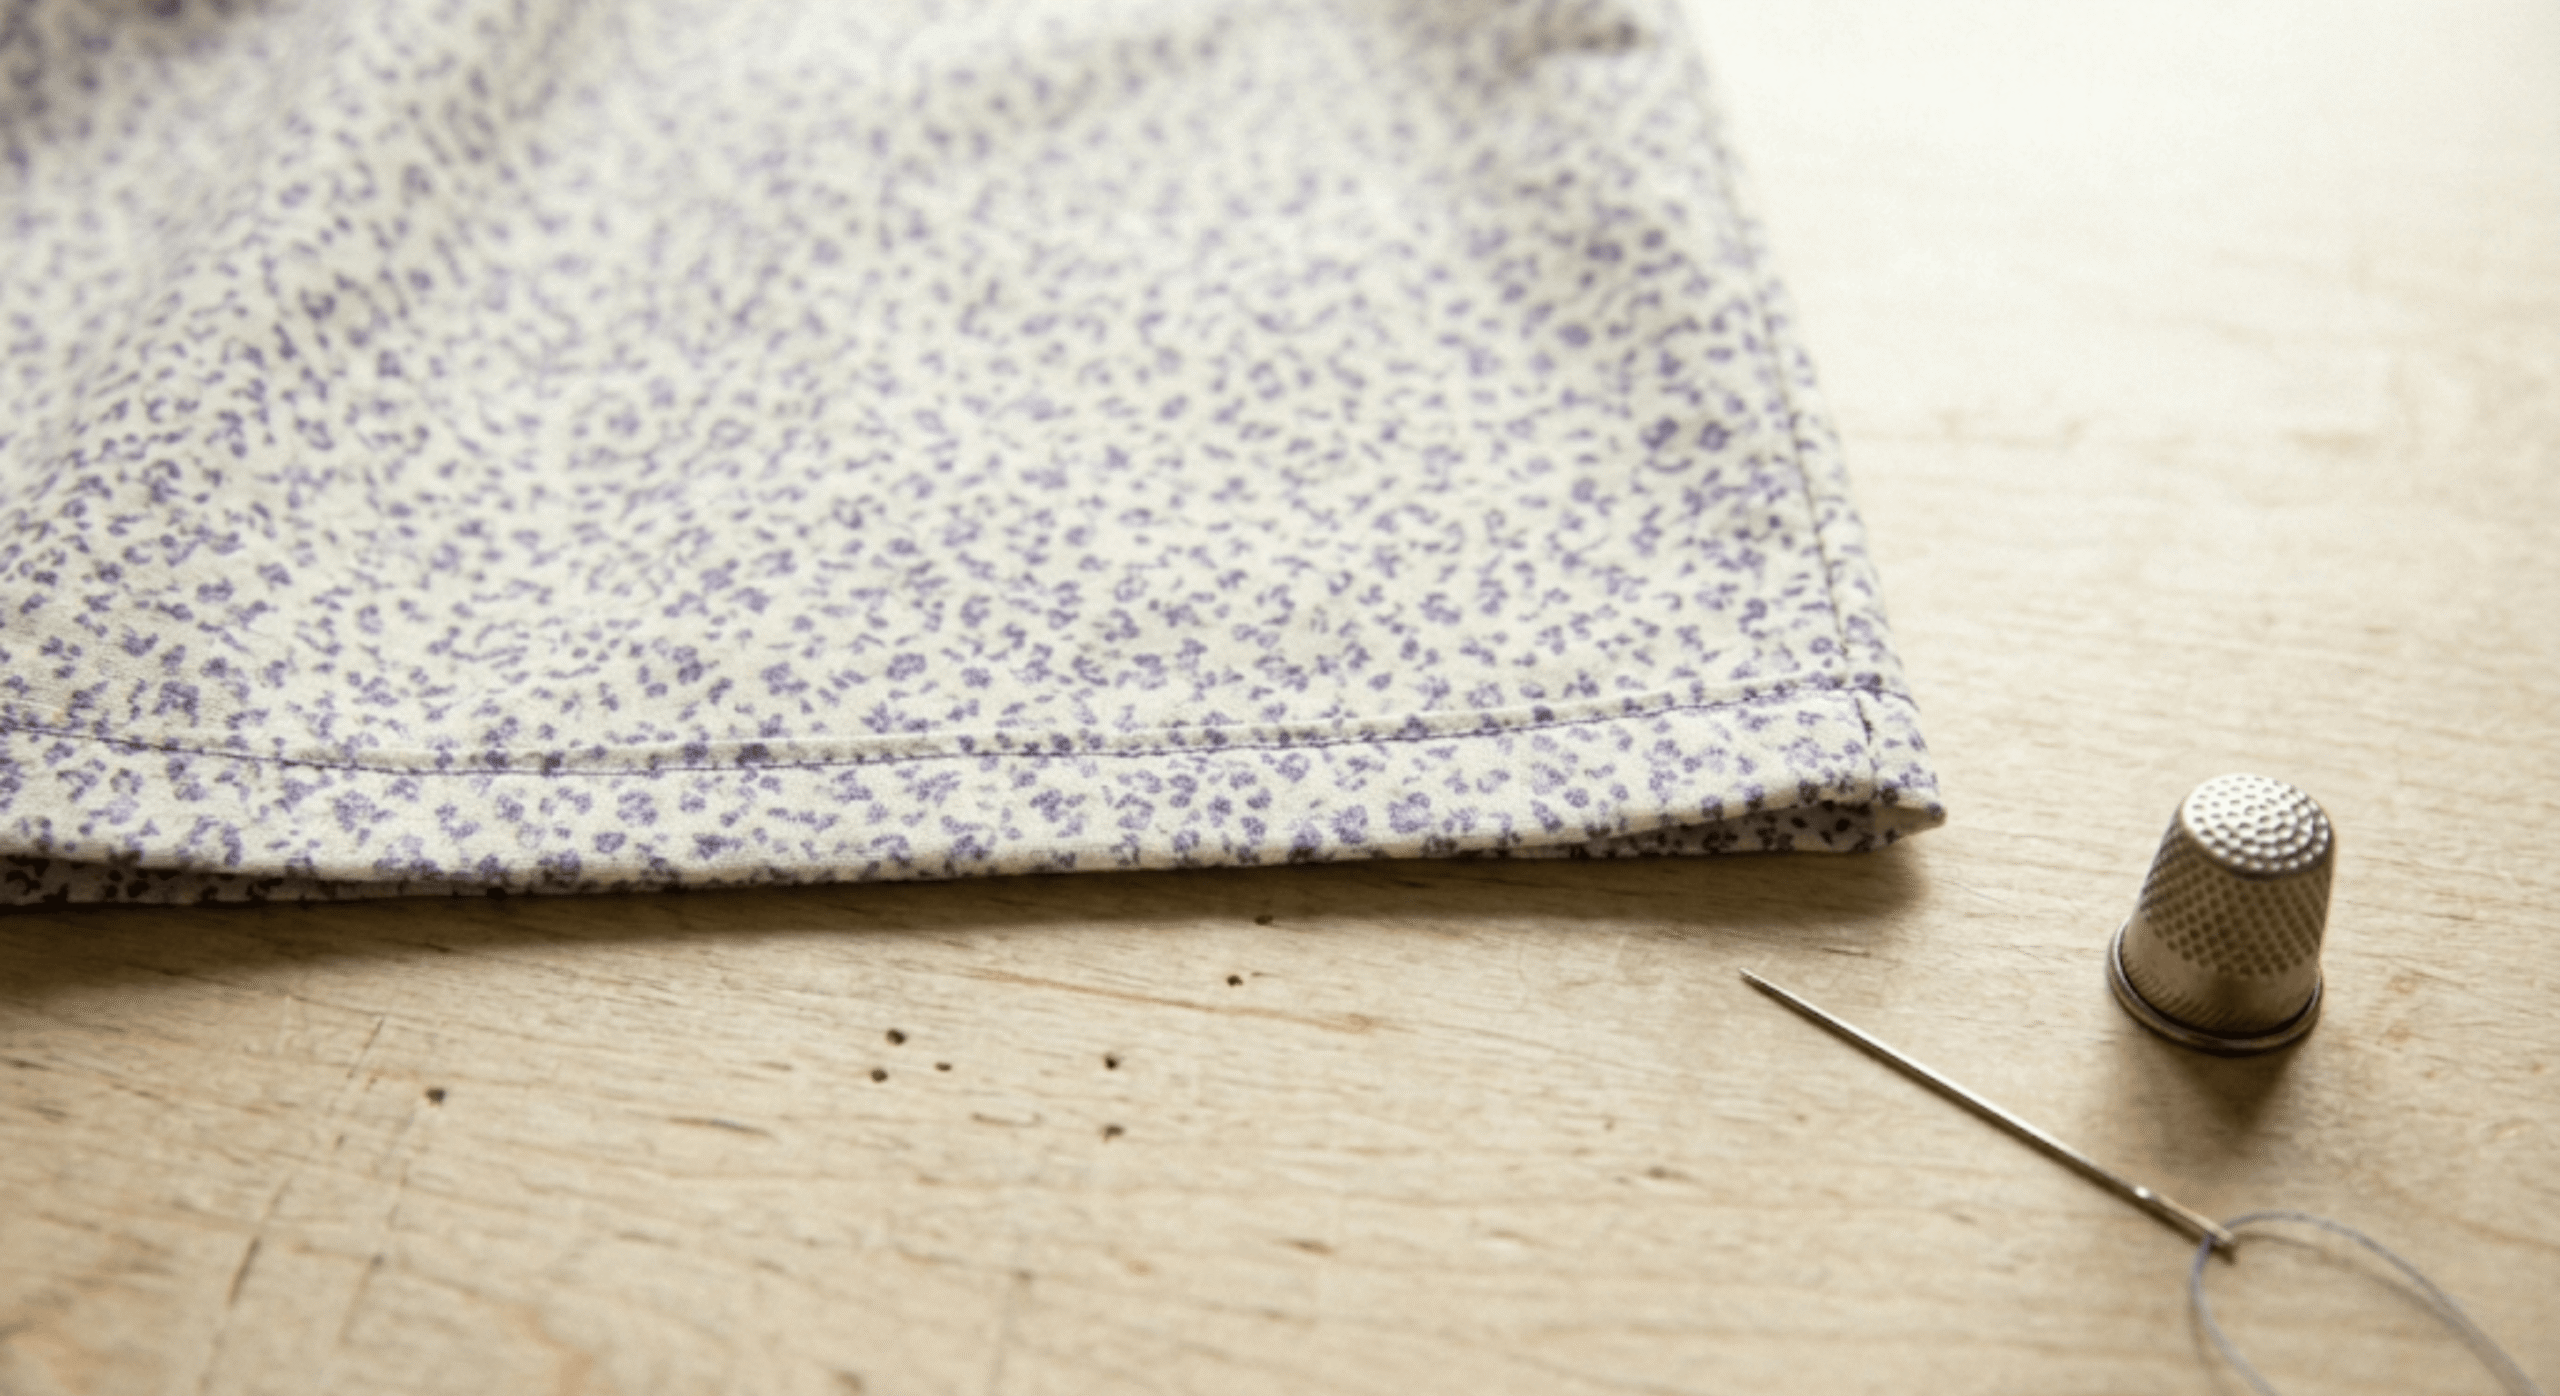
Turn up the hem allowance as marked on the pattern. Press the fold. On lightweight quilting cotton, a double-fold 1/4-inch hem pressed and topstitched from the right side lies flat and holds through repeated washing. On heavier fabric, fold once to 1 inch, press, and hand-sew with a slip stitch. The hem is the last thing sewn. It is also the first thing the child’s parent looks at.
No products found.
The Dress Does Not Need to Be Perfect to Be Worth Wearing
The first girls dress you sew will teach you something the second dress benefits from. That is not a consolation. That is how the skill builds.
The child will wear a slightly uneven hem. She will not notice a seam that is 1/8 inch off the marked allowance. She will notice that her parent made her something.
Measure first. Finish every seam. Press each seam before sewing the next one. Complete the dress before evaluating it. Those four habits, practiced on a simple pullover or A-line from among the many available girls dress patterns, produce a garment that fits, holds together, and gets worn.
Ready for more styles? Browse the full collection of girls dress patterns on Sewing.com, or explore free toddler clothing patterns for smaller sizes. If your machine is giving you puckered seams before you even start, see the beginner sewing machine guide for machine recommendations organized by budget tier.
Affiliate disclosure: This page contains affiliate links. If you purchase through a link on this page, Sewing.com may earn a commission at no additional cost to you. All products are flagged NOT APPROVED pending hands-on editorial testing. No product is considered approved until testing is confirmed by the editorial team. All Amazon links use
Download Girls Dress Blueprint
- 70 UNIQUE BUILT-IN STITCHES: The Brother CS7000X sewing and quilting machine includes 70 built-in stitches including utility, decorative, heirloom and quilting stitch functions, and 7 1-step auto-size buttonholes
- IMPROVED NEEDLE THREADER: Easier than ever to use, the automatic needle threader reliably pushes the thread through the needle. The convenient, jam resistant drop-in top bobbin easy to load and helps ensure your bobbin stays in place
- INCLUDED ACCESSORIES: The CS7000X includes a wide table, 10 sewing feet plus a quilt guide, protective hard case, a trilingual English/Spanish/French user manual and more
- METAL FRAME and FIXED NEEDLE BAR: The durable metal frame construction allows your machine to tackle any project, and the needle is fixed in place while you work, allowing for cleaner stitching and even lines
- LARGE NEEDLE-TO-ARM WORKSPACE: A larger workspace with increased width in needle-to-arm space allows users to work on larger projects including quilts
Check out this video from Quiet Life Farm.
Frequently Asked Questions
-
What size girls dress pattern should I buy?
Measure the child’s chest, waist, and shoulder-to-hem length before choosing any size. Match those measurements to the finished garment dimensions printed inside the pattern, not the size label on the envelope. When measurements fall between two sizes, size up for growing room. Children’s pattern sizes vary significantly between brands and between pattern lines from the same company.
-
What is the easiest girls dress pattern for a beginner?
A pullover shift dress or a tie-shoulder knot dress is the most manageable construction type for a first project. Both have three to five pattern pieces, require no zipper or button, and use a loose silhouette that removes fitting pressure. Finish one of these before moving to a gathered-skirt bodice dress with a back closure. That progression makes the second project faster and more successful.
-
How much fabric do I need for a girls dress pattern?
Most girls dress patterns in sizes 2 through 8 require 1 to 2 yards of 44-inch-wide fabric. The pattern envelope or PDF instructions list yardage by size. Buy an extra quarter yard beyond the stated amount to account for pre-washing shrinkage and adjustments during cutting. Running short mid-project on a print fabric is difficult to recover from.
-
Can I use knit fabric for a girls dress pattern designed for woven fabric?
Not without changes. Woven patterns include seam allowances and closure placements designed for fabric that does not stretch. Substituting a knit removes the need for a zipper but may cause the neckline and armholes to gape. Use a pattern specifically written for knit fabric, or look for patterns labeled “suitable for knits” with notes on minimum stretch percentage required.
-
What do I do if the girls dress is too big after I sew it?
Take in both side seams equally on the front and back by the same amount. Pin the dress on the child, mark where the side seam should sit, and re-sew. If the bodice chest is too large but the hem length is correct, take in at the shoulder seams and confirm the armhole opening still fits before making any cuts into the armhole curve.
-
Do I need a serger to sew girls dress patterns?
No. A serger finishes seams faster but is not required. On quilting cotton, a French seam or a tight zigzag at 3.5mm stitch width sewn 1/4 inch from the seam line will hold through repeated washing. An unfinished seam on a child’s dress will fail at the underarm over time regardless of how well the rest of the garment is constructed. Seam finishing determines how long the dress lasts.
-
How do I lengthen a girls dress pattern for a tall child?
Find the horizontal line on the pattern pieces marked “lengthen or shorten here.” Cut along that line, spread the pieces by the amount needed (1 to 2 inches is typical for one size adjustment in length), tape a strip of plain paper across the gap, and redraw the cutting lines to connect smoothly. Lengthen the bodice and the skirt separately if the child is tall through both the torso and the legs.
Why did you vote that way? Drop your take in the comments.