
What You Need to Know
A Pillowcase Dress is a beginner-friendly summer garment built from two fabric rectangles, held together by side seams, armhole finishes, a ribbon or elastic casing at the neckline, and a double-fold hem. A prepared beginner can sew one in two to three hours of active work. The three skills you need before cutting dress fabric are a straight machine seam, a folded casing, and a clean hem. This tutorial covers machine prep, measuring, cutting, two armhole paths, and safety-first closures. A printable field card for start-to-finish reference is linked at the bottom.
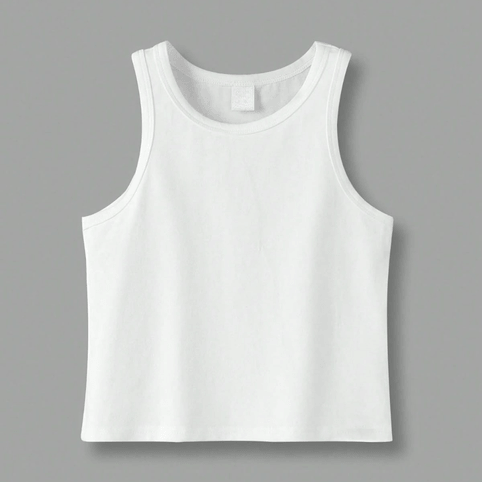
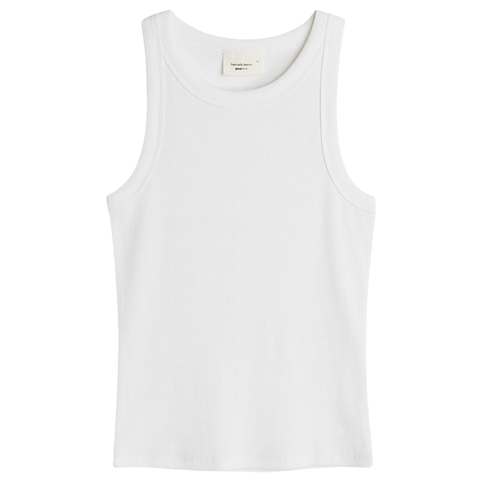
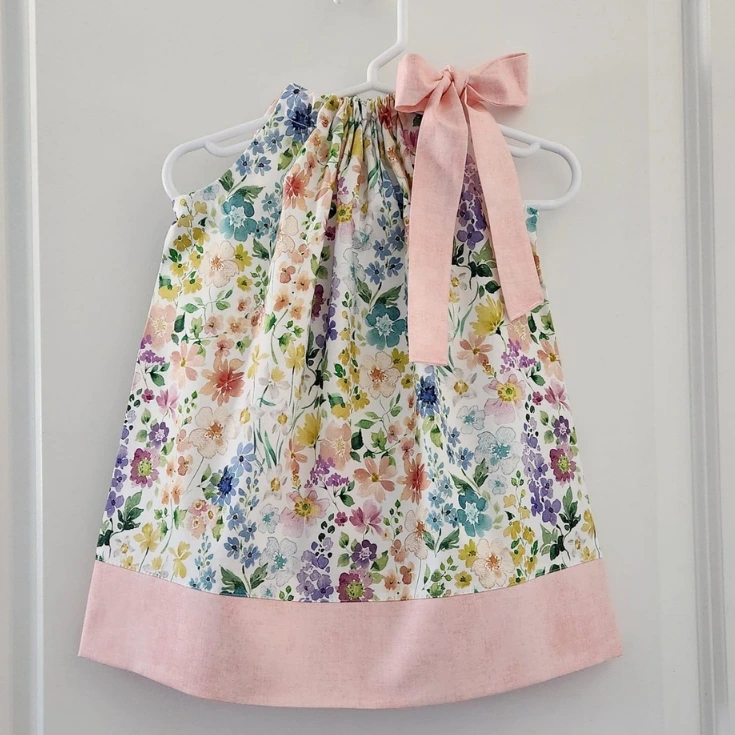
What Is a Pillowcase Dress, Really?
Two rectangles. Four seams. A casing at the top. A hem at the bottom. That’s the garment.
The Pillowcase Dress earned its name because the original version was sewn from an actual pillowcase, using the existing side seams as the dress sides and the open end as the hem. The cut-from-fabric version we’ll build here gives you more sizing control and lets you pick your own print. Both paths produce the same silhouette: a gathered neckline, tied or elasticized shoulders, loose body, and knee-length hem.
Size range for this tutorial: girls’ 2 through 10. Scale up with a wider fabric and a longer body rectangle for sizes 12 through 16 or for an adult version.
What Skills Do You Need Before You Start?
The Pillowcase Dress is billed as a beginner project. It is, for a prepared beginner. Three specific skills need to be in your hands before you cut into your dress fabric:
- A straight machine seam at a ½-inch seam allowance, with start and end backstitches.
- A folded casing: two presses (¼ inch, then ¾ inch), stitched close to the inner fold.
- A clean double-fold hem: ¼ inch, then ½ inch, stitched close to the upper fold.
If any one of these is shaky, practice it on a 10-inch scrap of the same fabric you bought for the dress. Ten minutes per skill. Not to delay you, but to stop you from ruining the nice cotton on a skill you could have drilled in the time it takes to rewind a bobbin.
One beginner in a comment thread put the reward into a single sentence: “I’m a beginner sewer, but your instructions were easy to follow. Can’t wait for my daughter to try on her new dress!” – Blog comments, Polka Dot Chair.
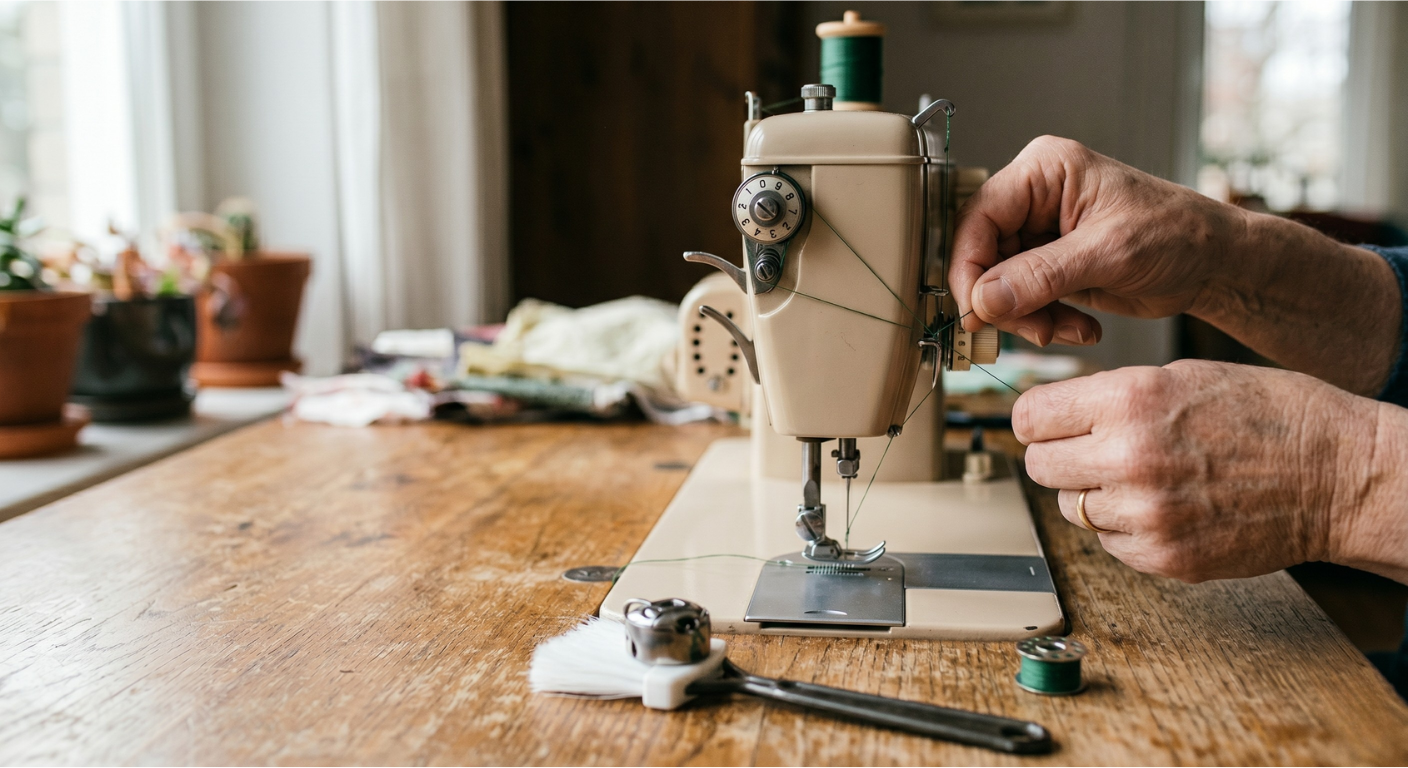
How Do You Prep Your Sewing Machine for Cotton?
Most first-dress disasters are not skill failures. They are machine failures, read as skill failures. Before a single piece of fabric gets cut, run this four-step pre-flight.
Step 1: Rethread from scratch.
Raise the presser foot, pull the top thread out completely, rewind the bobbin, and rethread both. Threading errors cause roughly 40% of stitch problems reported by beginners.
Step 2: New needle, size 80/12 universal.
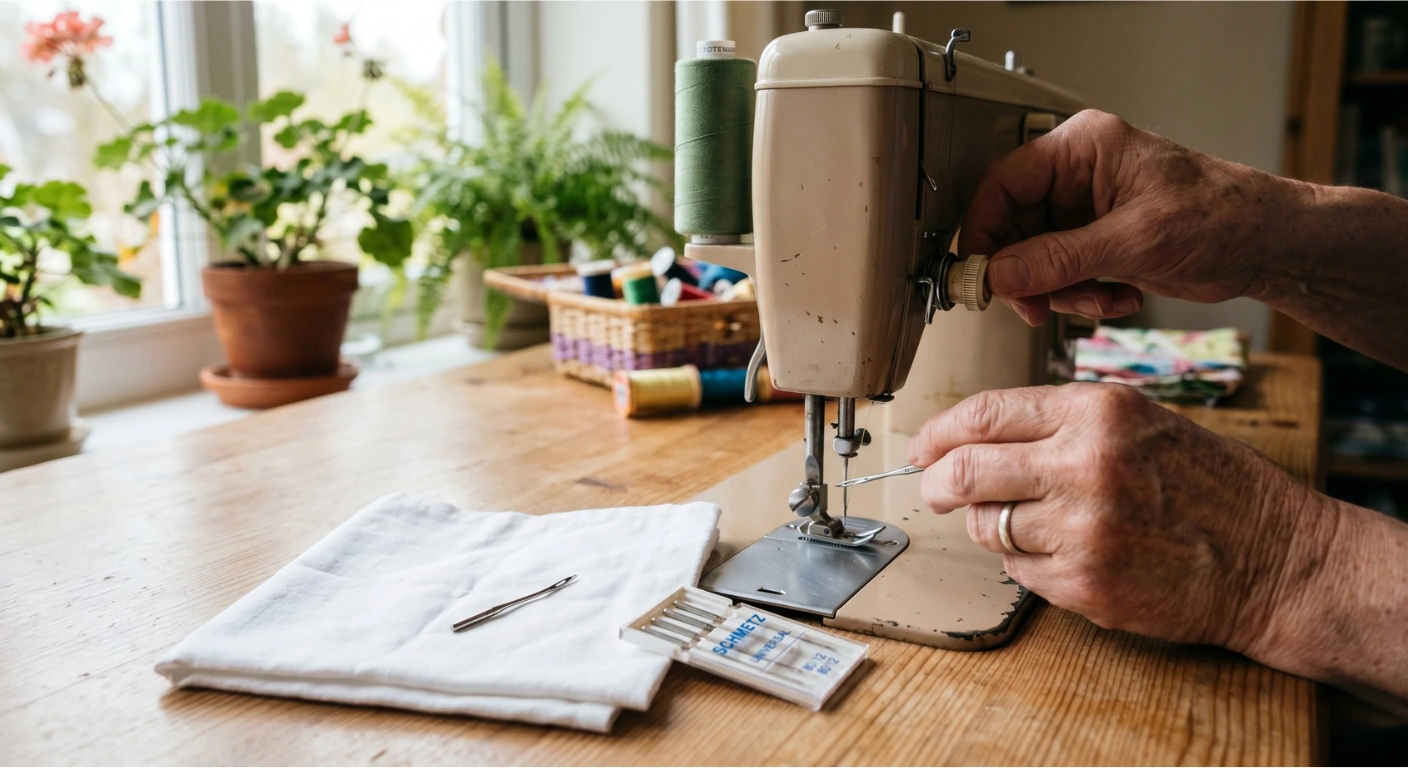
This size handles quilting cotton, cotton lawn, and most lightweight dress fabrics. A bent or dull needle is the second-largest cause of puckered seams on beginner projects. If you’re not sure which needle to use for a fabric you’ve never sewn before, check a needle size chart from Schmetz or your machine manufacturer before starting.
Step 3: Tension test on scrap.

Cut a 3-by-6-inch strip from your dress fabric. Sew a straight line down the center. Flip it over. The top stitch and bottom stitch should look identical. If the top looks fine but the back shows loops, reduce top tension by one number. Rethread before touching tension a second time.
Step 4: Clean the bobbin case.
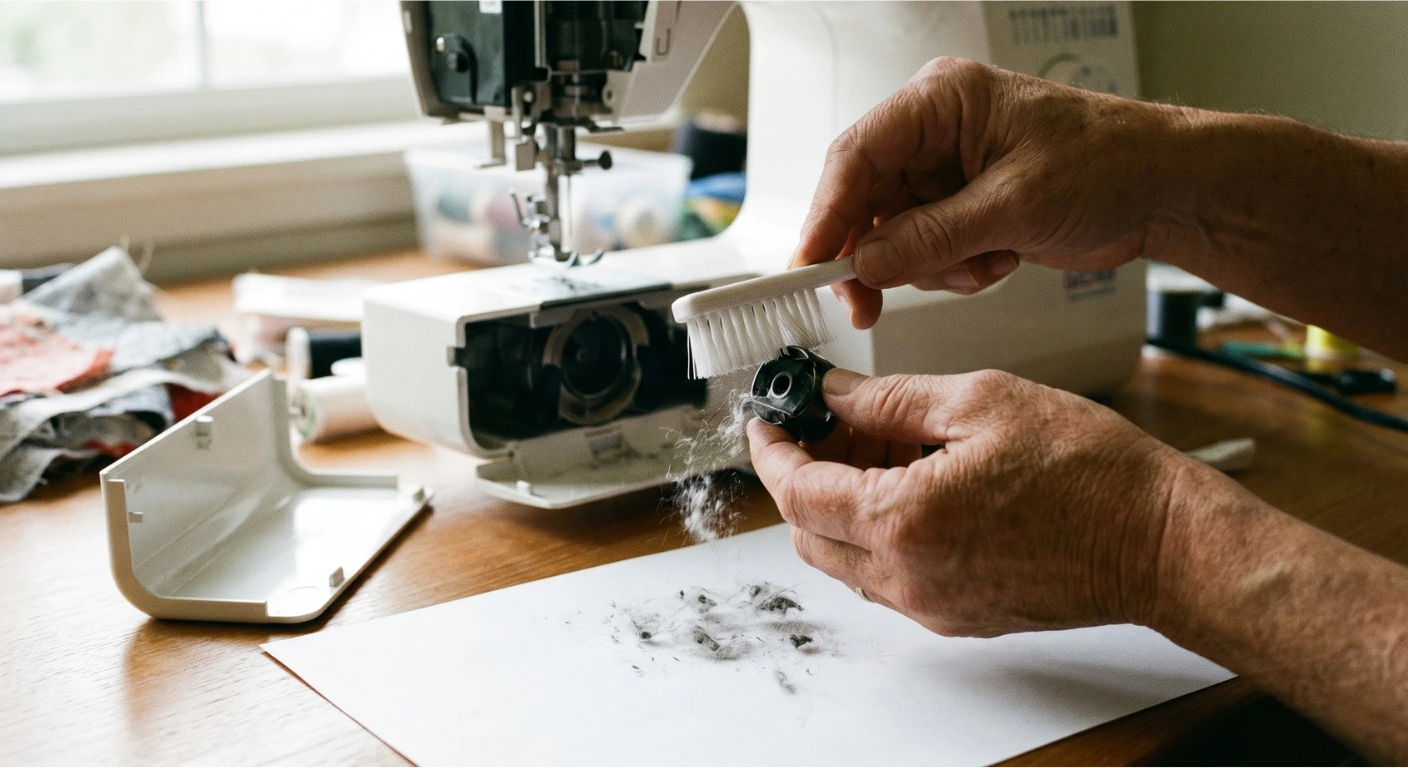
Remove the bobbin and the case, and brush out lint with a small soft brush. As one sewist on PatternReview.com put it: “No hairballs are living underneath there.”
What Is the Correct Way to Measure for a Pillowcase Dress?
Most Pillowcase Dress tutorials treat the child’s body as a tube and use pillowcase width as the chest measurement. That works for toddlers with straight torsos. It falls apart for children over 6, plus-size children, and anyone built with a different chest-to-shoulder ratio than the tutorial’s sample child.
Take three measurements with a flexible tape:
- Chest circumference at the fullest point. Add 4 inches of ease.
- Armpit to desired hem length. Add 1 inch (for the casing and hem allowances).
- Shoulder span from collarbone to collarbone, plus 2 inches.
Write each number directly on a sticky note and tape it to your fabric before cutting. For fuller-chested children and adult versions, add 2 additional inches of width at the chest and drop the armhole 1 inch lower. A rectangle that fits the fabric bolt does not fit the kid.
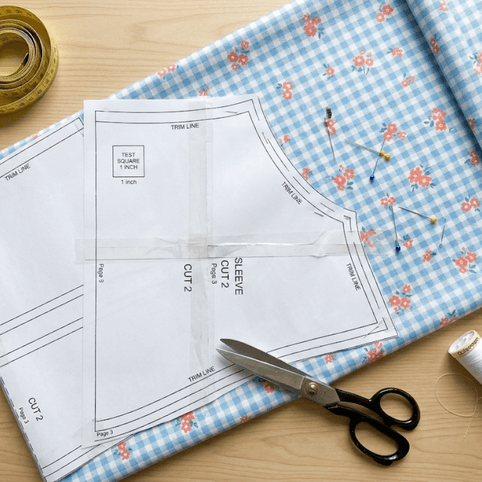
How Do You Cut the Two Rectangles?
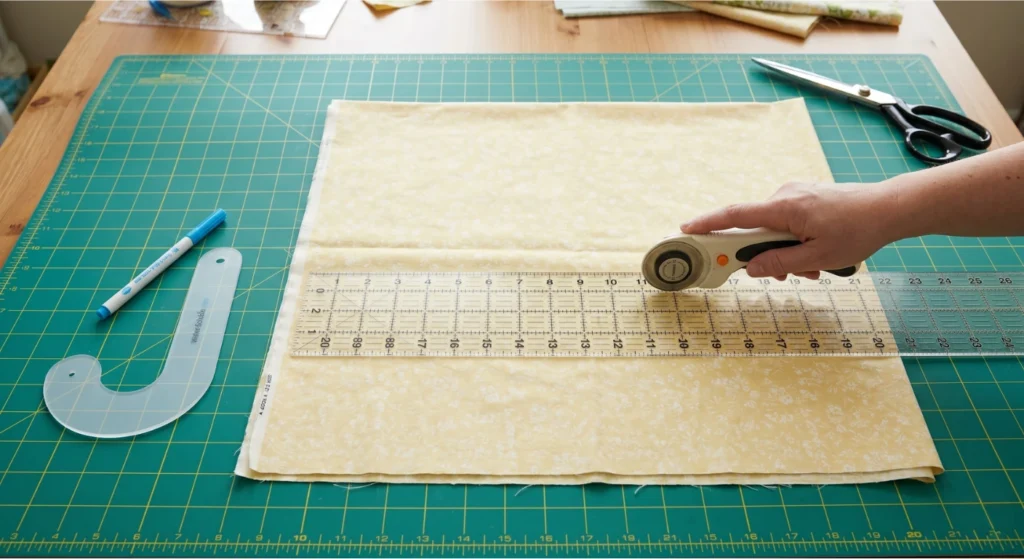
Fold your prewashed fabric selvedge-to-selvedge, right sides together. You’ll cut through two layers at once, which gives you a matching front and back.
- Width of each rectangle = (chest measurement ÷ 2) + 4 inches ease.
- Length of each rectangle = armpit-to-hem length + 1 inch.
Mark the J-shaped armhole at the top corners: in 2 inches from the side, down 3 to 4 inches from the top, curved with a small plate or a CD. Cut both armholes at once while the fabric is still folded. Save the scraps. They work as pockets or appliqué later.
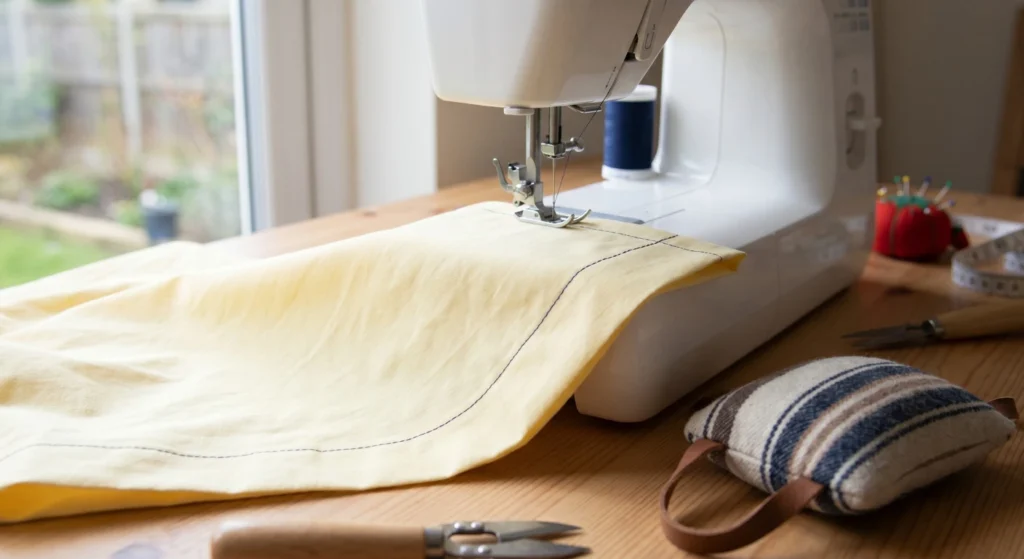
How Do You Sew Side Seams That Don’t Wave?
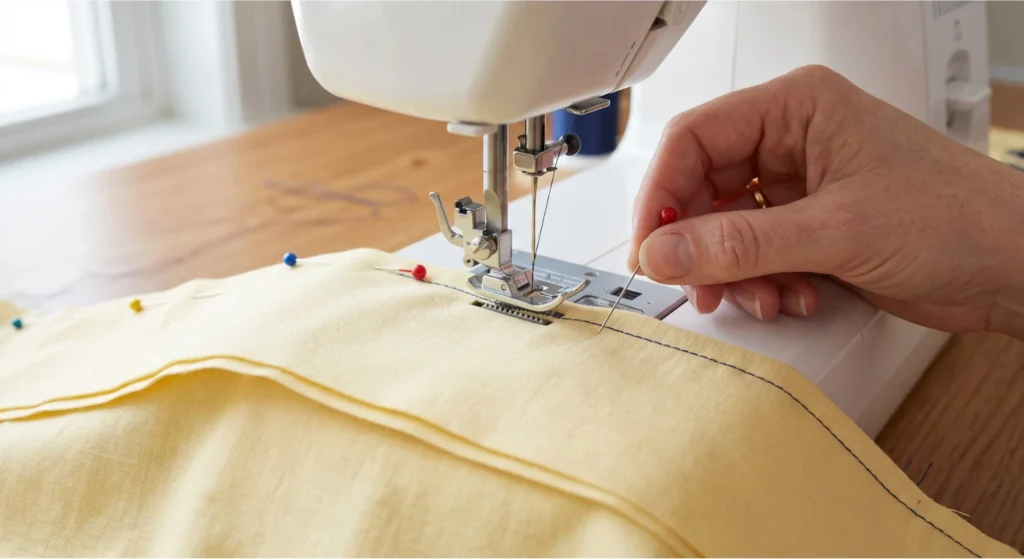
Place the two rectangles right sides together. Pin at the armhole base, the midpoint, and the hem. More pins prevent wavy seams.
Sew from the armhole base to the hem with a ½-inch seam allowance. Backstitch at both ends. Finish the raw edge with a zigzag stitch, pinking shears, or a French seam if you want a cleaner interior (add 10 minutes).
If your seam waves: stop, unpick the last 2 inches, re-pin every 2 inches instead of every 4, and resume.
What Is the Best Way to Finish the Armholes?
Double-fold hem versus bias tape binding. Both are correct. They win in different situations, and every honest tutorial should name the trade.
Here’s the comparison at a glance:
| Factor | Path A: Double-Fold Hem | Path B: Bias Tape Binding |
| Added time | 15 minutes | 30 to 40 minutes |
| Finish quality | Good, slight visible fold on the inside | Cleaner, professional-looking from both sides |
| Difficulty | Beginner-friendly | Intermediate (requires stay-stitching and curve control) |
Path A: Double-fold armhole hem (beginner default).
Clip the armhole curve every ½ inch into the seam allowance. Fold the raw edge ¼ inch toward the wrong side, press. Fold again ¼ inch, press. Stitch close to the inner fold. One commenter summed up the appeal in a single line:
Path B: Single-fold bias tape binding.
Stay-stitch the armhole curve first, just inside the ½-inch seam line, to prevent it from stretching. Align the bias tape raw edge with the armhole raw edge, right sides together. Sew in the first crease, about ¼ inch from the raw edge. Fold the tape to the inside, press, and topstitch close to the folded edge.

Path B looks more finished. Path A gets the dress on the kid this weekend.
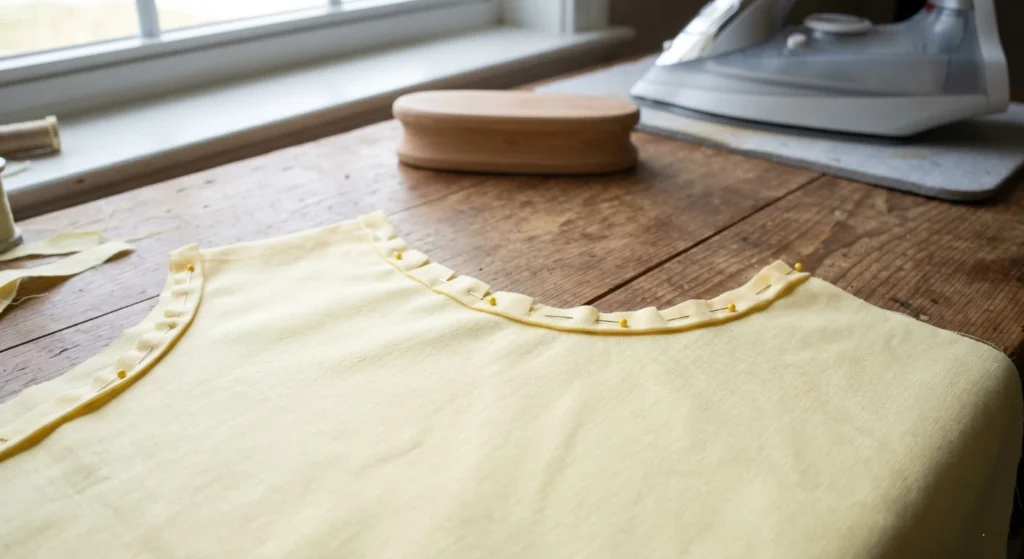
How Do You Make the Neckline Casing?
Fold the top edge of the dress ¼ inch toward the wrong side, and press. Fold again ¾ inch, press. Stitch close to the lower fold, leaving both side ends open so your ribbon or elastic can feed through. Repeat on the back.
Closure: choose by age.
- Ribbon ties for ages 3 and up. Thread 18 to 24 inches of ribbon through each side opening. Stitch through the casing and ribbon at the centre back to keep the ribbon from pulling free. One practitioner was blunt about the stakes: “I strongly encourage AGAINST [ribbon] as I can’t bear the idea of having long ribbons around a child’s neck.” – Blog, QuietLifeFarm.
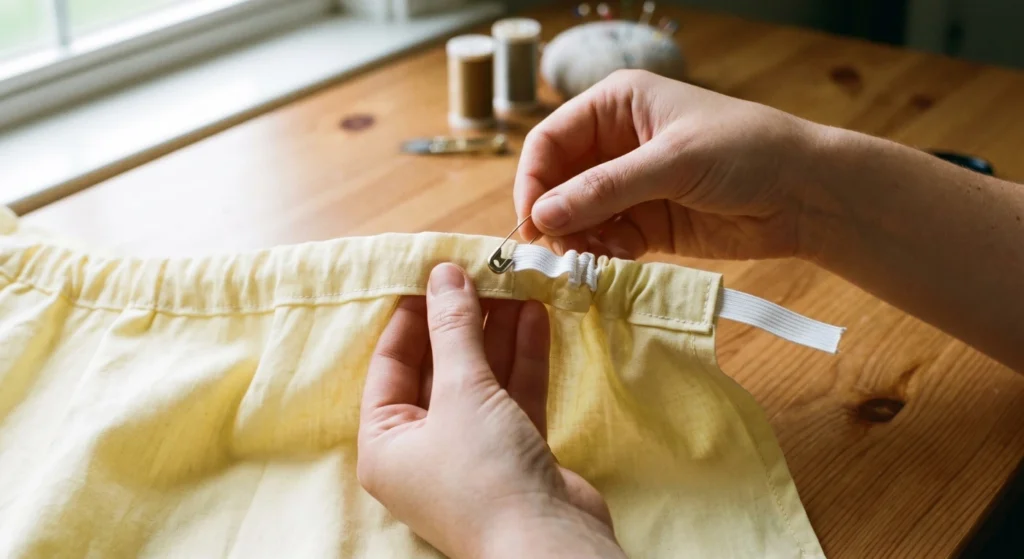
- Elastic casing for children under 3. This is a safety rule, not a style choice. Ribbons and drawstrings at a young child’s neckline are a documented strangulation hazard, which is why the U.S. Consumer Product Safety Commission restricts drawstrings in children’s upper-body clothing. Most charity dress programs require elastic for the same reason. Use ¼-inch elastic, cut to shoulder span minus 1 inch. Thread with a safety pin, stitch both ends to secure.
How Do You Hem the Dress?
Fold the bottom edge ¼ inch toward the wrong side, press. Fold again ½ inch, press. Stitch close to the upper fold.
For extra length on a taller child, add a 4-inch contrast band before hemming. It breaks up the silhouette and adds height without re-cutting the main body.
Is the Pillowcase Dress Done?
Before you declare the dress finished, run three checks:
- Does it fit the child’s body when they raise their arms? (Armhole should not pull.)
- Does the casing lie flat, with no twisted ribbon or elastic? (Smooth it by hand.)
- Is the hem even on a flat surface, not just on the wearer? (Lay the dress on a table.)
If one answer is no, the dress is not finished. It needs 10 more minutes, not a new identity as a “learning project.”
What Do You Sew Next?
Download the free printable field card for start-to-finish reference. It covers the full sequence on one page, with a fix-it table for the four most common failures (puckered seams, gaping armhole, twisted casing, uneven hem). It fits in a project bag.
Once the Pillowcase Dress is done, the skills you just built (straight seams, casings, clean hems) carry directly into the next tier of beginner garment construction. Simple kids’ dress patterns that use the same casing-and-rectangle logic include A-line sundresses, drawstring shorts, and peasant blouses. Each one is a new reason to use the machine you just mastered.
Finished your first Pillowcase Dress? Share a photo in the comments. We feature reader-made in our monthly roundup.
Frequently Asked Questions
-
What size fabric do I need for a pillowcase dress?
For a size 4 child, one yard of 44-inch-wide quilting cotton is enough. For sizes 8 and up, buy 1.5 yards. Adult versions need 2 yards minimum. Always check the measurement chart before buying. Bring your chest calculation (chest ÷ 2 + 4 inches of ease) with you to the fabric store.
-
Can I use an actual old pillowcase instead of cutting new fabric?
Yes. A standard pillowcase is pre-sewn on three sides, which saves the side-seam step. Cut off the closed end to create the hem opening, then cut armholes and finish the top casing. Use a king-size pillowcase for children over age 8. Check the fabric for thinning before starting.
-
What is the best fabric weight for a pillowcase dress?
Lightweight quilting cotton, cotton lawn, or double gauze. Avoid heavy canvas (too stiff for the silhouette) and slippery fabrics like silk or rayon challis if this is your first dress. Prewash and dry your fabric before cutting to prevent shrinkage after the first wash.
-
How do I fix puckered seams on my pillowcase dress?
Rethread the machine first. If puckering continues, reduce top tension by one number and sew a fresh test scrap. Check that your needle is sharp (size 80/12 for cotton). If the fabric bunches under the presser foot, lengthen your stitch to 2.5 millimetres and sew more slowly.
-
Is it safe to use ribbon ties on a pillowcase dress for a toddler?
For children under age 3, use an elasticised casing instead of ribbon. Ribbons and long ties at the neckline are a strangulation hazard, which is why the U.S. Consumer Product Safety Commission restricts drawstrings in children’s clothing. For children 3 and up, ribbon is acceptable if you stitch through the casing and ribbon at the center back to prevent the ribbon from pulling through.
-
What do I do if the armhole gapes when my child raises their arms?
The armhole is cut too deep for the chest measurement, or the chest ease is too generous. On a future dress, reduce chest ease from 4 inches to 3 inches and raise the armhole by ½ inch. On the current dress, add a narrow elastic loop under the arm to pull the armhole tighter.
-
Can an absolute beginner really finish a pillowcase dress in one day?
Yes, with preparation. A prepared beginner with a working machine and the prerequisite three skills (straight seam, casing, hem) can complete one in two to three hours of active sewing. Budget an extra hour for machine pre-flight and measuring. Do not trust “30 minutes” claims online.
Why did you vote that way? Drop your take in the comments.