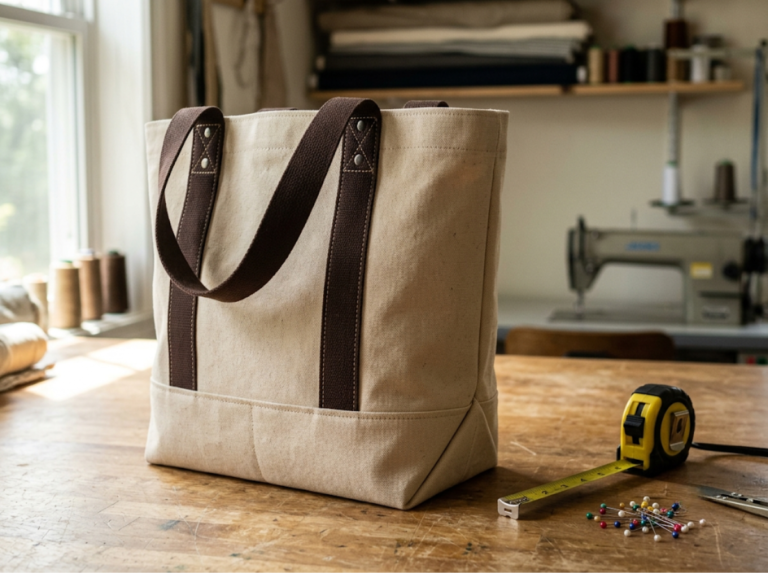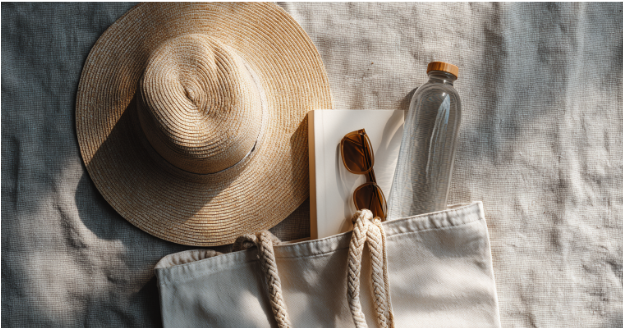

Tired of flimsy bags digging into your shoulder and straps that slip off before you even hit the sand? You need something sturdy enough to carry your essentials and stylish enough to match your summer vibe. Say hello to the rope-handled beach tote. It comes with thick braided straps instead of leather or flat webbing. These handles are usually made from cotton or synthetic blends that resist fraying and feel soft on the shoulder. Their twisted texture gives off a laid-back, beachy vibe that standard totes simply lack.
DIY Rope-Handled Tote Tutorial
Here’s a step-by-step guide to sewing a durable rope-handled tote.
Materials and Tools:
- Outer fabric (canvas or jute), about 1 yard
- Lining fabric (cotton or similar), roughly ½ yard
- Braided rope (cotton or synthetic blend), two lengths about 1½ times your bag’s width each
- Metal grommet kit
- Coordinating thread
- Fabric marker or tailor’s chalk
- Ruler and measuring tape
- Straight pins
- Sewing machine (or hand-sewing needles if you prefer)
- Iron and ironing board
Step 1: Cut Your Fabric
Measure and mark two identical rectangles on the outer fabric and two on the lining using a ruler and fabric marker. Carefully cut along those lines to ensure straight even edges on all four panels.
Step 2: Sew the Bag Body
With your outer panels aligned right sides together, pin along the sides and bottom edge. Sew a half-inch seam allowance along those three edges then trim excess fabric and clip the corners to reduce bulk. Turning that tube inside-out later will create clean, crisp bag corners.
Step 3: Prepare and Attach the Lining
Place your two lining pieces right sides together and pin around the sides and bottom. Afterward, leave a four-inch gap on one side so you can turn the bag later. Sew around the pinned edges with a half-inch seam allowance, then snip each corner to make flipping easier. Reach in through the gap, flip the lining right side out, and gently push each corner to form crisp angles. Then, press the seams flat with an iron to give your lining a neat look.
Step 4: Combine Outer Bag and Lining
Keep the outer bag inside out, then insert it into the lining so their right sides face each other, and raw top edges align. Next, sew a quarter-inch seam to join the two layers and close the lining gap. Press this top edge flat to give your tote a clean, finished look.
Step 5: Install the Grommets
Mark two spots on each side of the bag about three inches from the side seam and one inch down from the top. Use the grommet kit’s punch tool to create holes, then secure the metal pieces in place. Firm grommets prevent the fabric from stretching out around the rope.
Step 6: Thread and Secure the Rope Handles
Cut two rope lengths roughly four inches longer than your bag’s width. Thread each through its pair of grommets, tie a tight knot at both ends, and tuck those knots inside the lining. Gently tug the handles to confirm everything sits firmly before you head to the beach.
How To Style Your New Tote
Ready to take your rope-handled tote off the sand and into the city? Pair it with a breezy sundress and wedge sandals to nail a relaxed brunch look, then swap in white sneakers and a denim jacket for errand runs. A rope-handled tote can easily hold your laptop and planner, so you can bring it along to your favorite café. You can also knot a printed scarf around one handle to add extra color to any casual outfit.
DIY Rope-Handled Tote: Time to Hit the Shore
Summer’s not over yet and there’s still time to create your perfect beach companion. Hungry for more sewing adventures? Visit sewing.com for more step-by-step tutorials!
Which color combo will you choose for this project?
Frequently Asked Questions
- What is a rope-handled tote?
It features thick braided rope straps instead of flat webbing for a sturdy, beach-ready carryall. - What materials are needed to make a rope-handled tote?
You need canvas or jute fabric, lining material, braided rope, metal grommets, coordinating thread, and basic sewing tools. - How do I cut the fabric panels?
Measure and mark two outer panels and two lining panels. Cut along straight lines with sharp scissors. - What seam allowance should I use when sewing the tote body?
Use a half-inch seam allowance around the sides and bottom to join outer panels. Clip corners before turning. - How do I attach and secure the lining?
Pin the lining pieces right sides together and sew with a half-inch seam allowance, leaving a four-inch opening. Turn it right side out through the gap. - How do I install grommets in my tote?
Mark grommet placements three inches from the side seams and one inch down from the top edge. Use a punch tool and follow the kit instructions to set the metal pieces. - How do I thread and secure rope handles?
Cut rope lengths slightly longer than the bag width, then thread them through grommets and tie knots at both ends. Tuck knots inside the lining. - How do I clean and care for a rope-handled tote?
Spot clean the canvas with mild soap and water. Allow it to air dry away from direct sunlight. - Can I customize my rope-handled tote?
Select a colored rope or patterned lining fabric to complement your style. Add exterior pockets or patches for a personal touch. - How can I style a rope-handled tote beyond the beach?
Pair it with jeans and a linen shirt for a casual brunch look. Swap beach towels for your laptop and notebooks to take it to a café session.