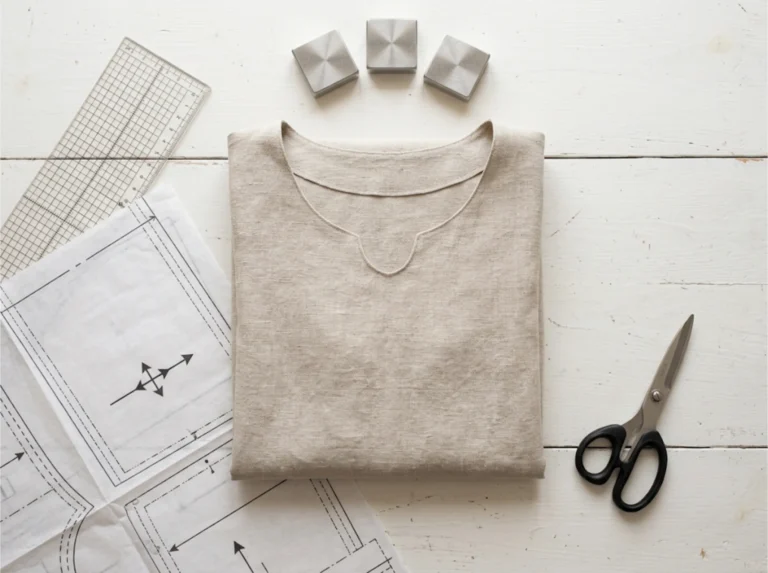
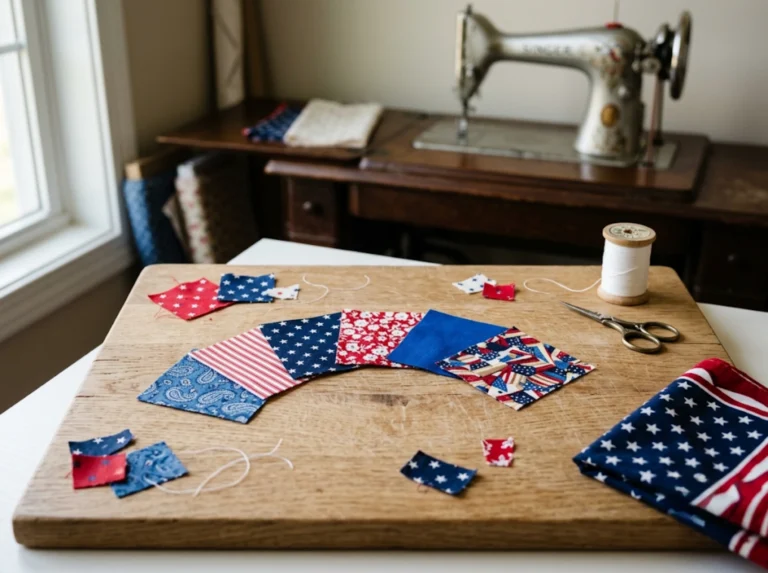
Phones endure a lot of daily wear, especially when they get tossed in purses next to keys and coins. Even with protective cases, scratches and scuffs can still happen. While a phone pouch can come in handy in these situations, you don’t need to keep buying cases. Instead, this tutorial will show you how to make one from scratch. Even better, you can repurpose curtains, t-shirts, or other old fabrics to make this project. Ready to DIY?
TL;DR: Floor Pillows
- Floor pillows are highlighted as versatile décor and seating options, great for adding extra comfort and relaxed styling to living rooms, playrooms, or reading nooks.
- Selecting the right size and shape is key; oversized cushions look cozy, but must fit your room’s floor space without overwhelming it.
- Material and maintenance matter: opt for durable, easy-clean fabrics (especially in high-traffic areas) and consider removable covers for ease of washing.
- Style-wise, floor pillows can inject texture, color, or pattern into a space, and choosing upholstery-grade fabrics or standout prints elevates them beyond basic cushions.
- The piece encourages mixing functionality and aesthetics: a floor pillow should be comfortable to sit on, stable in shape, and visually aligned with the room’s decor.
Related: Sewing 101 | Most Important Sewing Terms You Need To Know Now
Materials
- Fabric scraps
- Sewing machine or hand sewing needle
- Thread
- Fabric scissors or rotary cutter
- Sewing pins or fabric clips
- Measuring tape
- Chalk pen or fabric marker
- Cutting mat
- Iron
Step 1: Measure and Cut the Fabric
Measure your phone with the case included. To ensure it fits well, you’ll need enough fabric to wrap around the phone 2.5 times. That’s front, back, and an extra bit for seam allowance. A good rule of thumb:
- Height: 2.5× the height of your phone (including case)
- Width: Add an extra 0.25-0.5” on both sides for seam allowance
Use chalk to mark these dimensions, then carefully cut the fabric. If unsure, cut slightly larger and trim later.
Step 2: Prep the Edges
We don’t want any fraying edges! Fold the top edge of the fabric down by about 1/4 inch. Then, sew along the fold with a straight stitch to keep it in place.
Repeat the same folding and sewing process for the bottom edge to give the fabric a clean finish.
Step 3: Fold and Pin the Fabric
Lay the fabric face-up on your work surface. Then, fold the top third down to make the flip-over flap of the phone pouch.
Then, fold the bottom portion up to create the main pocket. The two sections should overlap slightly in the middle. Pin or clip the two long sides together.
Place your phone on top of the folded fabric to check that it fits before sewing. If it looks too snug, adjust your folds to allow more space.
Step 4: Sew the Pouch Together
It’s time to sew the pouch! Start at the bottom edge and sew along the pinned sides. Take your time to sew evenly. Afterward, flip the pouch inside out. The seams should now look neat and professional-looking.
Step 5: Final Adjustments
Insert your phone to test the fit. If the pouch feels too tight or too loose, adjust the sides slightly by sewing them in or letting them out. Trim any excess fabric or stray threads to clean up the edges.
Once happy with the fit, add any final touches. You can personalize your phone pouch with heat transfer vinyl designs or embroidery to reflect your style.
Call It a Pouch-Fect Finish!

There you have it, you now have your very own handmade phone pouch! Not only will it protect your phone, but it’s also a fun way to learn basic sewing skills and use up leftover fabric.
This project makes for a great first sewing adventure, and if you’re feeling creative, you can try making a few in different colors or give them as gifts. Did you try this tutorial? I’d love to hear how it went, so drop a comment below or tag me on social media!
Want more beginner sewing tutorials? Check out my full collection at Sewing.com
10 FAQs: Phone Pouch Sewing Tutorial
1. What is a DIY phone pouch?
A DIY phone pouch is a handmade fabric sleeve designed to protect your phone using simple sewing techniques and minimal materials.
2. What fabric is best for making a phone pouch?
Thicker outer fabrics like canvas or upcycled blackout curtains work well, paired with a soft lining like cotton or jersey. Check this upcycle tutorial.
3. Can I hand-sew a phone pouch instead of using a machine?
Yes! It may take longer, but a phone pouch is absolutely doable by hand using basic stitches.
4. How much fabric do I need for this project?
You’ll need a piece about 18″ x 5″, depending on your phone’s size, including seam allowances.
5. Is this a good sewing project for beginners?
Definitely! This is a great beginner project to learn measuring, cutting, folding, and straight stitching.
6. How do I measure my phone for a custom pouch?
Wrap your phone with fabric 2.5 times its height and add 0.25–0.5” seam allowance on each side.
7. Can I personalize the phone pouch with decorations?
Yes! Add patches, heat transfer vinyl, embroidery, or buttons to customize your pouch.
8. How do I keep the pouch flap closed?
Make sure the top flap overlaps the bottom securely. You can also add Velcro or snaps if you like.
9. Can I wash the phone pouch?
Yes, but make sure your fabric is washable. Pre-wash your fabric before sewing for the best results.
10. What if I make a mistake while sewing?
No worries! Use a seam ripper to undo stitches and try again. Mistakes are part of the learning process!