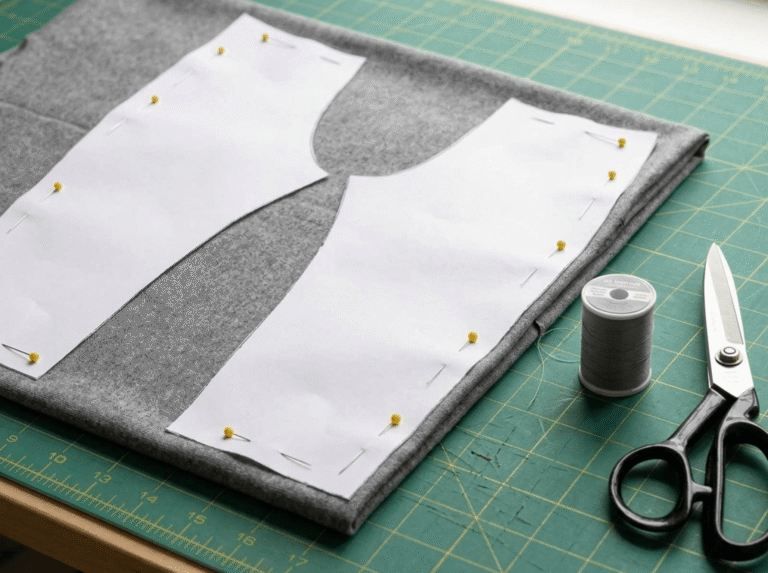

Back-to-school season is here. The supply list is taped to the fridge and last year’s backpack is starting to fall apart. If your kid is already stuffing sneakers and notebooks into a bag that won’t zip, try a drawstring bag instead. It stays light on their shoulders, and you get to pick a fun fabric. In this tutorial, you’ll learn each step to make a simple drawstring bag. Let’s jump in and make something your kids will actually use!
What You’ll Need
- Medium- to heavy-weight fabric, cut to 15 x 34 inches
- Quilter’s cotton, cut to 8 x 10 inches
- Two lengths of nylon cord, each about 68 inches long
- Two grommet sets and a basic setter tool
- A sewing machine, thread, scissors, pins, iron, and a safety pin
Step 1: Cut and Assemble the Pocket
Lay the 15 x 34-inch fabric rectangle flat, with the wrong side facing up. If you’re including a pocket, take the 8 x 10-inch cotton piece and fold it in half to form an 8 x 5-inch rectangle. Then, keep the right sides of the fabric facing each other.
Next, sew around the two long sides and one short side and leave a small gap along the bottom. Turn the pocket right side out and press it flat. Then, fold the raw edges into the gap and press them as well.
To attach the pocket, measure about 7 inches down from one of the short ends of the main fabric. Center the pocket in that space, pin it in place, and then stitch along the sides and bottom to secure it.
Step 2: Fold and Stitch the Casings
Move to one of the short edges of the main fabric. Fold the edge toward the wrong side by ½ inch and press. Then, fold it again by 1 inch to form the casing and press the fold.
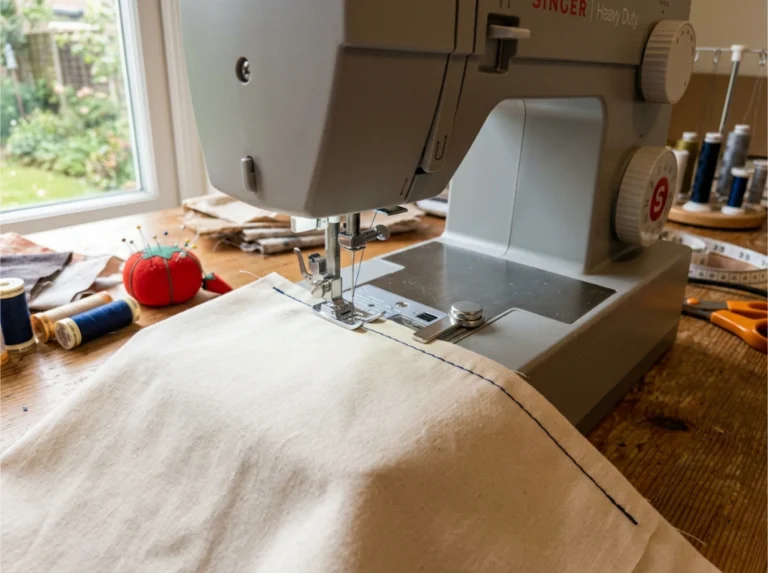
Afterward, sew close to the inner edge to secure the fold and complete the casing. Repeat this process on the other short end. After both edges are done, ensure the casings are wide enough to allow the drawstring cords to pass through.
Step 3: Sew the Side Seams
Fold the fabric in half lengthwise so that the two short ends with the casings align. Then, keep the right sides of the fabric together and pin the long sides.
Then, start sewing from the bottom fold and work your way up along each pinned side. Use a ½-inch seam allowance. As you approach the top of the bag, hold the casing open and sew as close as possible to the lower edge of the casing and avoid closing off the drawstring channel.
To prevent fraying, use a zigzag stitch. After sewing, turn the bag right-side out and neatly press the seams flat.
Step 4: Add the Grommets
Find the bag’s bottom corners. At each corner, measure ½ inch up from the bottom seam and ½ inch in from the side seam. Use a chalk or a fabric pen to mark these points.
Next, use a grommet ring to trace a circle over each mark. Carefully cut out the center of each circle to create an opening just large enough for the grommet to fit through. Then, insert the male side of the grommet from the inside of the bag and place the female side on top. Use the setter tool and a hammer to lock them together. Repeat the same process for the second corner.
Step 5: Thread the Drawstrings
Take one cord and attach a safety pin to one end. Guide it through the first casing from left to right, then continue through the second casing in the same direction.
Grab the second cord and repeat the process, starting from the right side and feeding it through both casings toward the left. Now, there should be a loop on each side.
At the bottom of the bag, thread each pair of cord ends through the nearby grommet. Tie a firm knot underneath each one to secure the cords.
Drawstring Bag: All Packed and Ready to Go
You just made a drawstring bag with your own two hands! Want to keep the sewing streak going? For easier projects like this, check out what’s new at Sewing.com.
FAQs
- What fabric is best for a DIY drawstring bag?
Cotton or canvas works great—they’re durable, easy to sew, and washable. - Can beginners make this drawstring backpack?
Yes! This tutorial is beginner-friendly and walks you through each step. - How long does it take to sew a drawstring bag?
Most people can finish it in under two hours, even with breaks. - Is this bag the right size for school use?
Yes, it’s big enough for essentials like water bottles, notebooks, or gym shoes. - Can I make this drawstring bag without a sewing machine?
Technically yes, but using a machine will make it much faster and neater. - Are grommets necessary for this project?
Not required, but they make the bag sturdier and more polished. - What type of string should I use for the drawstrings?
Clothesline cord, thick yarn, or even shoelaces can work well. - Is it safe for kids to help with this project?
Yes—older kids can help with measuring, cutting, and turning the bag right-side out. - Can I customize the size of the bag?
Absolutely. Just adjust the fabric dimensions before you start. - Will this bag hold up to daily school use?
With strong seams and reinforced corners, it holds up well for everyday use.