
My DIY pin cushion wrist cuff is a sewing accessory that I can’t live without. It is a sewers best friend. The closer it is to her the better–because she needs it constantly.
I believe the best pin cushions are the ones that attach to the wrist for easy sewing. Imagine the easy access it gives and how cheap it is to make! That is why I made this tutorial for you.
How To Make Your Own DIY Pin Cushion Wrist Cuff For Easy Sewing
Embroidered Pin Cushions
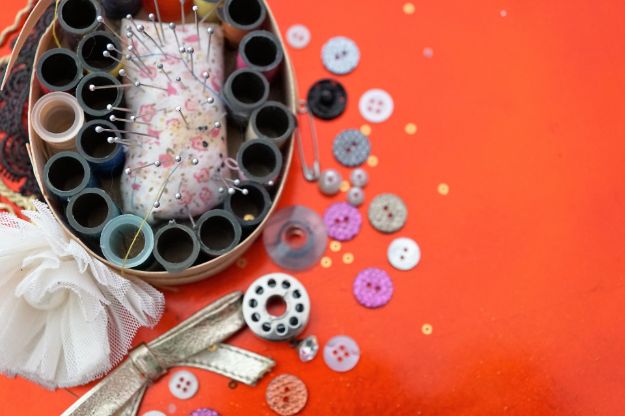
DIY pin cushion wrist cuff are god sent and they’re a great add-on for an easy-to-make sewing kit. It is also a very efficient way of keeping pins and needles in one place. There is no need to stop your sewing just to look for pins because everything is on your wrist. You can use any fabric you like for this sewing project and we are sure you are going to love it. Get creative. Do not limit yourself with a circle design!
What you will need:
Ready? Get set…Sew!
1. Tracing the circles
Trace two circles on the fabric, about 18 cm on the fabric. Then, cut it with a sharp pair of scissors.
2. Elastic for the wrist
Measure how much elastic you will need by wrapping it around your wrist. Make it snugly fit and then cut.
3. Sew all the pieces together.
Pin the ends of the elastic to the edges of one circle. Put the other circle on top of it and machine sew around both of the fabrics. Turn it inside out
4. Stuff it
Fill in the pin cushion with poly-fil. Then, sew the open edge closed.
5. Sew on the leather

Now, sew the leather on one side. This will be the side that touches your skin.
Let’s take a look how easy this project from madebyaya. She made the process look very easy and fast.
Now you have a great DIY pin cushion wrist cuff for your easy sewing kit! There are other alternatives to poly-fil stuffing. You can also use fillings from old plushies or pillows. Some people say that hair is also a good choice because of the natural oils left behind. You can also personalize your project by adding embellishments like buttons, sequins, and even patches. Enjoy!
Do you love to learn more easy sewing projects? Read here.


