
Making your own clothes is a fun and rewarding experience, and creating a tube dress is a great way for beginners to learn the art of sewing. A tube uses simple design with minimal sewing, yet the end result is stylish and wearable. Whether you’re new to sewing or looking for a quick project, this guide will take you through each step of making your own custom tube dress. In no time, you’ll have a versatile piece to wear and show off!
Step-by-Step Instructions
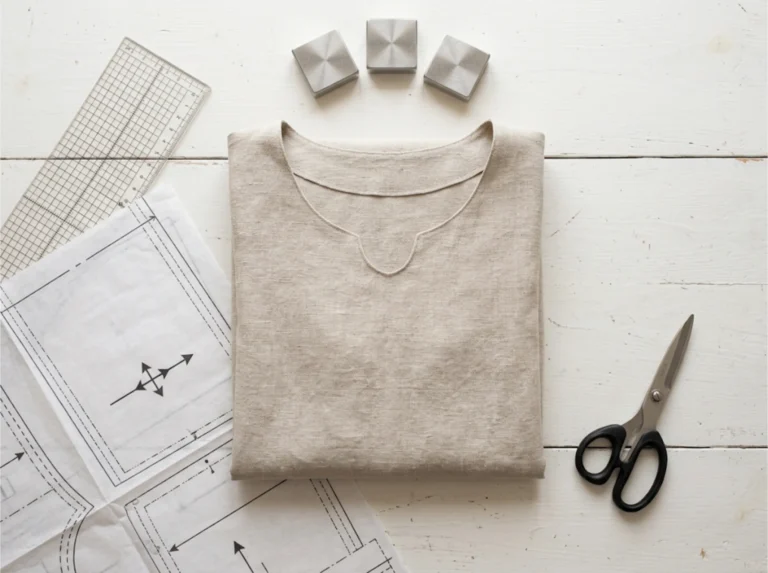
Materials Needed
- Fabric
- Sewing machine and thread
- Measuring tape
- Scissors
- Pins or fabric clips:
- Elastic or drawstring (optional)
Step 1: Measuring and Cutting the Fabric
Start by taking accurate measurements of your bust, waist, and desired dress length. Use the measuring tape to measure around the fullest part of your bust, the smallest part of your waist, and from your waist to your desired hemline.
Now, based on your measurements, cut two rectangles of fabric. Standard size (e.g., medium) usually measures 30 inches for the bust, 24 inches for the waist, and 25-30 inches for the length. Whatever your size preference, add 1-2 inches of extra fabric for seam allowances.
To ensure a clean cut, use sharp fabric scissors and pin the fabric in place to avoid shifting. Taking your time with the cutting will ensure a smooth, well-fitted dress later on.
Step 2: Sewing the Side Seams
With the right sides of the fabric facing each other, pin the side edges of the two pieces together. Starting from the top, sew along the sides and leave a space of about 6-8 inches at the top for the armholes.
When sewing, use a straight stitch and be sure to backstitch at both ends of the seam to secure the fabric. These side seams will shape your dress, so take care to keep them even.
Step 3: Creating the Top Hem
Now it’s time to create the top hem where your elastic will go. Fold the top edge of the fabric down by about 1-2 inches to form a casing. Sew along this fold but leave a small opening approximately 2 inches for the elastic.
To insert the elastic, attach a safety pin at one end and use it to guide it through the casing. Once the elastic is fully threaded, overlap the ends and sew them together to secure. Then, sew the opening closed to finish the top hem.
Step 4: Adding the Bottom Hem
For a clean, professional finish, fold the bottom edge of your fabric by about an inch, and sew it in place to create a hem. If you want to add a little extra flair, sew on a decorative trim, lace, or even add elastic to create a gathered look.
Step 5: Final Touches and Fit Adjustments
After sewing your dress, try it on and check the fit. If the top feels loose, add more elastic to tighten it up. If the dress is too long, simply hem the bottom to your desired length.
Make sure the dress stays comfortably in place by adjusting the elastic or tweaking the side seams if necessary. Small adjustments can make a big difference in comfort and fit.
From Fabric to Fashion: You Did It!
Once you’re done with your first tube dress, the possibilities are endless! You can experiment with different fabrics like flowy chiffon or personalize with beads or embroidery. Trust me, the satisfaction of wearing something you made yourself is unbeatable!
Have fun creating your tube dress! If you’re looking for more beginner-friendly sewing projects, check out the other tutorials on our blog to keep improving your skills. Happy sewing!
FAQs: How to Make a Simple Tube Dress
- Do I need a pattern to make a tube dress?
No, you can use basic body measurements and cut rectangles to fit. - What fabric works best for beginners?
Lightweight cotton or jersey—easy to sew and comfortable to wear. - Can I make a tube dress without a sewing machine?
Yes, but it will take longer. Use a strong hand stitch for seams. - How much fabric do I need?
About 1 to 1.5 yards, depending on your size and desired length. - Do I need to add elastic?
Elastic at the top helps the dress stay up, especially if strapless. - Can I add straps to the dress?
Yes—use fabric scraps to create simple straps or ties. - What’s the easiest way to hem the bottom?
Fold twice (about ½ inch each) and sew along the edge. - Will the dress stretch out?
If made from stretchy fabric, yes slightly—adjust fit as needed. - Can I wear it as a beach cover-up?
Absolutely—it’s lightweight, easy to slip on, and perfect for warm weather. - How long does it take to make?
1 to 2 hours for beginners, depending on your pace.