Wearing the right clothes in hot weather is one thing. Finding the pieces that actually work is much harder. Some pinch where they shouldn’t. Meanwhile, others hold sweat or hang stiff off the body. The right summer dress should give you a way around these problems. You control the weight of the fabric and the length that works best for your day. You also get to decide how loose or close it sits and where it moves when you do. It becomes something made for heat, not tolerated in it. This guide breaks the process into clear steps so you can make the right summer dress yourself even if you’ve never sewn before.
Sew Your Perfect Summer Dress: A Practical Guide to Style and Comfort
As temperatures rise, finding a dress that’s both comfortable and flattering can feel like a challenge. But why settle for something that doesn’t quite fit when you can create a custom piece that works for your body? This guide will walk you through the essential steps, from taking accurate measurements to sewing the perfect fit. Let’s start with the basics.
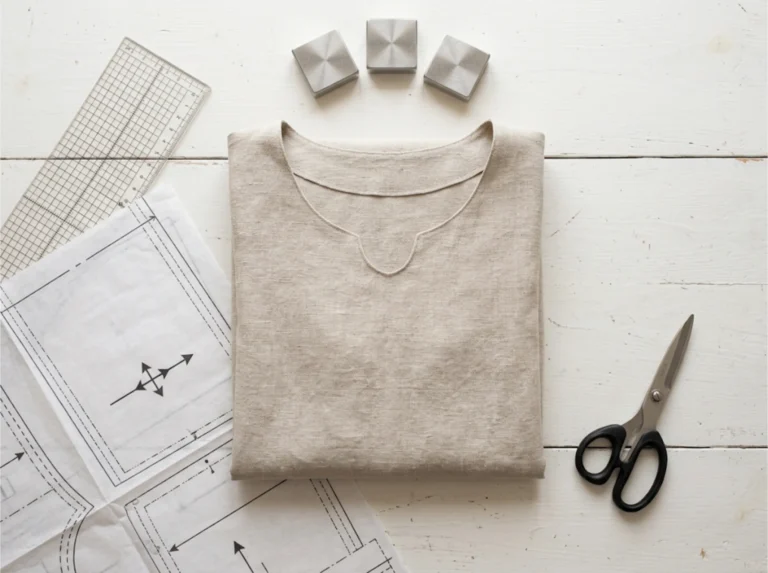
Essential Supplies
- Measuring tape
- Fabric scissors
- Pins or clips
- Matching thread
- Sewing machine
- Elastic (optional for a gathered waist)
- Safety pin (for threading elastic)
🧵 Step 1: Take Measurements
To create a perfect fit, you need to measure key areas of your body. Accurate measurements will help ensure your dress fits comfortably and flatters your shape. Grab a measuring tape, stand in front of a mirror, and follow these steps:
- Bust – Wrap the measuring tape around the fullest part of your chest. Make sure the tape sits evenly across your back to ensure accuracy of each measurement, and your clothes won’t feel too tight or loose.
- Waist – Locate the narrowest part of your torso, which is usually just above your belly button. Hold the tape snugly around this area, but avoid pulling too tight, as this can lead to an uncomfortable fit.
- Hips – If you want a loose and flowy dress, measuring your hips may not be necessary. However, if you prefer a more fitted look, wrap the tape around the widest part of your hips to determine how much fabric you’ll need.
- Desired Length – Think about whether you want a mini, midi, or maxi dress. Place the measuring tape at the top of your shoulder and extend it down to your preferred length. This step ensures that your dress falls exactly where you want it.
✏️ Step 2: Draft Your Pattern
This dress follows a simple rectangle-based design. Here’s what to do: cut two fabric rectangles. To get the right width, take your bust measurement and add 2 inches for seam allowance. For length, choose your preferred dress style and cut accordingly. For straps, cut two narrow fabric strips about 16 inches long and 1.5 inches wide. However, you can adjust the length if needed. If you’re adding stretchability, cut an elastic strip that fits snugly around your waist without being uncomfortable. For an A-line shape, slightly widen the bottom of the rectangles before cutting to create a gentle flare.
🏗️ Step 3: Start Sewing
Now that your fabric pieces are cut and your pattern is ready, it’s time to bring the dress to life. This stage is where the shape starts to form, and the little details begin to matter. Here’s how to sew your dress, one step at a time:
- Sew the Side Seams: Place your fabric pieces right sides together, and make sure the edges align properly. Sew along both sides and leave an opening at the top for the arms. Use a ½-inch seam allowance so you have enough room for adjustments if needed.
- Create a Casing for the Elastic (Optional): If you want an elastic waist, fold the fabric at the waistline to create a casing. Stitch along the edge, and leave a small opening for inserting the elastic. Thread the elastic through with a safety pin, and adjust it to fit comfortably before sewing the ends together.
- Hem the Bottom: To finish the bottom edge neatly, fold it ¼ inch up, then another ¼ inch to enclose the raw edge. Stitch all the way around, and keep the seam even for a polished look.
- Finish the Top Edge: For a strapless style, fold the top edge down by ½ inch and stitch to create a clean finish. If you are adding straps, leave small openings where you will attach them later.
🎀 Step 4: Attach the Straps
Take the fabric strips you cut earlier and fold them lengthwise with the right sides together. Stitch along the edge to form a narrow tube. Turning them right-side out can be tricky, so use a safety pin to guide the fabric through more easily. After you flip the straps, pin them to the front and back of the dress. Try the dress on to check the strap placement, and then sew them securely in place.
Why Sewing Your Own Summer Dress Is Worth It
Creating your own summer dress is an act of ownership. It’s also chance to step away from what everyone else is wearing and craft something that fits not only your body but your sense of style as well.This process connects you to your clothes in a way store-bought never will.
So, what’s the next project you want to dive into, now that you’ve seen what you’re capable of?
📌 FAQs
1. Can I sew this by hand?
Yes! Use a backstitch for strong seams, and take your time.
2. What fabric works best for this dress?
Lightweight cotton, linen, or rayon will keep you cool.
3. How do I make this dress more fitted?
Add darts at the bust or use a belt to cinch the waist.
4. Can I add sleeves?
Yes! Cut extra fabric for sleeves and attach them at the armholes.
5. How do I make an adjustable strap?
Use elastic or tie-able fabric strips for a flexible fit.
6. What if I don’t have a sewing machine?
No problem! Hand-sew with a strong backstitch for durability.
7. How do I prevent fraying?
Use pinking shears, a zigzag stitch, or serge the edges.
8. Can I add pockets?
Absolutely! Cut two pocket pieces, sew them to the side seams, and topstitch.
9. How do I wash a handmade dress?
Wash gently in cold water and air dry to keep it looking fresh.
10. What if my dress is too loose?
Take in the side seams or add elastic at the waist.