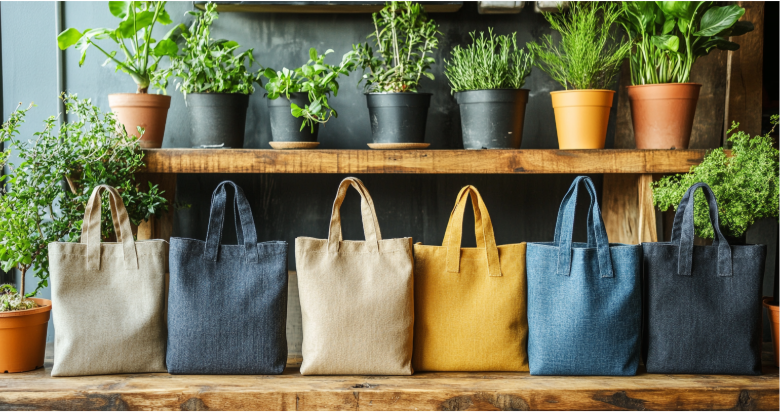

Plastic bags are everywhere: they clutter landfills, pollute oceans, and yet take centuries to break down. This Earth Day, let’s ditch plastic and make stylish, reusable shopping bags instead! Sewing your own reusable bags is easy, fun, and great for the environment. Plus, you get to customize them with fabrics you love. Let’s break it down step by step.
Why Make Your Own Reusable Bags?
Store-bought reusable bags work good enough, but they aren’t always durable or stylish. Most reusable bags are also made from synthetic materials that might be harmful to the planet. By sewing your own, you control the material, size and style. Plus, handmade bags make thoughtful gifts!
Best Fabrics for Reusable Bags
Durability matters when creating reusable bags. Here are the top recommended fabrics:
- Cotton Canvas – Sturdy, washable, and easy to sew. Cotton canvas is great for everyday shopping.
- Denim – Upcycle old jeans into trendy, tough grocery bags.
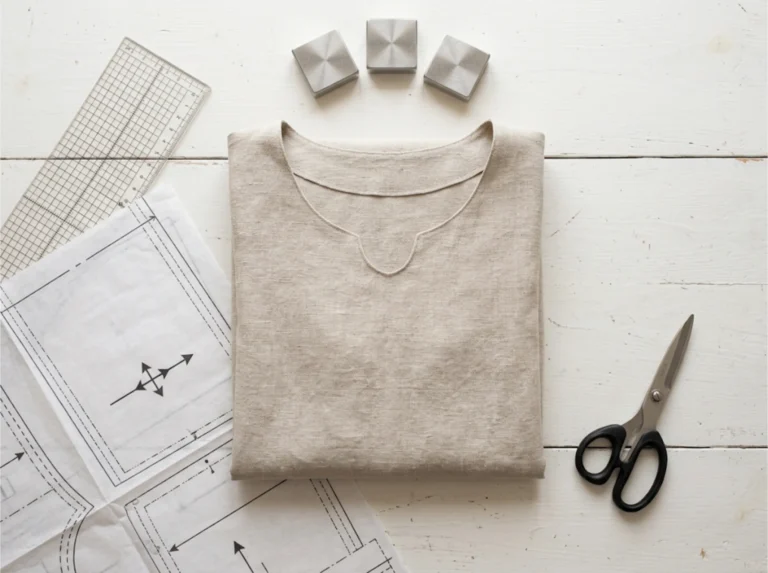
- Linen – Lightweight but strong. Linen also folds easily, which is great for compact storage.
- Muslin – Perfect for produce bags. Muslin is soft, breathable and washable.
- Oilcloth – Water-resistant and wipeable, oilcloth is ideal for wet items.
Avoid any type of stretchy, delicate fabrics as they won’t hold weight and can fray quickly.
Simple DIY Reusable Bag Pattern
This beginner-friendly pattern makes a reliable everyday shopping bag.
Supplies You’ll Need
✔ 1 yard of fabric (cotton canvas or denim)
✔ Matching thread
✔ Fabric scissors
✔ Pins or clips
✔ Sewing machine (or hand-sewing needle)
✔ Iron
Step-by-Step Instructions
- Cut the fabric – Cut two 18” x 20” rectangles for the bag body. Then, cut two 4” x 20” strips for handles.
- Sew the sides – Place the rectangles right sides together. Sew along the sides and bottom with a ½” seam allowance. Finish raw edges with a zigzag stitch.
- Create a flat bottom – Flatten the bag so the side seams meet the bottom seam. Then, sew across each corner, 2” from the point. Trim the excess fabric.
- Hem the top – Fold the top edge down ½”, then again 1”. Afterward, press with an iron and sew around the hem.
- Attach the handles – Fold each handle strip in half lengthwise. Sew along the open edge, then turn right side out. Press flat and attach handles to the inside of the bag, 5” from each side seam. Finally, sew securely with a box stitch.
Your reusable bag is now ready to use!
Fun Ways to Customize Your Bag
Plain bags work just fine but adding personal designs makes them even better.
🎨 Fabric Paint – Hand-paint flowers, adorable animals or cute Earth Day quotes.
🧵 Embroidery – Stitch your initials, a leafy design or a fun slogan.
✂ Pockets – Add an exterior or interior pocket for extra storage.
🛍 Foldable Design – Sew a small pouch inside so the bag folds into itself.
How to Reinforce Your Reusable Bag for Heavy Loads
A strong bag lasts longer and carries more items. Here are some tips to make a heavy-duty bag:
Choose a Stronger Stitch
A regular straight stitch works, but a double-stitched or reinforced seam adds more durability. Also, try a French seam or a flat-felled seam to prevent fraying.
Add an Interfacing Layer
A fusible interfacing layer between the fabric gives the bag extra structure and strength. Medium-weight interfacing works for cotton, while heavyweight is best for canvas or denim. Apply this to the bag’s handle areas and bottom part for extra support.
Reinforce the Handles
Bag handles take the most stress. Attach them with a box stitch with an X inside, also called an X-box stitch. It keeps handles secure even when carrying heavy groceries. If making long straps, consider doubling the fabric for added durability.
Sewing Mistakes to Avoid When Making Reusable Bags
Even a simple project has pitfalls, but avoiding these mistakes will help your finished bag last longer.
Using the Wrong Fabric
Thin or stretchy fabric won’t be able to hold weight and will wear out fast. Choose medium to heavy-weight fabric like canvas, denim or cotton. If using lightweight quilting cotton, add interfacing for extra strength.
Skipping Seam Finishing
Raw edges weaken the bag over time. Prevent this by finishing seams with a zigzag stitch, pinking shears or doing an overlock stitch. Finishing seams may seem like a simple process, but they make the bag more durable.
Misplacing the Handles
Uneven straps look off and strain the seams. When making the bags, evenly space and securely attach the handles. Also, measure the straps first before sewing them on.
Not Pre-Washing the Fabric
Cotton and linen shrink after washing, which can distort your finished bag. Pre-wash and dry the fabric before cutting to prevent unexpected shrinking or warping later.
More Than Just a Sewing Project
One reusable bag won’t save the planet, but it’s a start. Sewing your own means fewer plastic bags in landfills and a unique, stylish tote in your hands. Keep experimenting, keep sewing, and let every stitch be an act of change for a cleaner planet.
FAQs About Sewing Reusable Bags
- What’s the best beginner-friendly fabric?
Cotton or canvas. They’re sturdy and easy to sew. - Can I sew a reusable bag by hand?
Yes! Use a strong backstitch for durability. - How do I make a bag machine washable?
Prewash fabric and use reinforced stitches. - What’s the best way to attach handles?
Sew an “X” pattern where the strap meets the bag for extra strength. - Can I use old clothes for bags?
Absolutely! T-shirts, jeans, and pillowcases work great. - How do I make a waterproof bag?
Use oilcloth, laminated cotton, or add a waterproof lining. - What size should my bag be?
Standard totes are about 16” x 18”, but you can customize them. - How do I add a pocket to my bag?
Sew a smaller rectangle onto the front before assembling the bag. - Can I make a reversible tote?
Yes! Sew two bags together with the right sides facing out. - How do I clean reusable bags?
Wash cotton bags in cold water. Wipe oilcloth bags with a damp cloth.