


What is a punch needle? Punch needle embroidery or needle punching is a type of embroidery that pushes a thread or yarn into the fabric instead of stitching it in. This creates highly-textured end products that are absolutely beautiful to look at.
Interested? Get your punch needle embroidery project started with this short guide — perfect for beginners and experts alike!
RELATED: Sewing 101: What Are The 7 Different Types Of Sewing Needles?
Punch Needle Embroidery 101
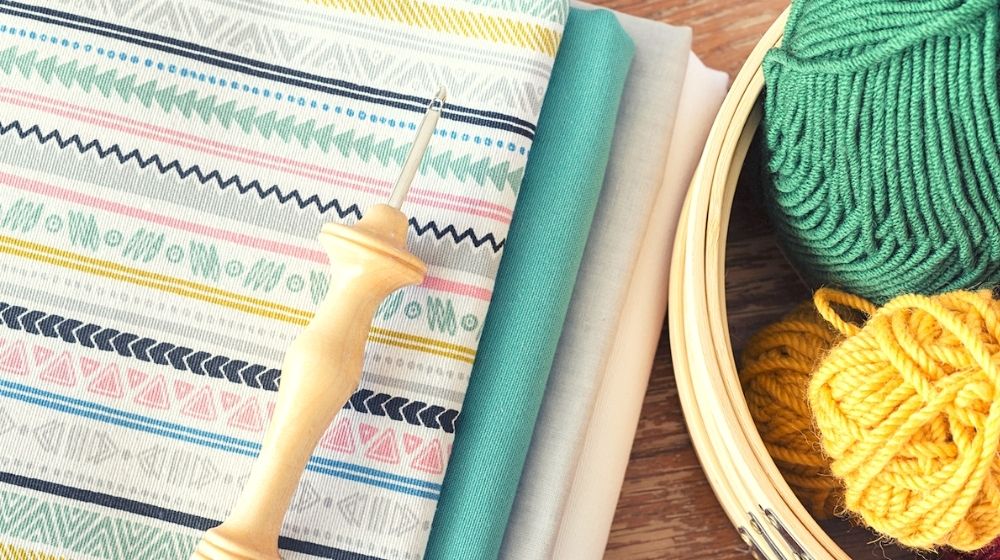
Tools
- Yarn
- Hook or frame
- Fabric or linen
- Fabric Scissors
- Punch needle
- Chosen design
Step 1: Thread Your Yarn Through the Punch Needle

Insert the threader into the punch needle and thread the yarn at the bottom end. Pull the threader out of the needlepoint end and the yarn will follow. Then, take the threader and insert it into the smaller hole of the needlepoint end.
Next, put the yarn in the threader and pull the threader back to secure the yarn.
Step 2: Prepare Your Fabric
Secure your fabric using a frame or a hoop and cut out the excess using your scissors. Make sure the fabric is stretched out and secured tightly!
Step 3: Trace Your Chosen Design
Take your chosen design and use pins to secure it at the back of the hoop. Hold it up against the light or a bright surface and trace it using a pencil.
Step 4: Get to Punching
Push the needle all the way down the fabric, following the lines of your pattern. Keep the depth consistent to keep the stitches uniform. When pulling the punch needle back up, pull it back only until the tip touches the fabric surface.
Step 4: Mix It up With Other Colors
Take it to another level by mixing and matching colors for your pattern. To end a section of the punch needle and change colors, simply hold the last stitch and pull the needle a few inches from the fabric. Trim the thread about half an inch away from the fabric.
Step 5: Flip the Fabric to the Right Side
After finishing your pattern, remove the fabric from the hoop and flip it over to the right side. Secure it well for the last touches. Looks great, right?
Step 6: Seal the Design
Since punch embroidery doesn't require any stitching, sealing your design might be tricky. Don't let your work unravel! Brush the wrong side of the fabric with glue and let it dry for two hours.
Step 7: Cut off the Excess Fabric
Cut around the hoop, leaving an inch of fabric. Lastly, fold and glue the excess fabric into the back of your design and voila! You've got your first punch embroidery project!
Easy, right? Punch needle embroidery is a good skill to have for every hand-sewing enthusiast. With just a few tools and steps, you can start your new project easily.
Here's a step-by-step tutorial from HGTV Handmade to guide you through your first punch needle project:

Punch needle embroidery isn't limited to frames and home decorations. You can also add designs to your jean jackets using this process. Which project are you looking forward to trying? Let us know in the comments below!
Up Next:
- 15 Hand Embroidered Pillowcases For Your Next Project
- 7 Dainty Embroidered Handkerchief Designs You Will Adore
- How To Sew Your Own Silk Pillowcase
We aim to feature the hottest trends in the sewing world, so get in touch if you can contribute! WRITE FOR US!
Stay connected with us on Facebook, Twitter, Instagram, and Pinterest!