

If we’re talking about the best pillowcase for bedtime, silk pillowcase comes to mind. Yes, it is expensive when bought in stores, but that price tag should be cut in half if you make it on your own.
RELATED: 11 Fun Sewing Ideas For Moms And Kids
In this article:
Making Your Own DIY Pillowcase | A Step-By-Step Guide
Benefits of Using Silk Pillowcase
that a silk pillowcase can help improve a person’s beauty sleep regimen. Its smooth texture equates to less friction on skin and hair, preventing irritation or damage.
The cleaner sleep surface lets you sleep more comfortably compared to other fabric and it has properties that prevents your skin and hair from drying. So if these reasons are good enough for you to proceed with this project, read on!
Materials Needed
- 2 yards white 100% silk fabric
- white thread
- seam ripper
- sewing machine + invisible zipper presser foot
- measuring tape
- pins
- iron and ironing board
- 20-inch white invisible zipper
Instructions
Step 1: Pre-Wash the Silk Fabric
Pre-wash the silk fabric (preferably with warm water) and leave it somewhere it can air-dry. This is an important step especially if you’re keeping it in your bed.
Before doing this, it is recommended to serge the raw edges since silk fabric have the tendency to fray. Also, don’t use the washing machine if you miss to serge the edges as you will lose a significant amount of fabric in both ends.
Step 2: Cutting the Fabric
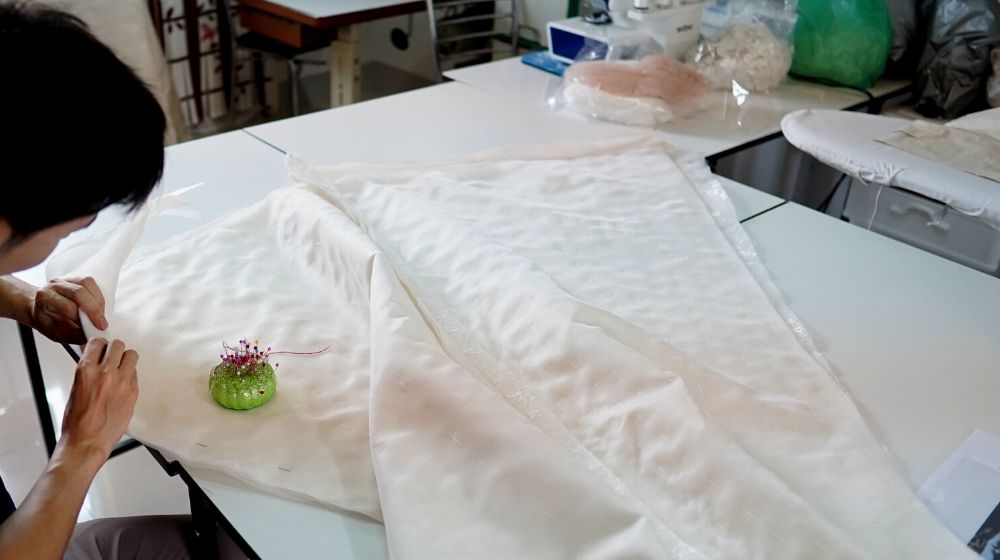
Cut the fabric into four rectangular pieces, preferably 21 x 28 in size. Once done, take a pair and put one on top of the other.
Sew the right and shorter side together and keep the stitches at least 1/2″ from the edge of the fabric. Best to use wide stitches on this one.
Step 3: Put Embroidery (Optional)
This part is entirely optional, but if you want to give your silk pillowcase some added flare then by all means add some embroidery designs on it.
Choose from countless free patterns online, or if you want a design that fits a specific occasion, you might want to check this out.
Step 4: Attaching the Zipper
Unfold and spread out the rectangles and iron down the edges of each fabric. Take the 20-inch white invisible zipper and pin it down the center and iron it out.
Make sure the invisible zipper side is facing down the stitches. Next, start to sew down the zipper through the two layers of fabric using your sewing machine with an invisible zipper presser foot.
Cap it off by sewing over the ends of the zipper and the edges of the fabric.
Step 5: Closing the Gaps
Flip the fabric over to check on the closed seam. Carefully and slowly rip out the threads covering the zipper using the seam ripper to expose it.
It will result to a neat-looking, symmetrical, and centered zipper.
RELATED: 10 Safest Kids Sewing Machine For Your Teens
Step 6: Finishing Touches
We’re almost done! What you need to do now is to fold the fabric back again and line the three remaining edges up of the pillowcase to close the other openings.
Use a straight stitch to sew around each edge then switch to zig-zag stitch to prevent the edges from fraying. Unzip the zipper and turn the pillowcase right side out.
Step 7: Make Another One!
Since you still have an extra pair of silk fabric, why not make another one? Repeat every step listed above and have yourself two very comfortable pillowcases.
You can use one for your head and one as a body pillow. Double the softness, smoothness, and comfort!
This beats other materials like cotton any day so slide in your new pillows and enjoy a good nap, you earned it!
Here’s another step-by-step guide on how to make a silk pillowcase courtesy of Beropa Co.:
Making your own silk pillowcase is truly a worthwhile activity thanks to some health and wellness benefits it provides. Also, this project should not cost as much unlike those sold at retail stores which are usually double the price.
You also have the option to give it more color by adding embroidery patterns of your choosing. So if you’re looking for a project to work on, this one should definitely be worth your time.
What step of silk pillowcase sewing did you enjoy the most? Share your thoughts in the comments section below!
UP NEXT:


