

Want to make your own version of a leather bomber jacket? Instead of buying online or going shopping for your leather jacket, why not try to make your own personalized version? Just follow our tutorial and to learn how!
RELATED: Sewing Leather Basics To Master This Winter | Sewing 101
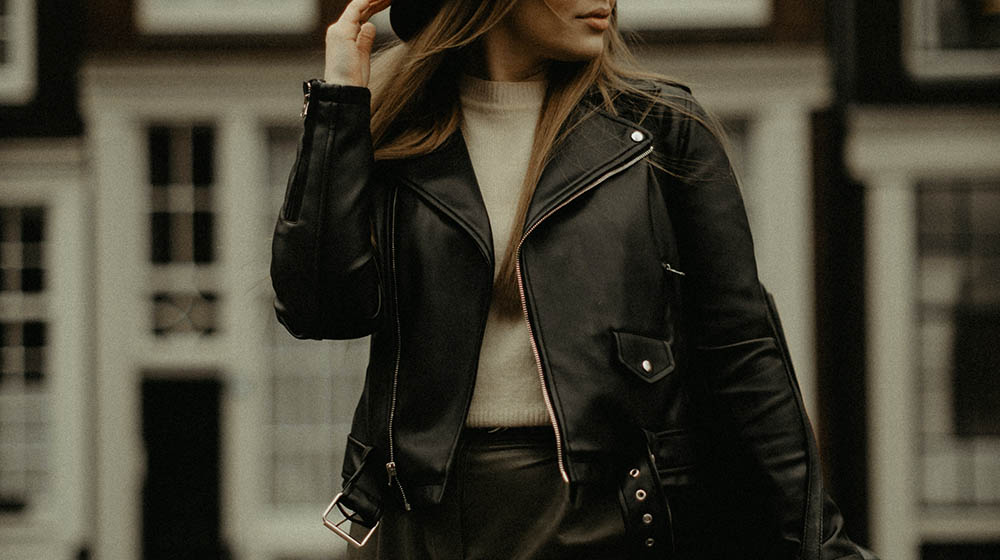
Sewing Tutorial | Learn to Sew A Stylish Leather Bomber Jacket


Whether you're a fashion devotee or not, you'll love this leather bomber jacket. And no matter who or what age you are, you can always wear it.
However, a good leather jacket is an expensive buy. So why would you spend that much when you can sew your own? Just follow the details here!
Here are the things you'll need:
- 5 yards of leather
- 1.5 Yards of lining
- 1/2 yard of Stretch Knit materials
- Tracing paper
- Separating Zipper (around 22 inches)
- Scissors
- Ruler
- Marker
- Pins
Instructions:
The Patterns
- Take a jacket you want to use as a measurement reference. Using your tracing paper, trace the side seam, the back, and also the neck. With the ruler, connect the side seams and the back with a straight line at the bottom. Also, straighten up any crooked lines from tracing your jacket.
- Connect your raglan sleeves just take the point from your side seams, and connect it to the halfway point of the neck with the straight line. Add seam allowance around your pattern — you can use quarter or half of an inch, and add this to the side seam as well as the top neck measurement. On the back of the measurement line, write ‘fold' because you will be adding that back line to a fold.
- Take your back pattern and then place your tracing paper over it. Make another copy of that back pattern. Add 1-inch seam allowance from where you write ‘fold' because that's where you're going to place the zipper.
- Put the sleeve of the jacket on top of your tracing paper, and trace the bottom and top part of the sleeve. Straighten out your lines and add your quarter of an inch or half an inch seam allowance.
- Make a full pattern of your sleeve with it open. Take some tracing paper, fold it in half. Take the long side of the sleeve pattern and put it on the fold, so when you recut and retrace, it will be a full open pattern.
The Measurements
- Take the measurements for the little-knit pieces that go on the neck, wrist, and the bottom. Take your front pieces and measure the neck area, followed by the sleeve area, and the back.
- Do the same for the bottom waistband. But this time, just take the front and back piece. Line them up together with the side seams touching, and take measurements from the bottom part.
- Repeat the same process with the sleeve. But this time, use the full open pattern so you'll no longer have to double the measurement.
- Make a rectangular pattern for the measurement pattern you took. When you're finished, you should have a neck, waistband, and sleeve wrist pattern for your block knit pattern.
RELATED: What Is The Best Leather Sewing Machine For You
The Additionals
- Now add the pocket. Get some leftover scrap paper to make the pattern pocket. Fold it in half and make a ‘U' shape that will fit your hand, not too small nor too big.
- Now that you have all your patterns done, you can start coming out with your leather pieces. Make sure you are cutting on two layers of fabric, and you can cut out your sleeve, your back, and your front pattern.
- Repeat the same process for your lining. To cut your pocket lining, just use four layers of lining. Then pin and cut it out.
- When cutting the pattern pieces for your knit material, you should have two sleeve wrist pieces — 1 neck piece and 1 waistband piece. If you made a pattern piece on a fold, just remember to cut your waistband pattern on a fold.
You're almost done with your Leather Bomber Jacket!
- Your final pieces will be one long waistband, 1 medium length neck piece, and 2 small wrist pieces.
- Once you're done cutting all the pieces, you should have the following:
- 2 front leather pieces
- one leather back piece
- 2 lining front pieces
- 1 lining back piece
- 2 leather sleeve pieces
- 4 lining pockets
- 2 lining sleeve pieces
- Now, pin your pocket to the leather pieces before sewing up the sides seam. Take a piece of pocket, lay it on the side seam, pin, and sew on the right side of your leather.
- Take your back piece with the right side facing up, and the pocket facing out, and take your front leather piece, and lay it on top with the right sides facing each other. Then pin and sew along the side seam or around the pocket, and then back down the side seam. You should not sew straight along the side seam or else you're just gonna close up your pocket.
You should be seeing your Leather Bomber Jacket come to life!
- Grab your sleeve piece, fold it with the right sides facing and sew along the edge of the sleeve.
- To attach your sleeve piece to your body piece, turn your sleeve piece inside out, then open up your body pieces. Then, starting from the armhole point, match them up and then just start to pin upwards until both seams meet in the middle. Go ahead and repeat the same process for the lining.
- Now, take your two wrist pieces, fold them in half horizontally. Then sew down the outer edge or the side edge.
- Fold your neck piece in half and place your body piece with the right side facing down, and start pinning along the top edge of both pieces. Once you sew in your neck piece to your body piece, cut off any extra rib piece you have, that way you can see where you will be pinning your lining.
- To attach the lining to your jacket, flip your jacket with the right side facing up. Now lay your lining on top of it, with the right side facing down so both right sides are facing up. Now pin and sew along the top edge of the neckline.
The Finishing Touches
- Repeat the same process for the waistband. But this time, pin and sew everything at once.
- Before sewing up your waistband, make sure you leave about a half an inch on both sides. That way, you have some room to sew with your zipper.
- Then attach your zipper. Start off by folding in about a quarter of an inch in your lining all the way down. Now take the corresponding side of the zipper. With the teeth facing out, pin it along the folded edge of the lining all the way down. Once you pinned on your zipper, take the other side which is your leather side, and fold it inwards, about a quarter. Then fold it on top of your zipper.
- Sew on that cuff to the body. Make sure your lining and your leather sleeve seams are in place and lined up correctly. Take your knit cuff, fold it and slip it over your sleeve. Then sew along the other edge of both the sleeve and the cuff.
Now you can enjoy and flaunt your very own leather bomber jacket. Made with love and a whole lot of sewing!
Watch the video tutorial of Alexa here for the full details on how to make your leather bomber jacket:

So if you don't have your own leather bomber jacket yet, make one now. Instead of shopping for an expensive one, use your talent and skills in sewing. I hope you enjoyed this tutorial!
UP NEXT:
- Know How To Sew A Bomber Jacket From Scratch | DIY Clothing Tutorial
- 19 Fashionable Winter Clothing You Need To Sew For Your Family
- 15 Awesome Decorative Throw Pillows You Can Sew This Fall
We aim to feature the hottest trends in the sewing world, so get in touch if you can contribute! WRITE FOR US!
Stay connected with us on Facebook, Twitter, Instagram, and Pinterest!
Editor’s Note: This article was originally published 0n October 22, 2019, and has been updated for quality and relevancy.