
This simple gusset sewing guide will not let you throw your favorite pieces away again. It will help you learn to alter a dress with a gusset or to sew a gusset underarm. Follow the tutorial and learn to sew one yourself!
TL;DR: Gusset Sewing Tutorial
- It explains the purpose of a gusset, a triangular or diamond-shaped piece of fabric inserted into a garment seam to add room and reduce stress at tight points (e.g., underarms, side seams).
- It walks through key steps for inserting a gusset: remove existing stitching, clip to seam allowance, measure the gap, pin the gusset in place right-sides together, then sew along each side carefully.
- It emphasizes matching fabric for the gusset with the garment, reinforcing corners to prevent tearing, and pressing/ironing the finished gusset to ensure it lies flat.
- It highlights that gussets are a powerful alteration tool for giving new life to favorite clothes, especially when standard seams are too tight or under strain.
RELATED: 29 Basic And Complex Sewing Techniques Sewers Should Master
Gusset Sewing: How to Sew a Gusset to Garments
When your garments are too tight, you can simply add a gusset for extra space. It’s the little triangular pattern piece added to a garment. Its main purpose is to expand some parts of your pants, dress, shirts, and other clothing items–giving the wearer more room to move.
This sewing technique helped save my vintage blouse and jacket with damaged underarms.
Things you will need:
- A piece of fabric
- Sewing needle and thread
- Tape measure
- Pair of Scissors
- Sewing machine
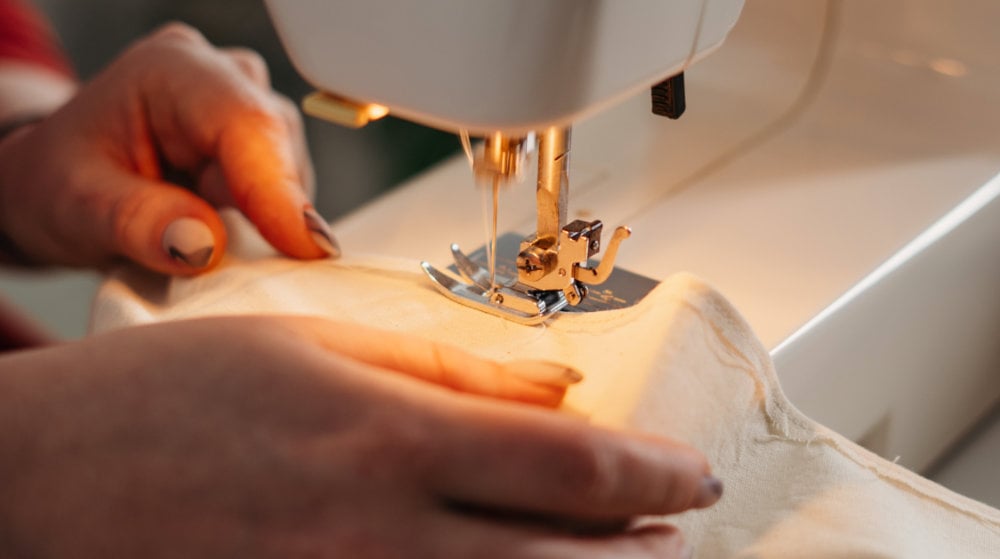
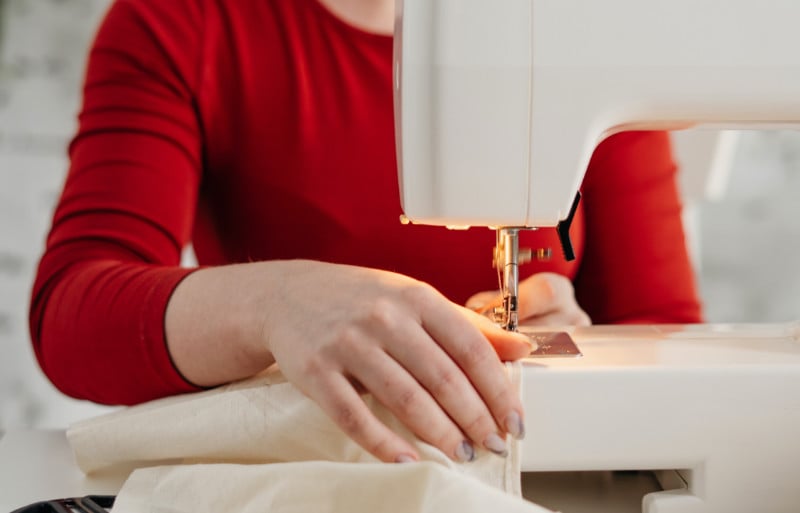
Instructions to Make a Gusset:
- Remove the stitching on the area where you want to add the gusset. Turn the sleeve to the wrong side and backstitch the ends of the ripped seam so the sleeve doesn’t come undone.
- Clip right up to the seam where you stopped the backstitch (make sure to avoid cutting out the thread).
- Pull the garment apart and measure the space you need for the gusset. Then, measure the length from the top of the garment down to where you clipped.
- Turn the garment piece over and pin the gusset in place, facing right sides together.
- When you start sewing, put the needle down at the tip where you reinforce the bottom of the seam. Sew it from the beginning, from the bottom right, straight up the end. Do the same on all sides.
Tip:
- The fabric used for the gusset should be the same as the clothing.
That’s about it. Now you’ve got your own!
There are so many ways to sew a gusset into a garment. For more visual instructions, check out this video by Niler Taylor:
FAQ: Gusset Sewing & Alterations
- What is a gusset, and why would I add one to a garment?
A gusset is a small triangular or diamond-shaped piece of fabric added into a seam (often underarms, crotch, or side seams) to give extra room and reduce strain. It’s ideal when a garment feels tight in one spot but fits well everywhere else.
- How do I choose fabric for a gusset?
Choose fabric that matches your garment in weight, stretch, and drape. If an exact match isn’t possible, pick the closest option in color and fiber so the gusset blends in and moves like the original fabric.
- Do I need a pattern piece to make a gusset?
Not necessarily. You can draft a simple diamond or triangle gusset by measuring the gap you need to fill and adding seam allowance on all sides. Just ensure both sides of the gusset match the seams they’ll be sewn into.
- How do I stop gusset corners from tearing?
Reinforce corners by backstitching at the start and end of seams, clipping carefully to, but not through, the stitching line, and pressing the gusset flat. For stress points (like pants), you can add a second row of stitching or a small bar tack.
Gusset Sewing can be intimidating, but if you follow the instructions carefully, adding one to your garment will be a breeze. You can add them to other sewing projects like pants or bags. This is seriously one of the best sewing hacks to learn and master!
Have you tried adding a gusset sewing to your project? Let us know how it went in the comments section below!
Up Next:
- Know Your Sewing Terms And The Language Of Sewing | Sewing Dictionary
- Choose The Best Clothing For Your Body Type | A Guide For Every Shape
- 9 Easy & Cozy Quilted Comforters
We aim to feature the hottest trends in the sewing world, so get in touch if you can contribute! WRITE FOR US!
Editor’s Note: This post was originally published on April 5, 2017, and has been updated for quality and relevancy.