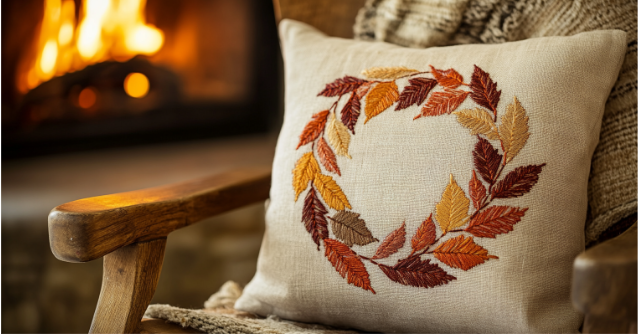

As autumn paints the landscape in vibrant hues, it’s the perfect time to bring that same warmth into your home. And what household item brings more warmth in person that your own fall wreath pillow? This charming piece combines the beauty of a traditional fall wreath with the comfort of a handmade cushion.This step-by-step guide teaches you how to create a unique piece to welcome fall season into your space.
Crafting a Cozy Fall Wreath Pillow: A Step-by-Step Guide
This DIY fall wreath pillow lets you capture the season’s rich colors and textures in a unique, personal way. Below are the steps to help you create your own cozy fall pillow:
Materials You’ll Need
- 1/2 yard of fabric for the pillow front and back
- Scraps of fabric in autumn shades for the wreath
- Fusible web (such as HeatnBond Lite)
- A 16-inch pillow form
- Matching thread
- Scissors, pins, and a sewing machine
- Iron and ironing board
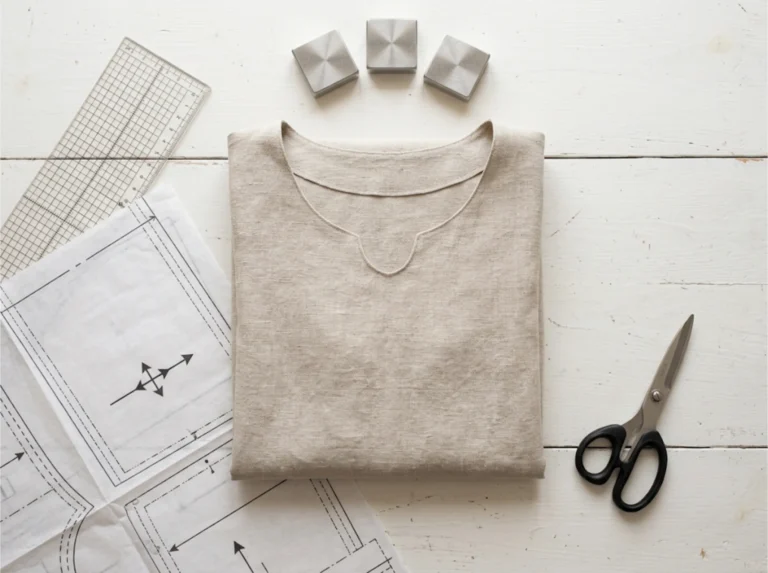
Step 1: Prepare Your Fabric
Start by cutting two 17-inch squares from your main fabric—they will become the front and back of your pillow. Then, cut out leaf shapes from your fabric scraps in varying sizes and colors. You can draw your leaves on paper initially as a template if needed.
Step 2: Arrange the Wreath
Lay your fabric leaves in a circular pattern on one of the 17-inch squares. This side will serve as the front of your pillow. Experiment with the arrangement until it forms a traditional holiday wreath. Once you’re happy with the design, use fusible web to attach the leaves.
Step 3: Stitch the Leaves
Secure the leaves to the fabric by stitching around their edges. Then, use either a straight or zigzag stitch to add texture and ensure the leaves stay in place. This not only strengthens the wreath but also gives the pillow added depth and interest.
Step 4: Assemble the Pillow
Now, it’s time to put your pillow together. Place the two fabric squares on the right sides together and pin them around the edges. Make sue to leave a small gap for turning. Afterward, sew around the edges with a 1/2-inch seam allowance and keep that gap open. Trim the corners to reduce bulk, then turn the pillow cover right side out through the gap.
Step 5: Insert the Pillow Form
After turning the cover right side out, press the pillow with an iron to smooth any creases. Then, insert the pillow form through the gap and once it’s in place, hand-stitch the opening closed using a ladder stitch or slip stitch for a seamless finish.
Step 6: Add Finishing Touches
To further personalize this fall pillow project, adda few embellishments such as decorative buttons or bows. Tor incorporate some delicate embroidery. This is your opportunity to get creative and make this pillow truly one-of-a-kind .
Tips for Crafting a Perfect Fall Wreath Pillow
Crafting a fall wreath pillow is a creative way to showcase your skills in depicting a favorite season. Here are some ideas to make your fall pillow stand out even more:
- Choose Cozy Fabrics: Look for fabrics in rich autumn tones, such as deep reds, burnt oranges, and warm yellows. Mixing linen, cotton, or velvet textures adds more depth and interest.
- Work with Quality Tools: Sharp scissors and a reliable sewing machine will make your project easier and more precise.
- Take Your Time: Attention to detail is key, so take care when arranging and stitching your leaves to create a beautiful, polished result.
- Experiment with Shapes: Feel free to swap out leaves for other seasonal shapes like pumpkins or acorns for a fun twist.
- Personalize Your Pillow: Add an initial, a family name, or a meaningful word to make your pillow a memorable keepsake or thoughtful gift.
Wrap Up Your Fall Style!
Crafting a fall wreath pillow is one way to immerse yourself in the cozy autumn atmosphere. Whether displayed on a couch or gifted to a loved one, this handmade piece will carry fall’s festive spirit for years to come. So embrace the season, and let your craft reflect the vibrant heart of autumn!
Ready for more autumn inspiration? Discover more tips for your fall wreath pillow by clicking the link!