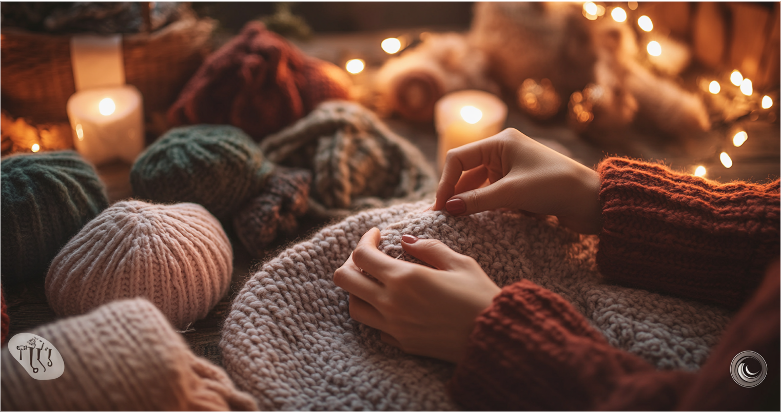

When the winter blues hit, fabric printing offers a creative way to brighten the colder days! This artistic process involves applying paint, dye, or other mediums to fabric to create custom patterns and designs. Today, we’re exploring three fun techniques that’ll keep your creative juices flowing. Let’s add some much-needed color to those winter days!
Fabric Printing Techniques to Spark Joy This Winter Season!
Stuck inside on a cold winter day? Fabric printing is the colorful escape you need! These fun techniques will have you stamping, dyeing, and printing your way to vibrant, unique designs in no time. It’s time to brighten your season, one project at a time.
1. Fabric Stamping: Effortless and Creative 🔋
Fabric printing is your creative license to turn plain fabric into a work of art. Grab a stamp, press it onto fabric, and watch as a masterpiece unfolds. It’s quick, fun, and great for decorating everything from pillows to party favors!
What You’ll Need:
- Fabric paint or ink
- Cotton or linen fabric
- Stamps (store-bought or DIY)
- A flat, covered workspace
Step-by-Step:
- Prepare Your Workspace: Lay your fabric flat and secure the edges with painter’s tape to keep it steady. Make sure your surface is safe from any accidental spills or paint smudges.
- Choose Your Stamp: Use store-bought stamps for convenience or carve your own from potatoes or foam for a personal touch. Also, remember to clean the stamp surface before using to ensure a smooth transfer.
- Apply the Paint: Spread paint on a sponge or brush, then coat your stamp evenly. To prevent smudging, avoid overloading your stamp with too much paint.
- Start Stamping: Press the stamp firmly onto the fabric and hold it steady for a few seconds. Afterward, lift the stamp slowly to reveal the design without smearing.
- Let It Dry: Allow the paint to dry completely before handling the fabric. Afterward, heat-set the paint using an iron or tumble dryer according to the paint instructions.
- Ice Dyeing: Winter’s Watercolor Wonder ❄️🎨
Ice dyeing brings a whole new level of fun to DIY. As the ice melts, it carries powdered dye through your fabric and leaves behind intricate, unpredictable patterns. It’s perfect for scarves, pillowcases, or whatever you dream up!
What You’ll Need:
- Natural fiber fabric (cotton, silk, or linen work best)
- Powdered fabric dye
- A wire rack and plastic tub
- Ice cubes
Step-by-Step:
- Prepare Your Fabric: Wash the fabric with a mild detergent to remove any residue, then dampen it thoroughly. Doing so ensures the dye will absorb evenly into the material.
- Set Up Your Workspace: To catch melted ice and excess dye, place a wire rack over a plastic tub or container. Then, line the container with plastic to make cleanup easier.
- Arrange the Fabric: Scrunch or fold the damp fabric into loose bundles and place it on the rack. For added variety, try pleats or twists to create different effects in the pattern.
- Add the Ice: Cover the fabric completely with ice cubes and ensure no areas are left exposed. A generous layer of ice ensures even coverage during the melting process.
- Sprinkle the Dye: Sprinkle powdered dye over the ice cubes in areas where you want color. Furthermore, using multiple shades will create a vibrant, tie-dye-style effect.
- Let the Ice Melt: Leave the setup undisturbed for several hours as the ice melts naturally. At this point, you’ll see the colors flow and blend into intricate patterns.
- Rinse and Finish: Rinse the fabric under cold water until the excess dye is removed, then wash with mild detergent. Finally, let the fabric dry completely and set the colors with an iron or dryer.
Transition Tip: Try folding techniques like accordion pleats or spirals to influence the pattern’s appearance.
3. Block Printing: Striking and Polished 🖼️
Block printing is all about bold, clean patterns made with carved blocks. By inking the block and pressing it onto fabric, you can create professional-looking handmade designs. It’s ideal for tea towels, curtains, or any project where precision meets creativity.
What You’ll Need:
- A block (carved wood, linoleum, or foam)
- Fabric paint or ink
- A brayer (paint roller)
- Cotton or linen fabric
Step-by-Step:
- Choose Your Block: Select a pre-carved block or create your own using foam or linoleum. If you’re carving, sketch your design first and carefully etch it for precision.
- Spread the Paint: Squeeze a small amount of fabric paint onto a flat surface and roll it evenly with the brayer. This ensures that the block gets full, smooth coverage without clumping.
- Ink the Block: Roll the brayer over the block until the surface is evenly coated. Additionally, check for consistent paint application to avoid gaps in the print.
- Position the Block: Align the block carefully with your fabric and press down firmly. For the best transfer, apply even pressure across the entire block.
- Lift Slowly: Lift the block straight up to avoid smudging the design. And then inspect the print and reapply paint as needed before continuing.
- Finish the Design: Allow the fabric to dry completely before heat-setting the paint. Follow the paint manufacturer’s instructions for the best results.
Ready to Create?
As you can see from the above examples, fabric printing is the perfect remedy for winter’s monotony. These three fabric printing techniques are guaranteed to bring a splash of color into your life. Don’t let the cold weather dampen your creative spark. Grab your tools and start printing today!
10 FAQs About Fabric Printing Techniques
- Q: Can I use regular paint instead of fabric paint?
A: No, fabric paint is essential for flexibility and durability. - Q: How do I heat-set my designs?
A: Use an iron or bake the fabric as directed on the paint label. - Q: Does ice-dyeing work on synthetic fabrics?
A: It works best on natural fabrics like cotton or silk. - Q: How long does ice-dyeing take?
A: Around 12–24 hours, depending on ice melt and fabric absorption. - Q: Can I wash stamped fabrics?
A: Yes, but heat-set the design first for colorfastness. - Q: What’s the easiest beginner technique?
A: Fabric stamping—it’s quick, simple, and fun! - Q: How do I avoid stencil paint bleeding?
A: Use painter’s tape and apply paint with light, dabbing motions. - Q: Are these fabric printing techniques safe for kids?
A: Yes, especially stamping and stenciling. Ice-dyeing might need supervision. - Q: Can I reuse stencils and stamps?
A: Absolutely, just wash them thoroughly after each use. - Q: What type of dye works for ice-dyeing?
A: Use powdered fiber-reactive dyes for the best results.
Feeling inspired by these fabric printing techniques? There’s so much more to discover! Head to our website for step-by-step guides, creative ideas, and expert tips to help you create even more vibrant masterpieces. Your next project is just a click away!


