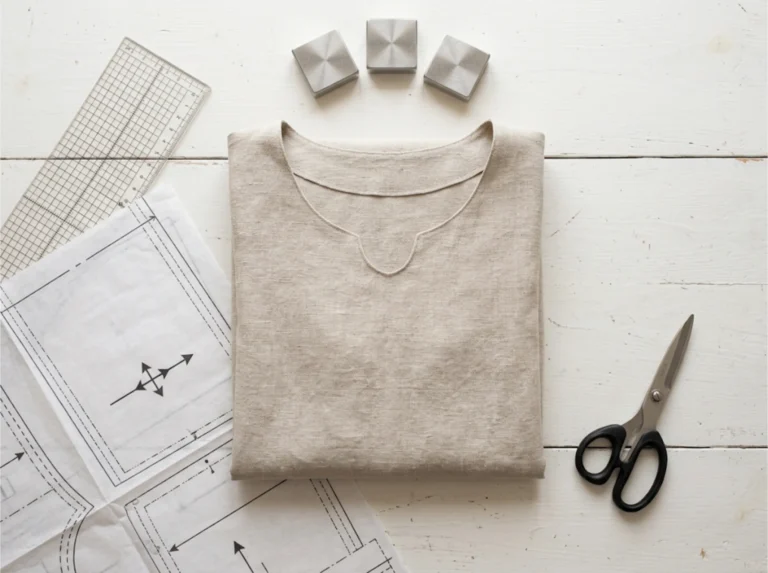
Old T-shirts aren’t just for sleeping in or cleaning windows. With just a few cuts and stitches, you can transform them into the ultimate hair accessory: scrunchies. Lucky for you, we have a beginner-friendly tutorial that covers how to make pretty scrunchies from old garments.
Why T-Shirt Scrunchies Work So Well
T-shirts are usually made from jersey knit, a soft stretchy fabric that’s gentle on your hair and easy to sew. That makes them ideal for scrunchies, which need to flex without pulling or breaking strands. Scrunchies are also a great way to repurpose worn or sentimental clothing. That college shirt with the fading logo? It’s ready for a second life. Meanwhile, old baby clothes or concert tees make durable hair ties.
What You’ll Need
Basic Supplies:
- Old t-shirt
- Elastic – 8” of ¼″ flat elastic or elastic cording
- Fabric scissors or rotary cutter
- Ruler or cutting mat
- Safety pin
- Sewing machine (or needle and thread for hand sewing)
Optional Tools:
- Clips or straight pins
- Iron and ironing board
Step-by-Step: How to Make a T-Shirt Scrunchie
Here’s a beginner-friendly tutorial for upcycling soft knits into chic everyday hair bands.
Step 1: Cut Your Fabric and Elastic
Cut your fabric into a rectangle that’s 4 inches tall and 20 to 24 inches wide. A wider strip creates more gathers once the scrunchie is assembled, so feel free to adjust based on your style.
Afterward, use a ruler or cutting mat for accuracy then cut a piece of elastic about 8 inches long. Flat elastic holds best, though cording works too if that’s what you have on hand.
Step 2: Use the Hem to Your Advantage
If the t-shirt’s bottom hem is intact, don’t cut it off yet. Jersey fabric tends to curl when cut, especially along the long edge. Keeping the hem in place helps reduce rolling as you sew.
Fold the rectangle lengthwise, like a hotdog. Keep the right sides together with the hemmed edge on the outside.
Step 3: Sew the Long Edge
Using a straight stitch, sew along the open long edge to create a fabric tube and leave the short ends open. After sewing, trim off the hem if you used it for stability. You should now have a soft, stretchy tube.
Step 4: Turn the Tube Right Side Out
Attach a safety pin to one end of the tube. Feed the pin into the fabric and guide it through until the piece is flipped right side out.
Step 5: Insert the Elastic
Attach a safety pin to one end of the elastic and feed it through the fabric tube slowly. Keep hold of both ends as you work.
Step 6: Secure the Elastic
Overlap the two ends of the elastic by about half an inch. Sew them together with a few secure stitches. If you’re using a machine, backstitch to reinforce the seam. Once sewn, the fabric will naturally gather around the elastic.
Step 7: Close the Fabric Tube
Fold one raw end of the fabric inward by about half an inch. Insert the other raw edge into the folded opening to close the circle. Then, topstitch across the join with a straight stitch. Keep the final seam short and clean so it blends into the scrunchie.
Style Your Scrunchies
Once you’re comfortable with the steps, you can make scrunchies in different colors or styles. Soft pastels work well for spring while bright prints scream summer vibes. For everyday wear, neutral tones are always an easy match.
Scrunchies also make great gifts. Wrap one around a jar of hand cream or tuck a few into a fabric pouch. T-shirt scrunchies come together quickly, so you can make several at once for gifts or personal use.
Pro Tips
Here are a few ways to get even better results:
- Use thinner or lightweight T-shirts to give your scrunchie better stretch and shape.
- Avoid fabrics with stiff textures or heavy graphics to prevent the scrunchie from feeling bulky.
- Sew fabric scraps together to create a longer strip when your shirt is too small.
- Cut shorter or narrower rectangles to give the scrunchie a slimmer shape.
A New Purpose for Old Favorites
T-shirt scrunchies offer a chance to reinvent your favorite shirts. A stretched neckline or faded print doesn’t need to go to waste. What piece would you give a second life?
❓Frequently Asked Questions: T-Shirt Scrunchies
- Can I make DIY scrunchies without a sewing machine?
Yes, hand sewing works fine for this project. - What type of elastic should I use?
Flat ¼” elastic is best, but cording works too. - What size fabric do I need?
Cut a rectangle about 4″ tall by 20–24″ wide. - Will the fabric fray if I don’t hem it?
No, jersey knit from t-shirts doesn’t fray. - Can I use kids’ or baby clothes for scrunchies?
Yes, as long as you can cut a long enough strip. - How long does it take to make one?
About 20–30 minutes from start to finish. - Do I need to use the t-shirt hem?
It helps reduce curling but isn’t required. - Can I wash the scrunchies after making them?
Yes, they’re washable like any t-shirt. - How do I keep the elastic from twisting?
Use a safety pin and feed it through slowly. - Can I make scrunchies in different sizes?
Yes, adjust fabric length for more or less gathering.