Get exclusive premium content! Sign up for a membership now!

Here’s the Easiest Way to Cover Sewing Buttons with Fabric

Here’s the Easiest Way to Cover Sewing Buttons with Fabric

Take your sewing buttons from humdrum to fun by dressing it up with colorful fabrics. Covered buttons add a certain character to the clothes you wear. Keep reading for the easy tutorial you can whip in a few minutes.

Here’s the Easiest Way to Cover Sewing Buttons with Fabric

Covering Dritz Half Ball Buttons with Colorful Fabric
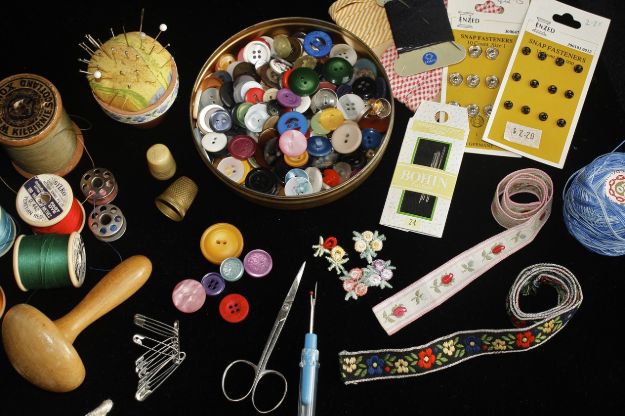
Have you ever looked at covered sewing buttons and wish you can do that for the clothes you sew? I like adding colors to my projects so when I learned that I could actually DIY a covered button, I got so excited! If you are like me, then I am sure you would also love this covered Dritz button tutorial.

Materials:

Step 1: Cut out the template for the buttons

The Dritz half button set comes with a template located at the back of its packaging. Carefully cut out this template.

Step 2: Trace the fabric for the buttons

Place the template on top of the fabric you have chosen. Then trace halfway around it. Once you’re done, flip the template to complete a full circle.

Step 3: Cut out the fabric for the buttons

Next, cut out the circle drawn on the fabric. Use a good pair of fabric shears for this job.

Step 4: Hook the fabric on the teeth of the Dritz buttons

The buttons come in two pieces which snap together to hold the fabric. Wrap the round fabric around the button with the teeth on it. You will notice that the teeth will help hook the fabric in place.

Step 5: Snap and finish the buttons

Take the back of the button. Finally, put the ridge facing down then snap it onto the button with the fabric.

Voila!

And that’s it! You’ve just spruced up your sewing buttons! It would only take you less than 5 minutes to finish one. Yey! 🙂

Look at how this video from OnlineFabricStore.net walks you through the process:

It’s sew-per easy, right? Let me wrap up this tutorial with a few notes since fabrics come in different weights.

If you’re using a light fabric, you’ll need to pad it up with scraps of fabric before you snap the two sides of the button together. However, if you’re using a heavy fabric, you’ll also need to use a heavy hand to snap the buttons in place.

That’s all for today, everyone. Happy stitching!

Sew much fabric…sew little time! Need a little more thread? Click here.

Like this? You’ll also like these articles:

How To Sew A Button

8 Essential Tips on Choosing The Right Sewing Thread

Sewing 101: A Quick Tip On How to Cut Fabric Perfectly

Leave a Comment

Your email address will not be published. Required fields are marked *

Weekly patterns, project guides, and no-jargon machine tips.

Beginner's Sewing Starter Kit

Related Articles

Fast Facts A simple apron is a one-hour beginner project: one fabric rectangle, two ties,

Summary Box Patchwork tea towels are the ideal first quilting project because they teach accurate

Fast Facts A free summer linen dress sewing pattern with three size ranges and beginner-friendly

Quick Look A girls dress pattern is a printed or digital template showing where to

Start Here This free beginner baby blanket quilt pattern produces a 36-by-42-inch patchwork quilt using

Overview The seven basic sewing stitches every beginner needs are the running stitch, backstitch, basting

Scroll to Top