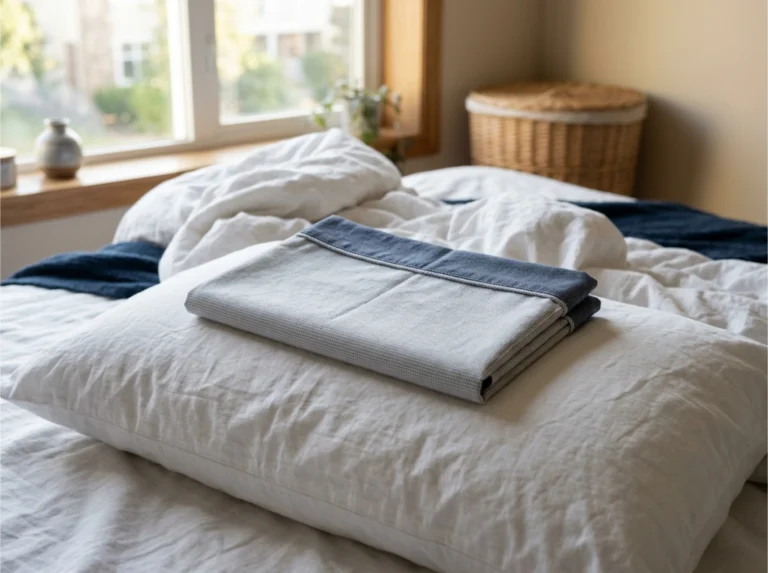
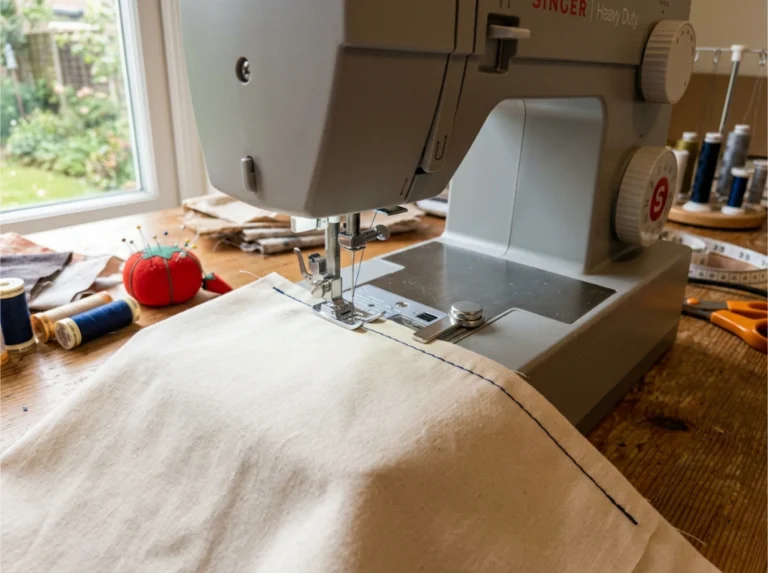
If you’re getting tired of doing the same old sewing projects and want to make something interesting, try this easy-to-make DIY handkerchief. Whatever your skill level at sewing may be, you’ll definitely enjoy working on this. This sewing project is something that even beginners can do because the instructions are simple and easy to follow. Learn how to make a handkerchief in just five easy steps by following this guide. Who knows − you might just find yourself a new favorite thing to sew!
TL;DR: DIY Handkerchief
- Choose a soft natural-fabric square, typically around 12″ × 12″ (or your preferred size), plus seam allowance; cotton, linen, or flannel are good picks.
- Fold and press the edges (or use a mitred-corner technique) to create a neat hem; stitch around all four sides.
- Reinforce corners and crisp edges by trimming excess seam fish tails, turning right-side out, pressing again, and top-stitching close to the edge.
- Consider the handkerchief’s purpose: for everyday use, durability and softness matter; for decorative/gift use, you may pick luxury fabrics (silk, linen) or add embroidery or stamping.
- A DIY handkerchief can be an eco-friendly alternative to disposable tissues and a personalised gift project.
Easy DIY Handkerchief Tutorial
Great Sewing Project For Beginners
Sewing a handmade handkerchief is one of the easiest sewing projects that anyone can do. All you need are some fabrics, your tools, and a sewing machine so you can sew the hanky faster and easier.
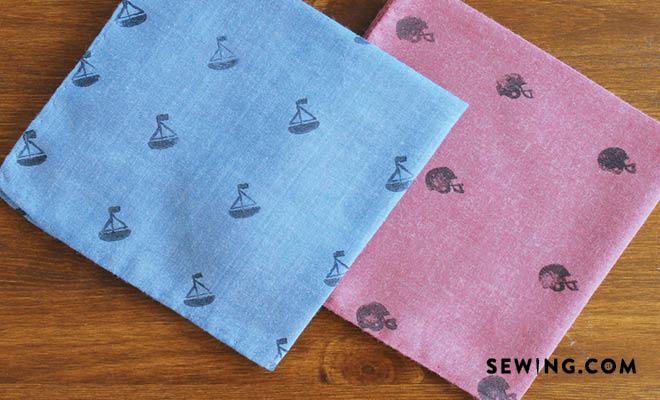
Go for your favorite prints or go for a simple, plain fabric in your favorite color. Choose embroidered lace for a dainty vintage look or go crazy with a wild animal print. It all depends entirely on you and your personality! They can be for everyday use and can even be given as gifts to loved ones.
This sewing project suits beginners because the instructions are incredibly easy to follow. Have fun and enjoy as you go through this learning process. Let’s get started. Here’s what you’ll need:
Materials:
- 11.5 “x11.5” cloth/fabric
- white thread
Tools:
- flat iron
- scissors
- tape measure
- sewing machine
- fabric marker
Watch a step-by-step guide on how to make a DIY handkerchief in this video from Dimple Anand.
1. Iron the fabric
Press the fabric smooth with an iron so it lies flat and cuts true.
2. Fold the fabric
Fold the fabric neatly to prep it for measuring and marking.
3. Measure the fabric
Mark out a 10.5″ × 10.5″ square with a 1″ allowance (total 11.5″ × 11.5″).
4. Fold, then cut the fabric
Fold the fabric using your markings as your guide, forming a triangular shape, then cut it.
5. Sew it
Turn under all four edges and sew a straight stitch; don’t tug the corners so they stay crisp.
Tip: Never pull the corners, or else they’ll stand out
And that’s all there is to it! Choose your fabrics, and you can make quality handkerchiefs in no time. You can make this hanky for yourself, but it will also make good gifts for loved ones or even a potential business opportunity. It’s also a great way for beginners to practice and improve their sewing skills since it’s such an easy and uncomplicated project. We hope you learned from this tutorial! Have fun and enjoy making your own DIY hankies.
DIY Handkerchief FAQ
Q: What fabric works best for a handkerchief?
A: Lightweight, tightly woven cotton (lawn, poplin, or quilting cotton) is ideal. It’s soft on skin, breathable, and easy to press for crisp edges.
Q: What size should I cut?
A: For a classic adult handkerchief, mark a 10.5″ × 10.5″ finished square. Add a 1″ total hem allowance (¼″ double-fold on each edge) to your cut size.
Q: Do I need a sewing machine?
A: No. A straight stitch by hand works fine, use small, even stitches and press well. A machine just speeds things up and helps keep seams consistent.
Q: How do I get neat corners?
A: Press a ¼″ fold twice on each side, then trim the tiny corner bulk before the final fold. For extra polish, miter the corners by folding diagonally first.
Q: Should I prewash the fabric?
A: Yes. Prewash and press to remove sizing and prevent shrinkage so your finished product Square stays true to size after its first wash.
Q: What thread and needle should I use?
A: All-purpose polyester or cotton thread with a size 70/10–80/12 needle works well on light cotton. Match needle and thread to your fabric weight.
Q: How do I keep the edges from puckering?
A: Don’t pull the fabric; let the feed dogs guide it. Press after each fold, use pins or clips at corners, and sew with an even stitch length.
Q: Can I customize the design?
A: Absolutely. Add a narrow lace trim, a decorative topstitch, or a tiny monogram. Printed cottons or contrast thread elevate simple hems.
Q: How do I care for my DIY handkerchiefs?
A: Machine wash cold or warm, tumble dry low, and press on cotton setting. Avoid bleach on colored prints to prevent fading.
Q: What if my square isn’t perfectly square?
A: Re-square by aligning one corner, pressing flat, and trimming the tiniest amount to true up edges before hemming. Accurate marking helps most.
Are you ready to try your hand at handkerchief sewing? Let us know how it goes in the comment section below!
Up Next: Machine Embroidery Designs | 19 Lovely Patterns You Can Do Yourself
Editor’s Note: This post was originally published on May 10, 2016, and has been updated for quality and relevancy.