If you’ve been anywhere near fashion TikTok or Pinterest lately, then you already know gingham pants are trending everywhere! This time, the pattern isn’t just found on picnic blankets but on trendy trousers from checkered slacks to relaxed wide-leg fits.
Wondering if you could DIY these gingham pants yourself? This guide walks you through sewing your own pair that fits perfectly and looks like it came straight off a boutique rack.
TL;DR: Sew Your Own Gingham Pants
- The tutorial guides you from prepping and aligning the checked fabric to stitching the legs and finishing the hem with steady control.
- Extra guidance covers pattern placement and simple ways to draft your own template when you don’t have a commercial pattern.
- The finished pants offer a custom fit and a look that keeps pace with current gingham trends for warm-weather wear.
Related: How To Hem Pants The Easy Way
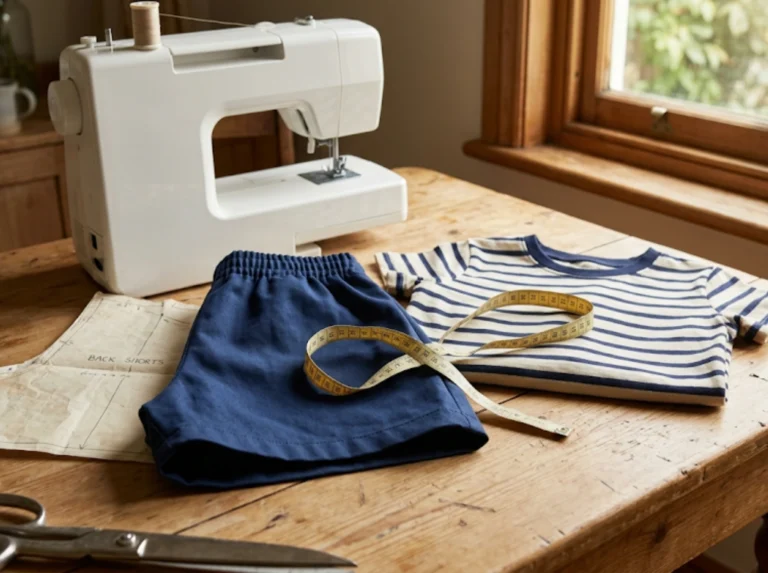
Materials and Tools Checklist
- Lightweight gingham fabric – 2 to 2.5 yards
- Pants pattern
- Sewing machine with matching thread
- Fabric scissors or rotary cutter
- Pins or clips
- Measuring tape
- Iron and ironing board
How to Sew Gingham Pants
Okay, let’s turn that gingham fabric into something wearable!
1. Prep the Fabric
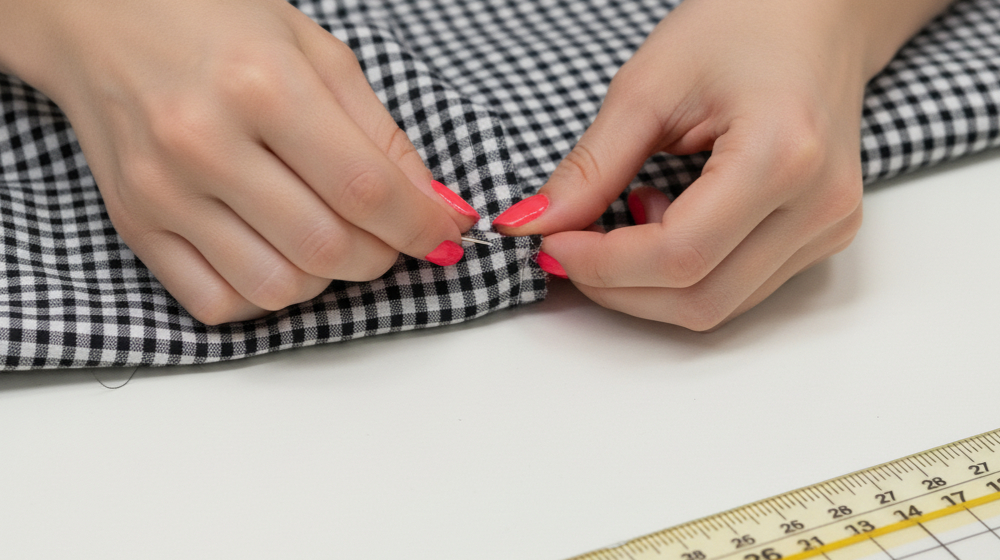
Prewash the gingham to prevent later shrinkage. Once dry, press it flat so you’re working with smooth fabric. Lay it on a clean surface and slowly line up the checks with the grain as a crooked layout can throw off the entire look.
2. Cut the Pattern Pieces
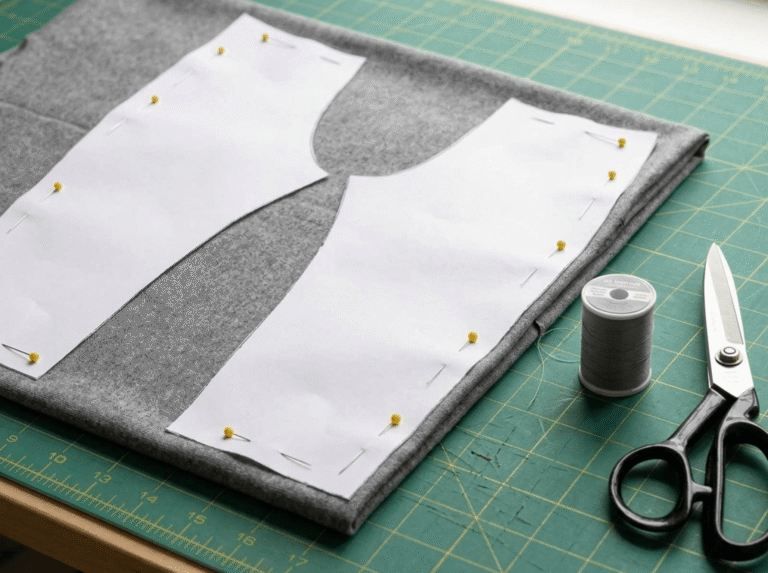
Place the pattern pieces so that the checks line up at the seams. If tracing an existing pair of pants, fold them in half and trace the front and back separately. Cut on a single layer for better control over pattern placement. Use sharp scissors or a rotary cutter for clean edges.
3. Sew the Legs
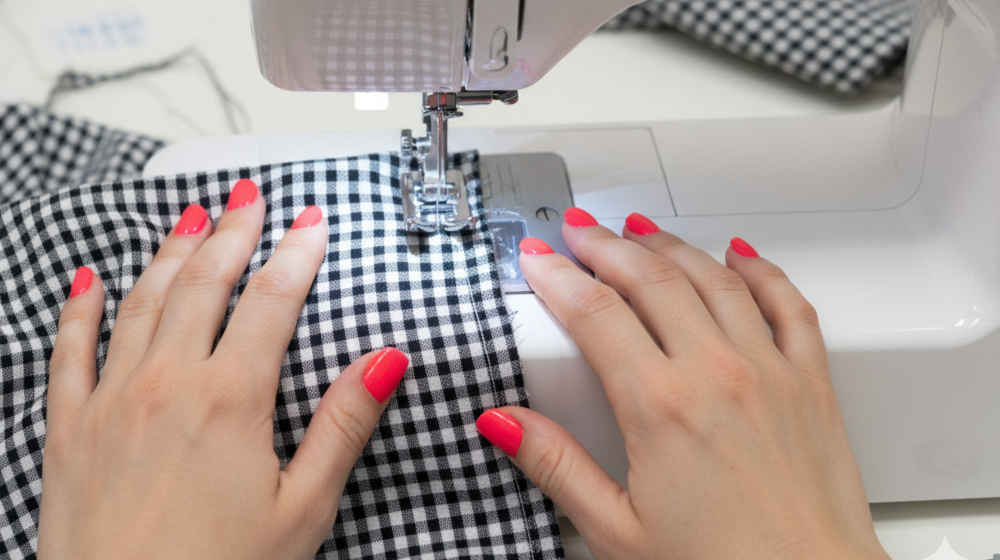
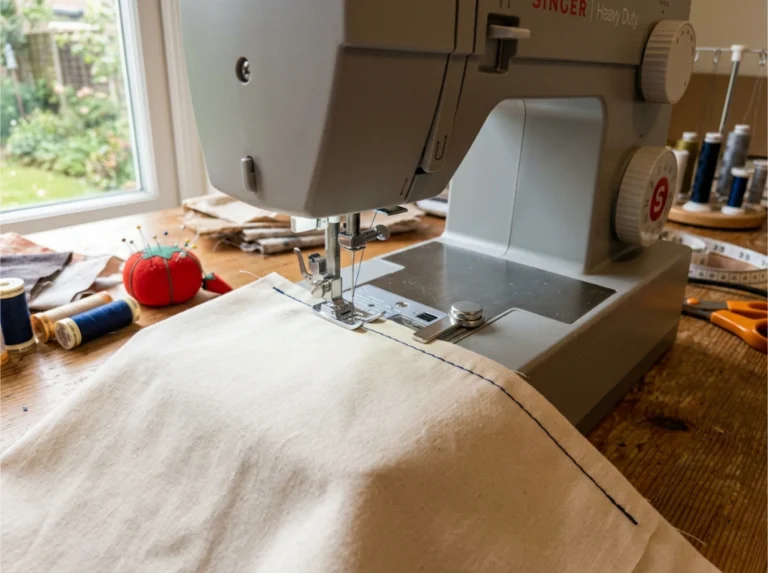
Pin each front leg to its matching back leg along the inner seam. Sew with a straight stitch, then press the seams open. Repeat for the second leg. At this point, you should have two finished leg sections.
4. Join the Legs Together
Turn one leg right side out and place it inside the other so the right sides are facing. Line up the crotch seam and pin. Sew the curve in one continuous seam, then turn the pants right side out.
5. Add the Waistband
For an elastic waist, fold down the top edge to create a casing wide enough for your elastic. Sew around the edge and leave a small gap. Thread the elastic through with a safety pin, sew the ends together, and close the gap.
For a structured waistband, add interfacing to the inner waistband before attaching it. Then install a zipper or button and topstitch along the top edge.
6. Hem the Bottoms
Try the pants on to check the length. Fold the hem once or twice, press and pin, then sew along the edge with a straight stitch. Take it slow to keep the hemline even.
Beginner Tips and Hacks
If you’re new to sewing, a few things can make this easier:
- Gingham matching tip: Focus on aligning the checks at the side seams and waistband because those spots are where mismatches stand out most.
- Zipper nerves? Skip it! Use an elastic waistband on the back and a flat front panel.
- No pattern? No problem. Grab your comfiest wide-leg pants, trace them onto paper, and use that tracing as a template.
Gingham Pants: Complete ✅
You just made a whole pair of checkered trousers from scratch, and that’s a flex! Now go strut in your handmade gingham pants. 👏
Give it a try, and if you do, tag me! I’d love to see how yours turns out. Questions or hiccups? Drop them in the comments and I’ll help you out.
❓ DIY Gingham Pants: Frequently Asked Questions
- Do I need a pattern to make gingham pants?
You can use a store-bought pattern or trace a pair you already own. - What fabric works best for gingham pants?
Lightweight cotton or a cotton-linen blend works well for summer wear. - How much fabric should I buy?
2 to 2.5 yards is usually enough for adult sizes. - Is gingham hard to sew with?
No, but you’ll want to align the checks carefully for clean seams. - Can I skip the zipper and use elastic instead?
Yes! An elastic waistband is easier and more beginner-friendly. - How do I stop the fabric from shifting while sewing?
Use lots of pins or clips, especially around seams and curves. - What stitch should I use on the seams?
A straight stitch works fine—just test it on a fabric scrap first. - Do I need a serger to finish the edges?
No, a zigzag stitch on a regular machine works just as well. - Can I make these without a sewing machine?
Technically yes, but it’ll take much longer and the seams won’t be as strong. - How should I wash my finished pants?
Cold wash and air dry to keep the fabric from shrinking or fading.