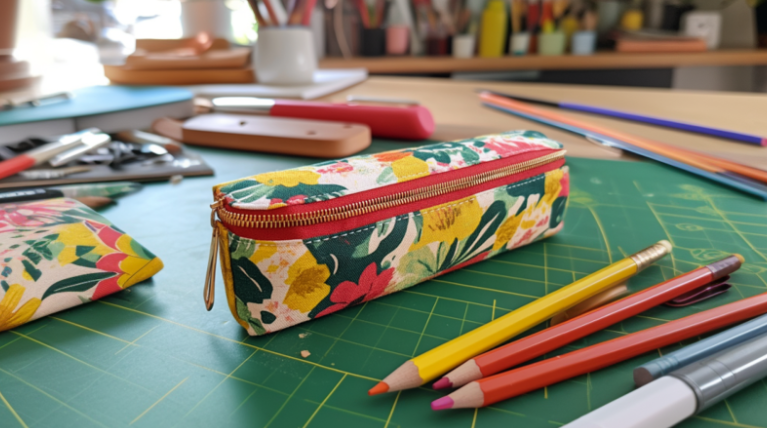

With back-to-school season just around the corner, you’re probably busy getting everything ready for your kid’s big day. Why not add a fun project to the mix by creating a DIY pencil case together? This easy guide will walk you through making a fun zipper pouch that’s quick to sew and handy for your child’s school supplies. In just 10 minutes, you can create a cute, personalized pencil case to keep their pens and pencils neatly organized.
Materials Needed
Gather the following materials:
- A 7″ by 9″ piece of medium to heavy-weight fabric (non-fraying fabrics like microsuede upholstery fabric, faux leather, or vinyl work best).
- A 3 ½” by 1 ½” scrap piece of fabric for the pull tab (optional).
- An 8″ nylon-coil zipper (size #3).
- Matching thread.
- Sewing machine, scissors, and sewing clips.
Materials like microsuede give a professional finish and ensure durability for your DIY pencil case. Plus, it’s easier to sew compared to faux leather or vinyl, making it an excellent choice for this project.
Step-by-Step Instructions
Step 1: Cutting the Fabric
Start by cutting the fabric by measuring out a main piece that’s 7″ by 9″ and an optional pull tab piece 3 ½” by 1 ½”. Prevent your fabric from fraying by applying zigzag stitches around the edges of the main piece.
Step 2: Attach the Zipper
Lay the main fabric piece face-up. Next, place the zipper face-down along one of the 9″ edges and clip it in place with sewing clips. Then, sew along the edge using a zipper foot, keeping your stitches close to the zipper teeth. After sewing, flip the fabric so the zipper faces up. Then, press the seam with your fingers or an iron to set it.
Step 3: Sew the Other Side of the Zipper
Now, repeat the process on the other side. Align the other fabric edge with the opposite side of the zipper, right sides together. Clip it, then sew. When you flip it right-side-out, you’ll have a tube with the zipper running down the middle.
Step 4: Make the Pull Tab (Optional)
If you want to add a pull tab, fold the small piece of fabric in half lengthwise with the right sides together and sew along the edge. Afterward, turn it right-side out and press it flat. Lastly, securely sew the pull tab to the end of the zipper.
Step 5: Sew the Sides
Open the zipper halfway before sewing the sides. This step is necessary for turning the pencil case right-side-out later. Fold the fabric in half with the right sides together, aligning the edges. Clip or pin the sides. Sew along the sides and bottom edges with a straight stitch. Then, backstitch at the start and end to lock the seams. For extra strength, add another line of stitching or zigzag stitch along the edges.
Step 6: Finishing Touches
Finally, trim any excess fabric and threads. Then, turn the pencil case right-side out through the zipper opening. Next, push out the corners with a point-turner or a blunt object to get a clean finish. Lastly, close the zipper, and your pencil case is now ready to use!
Tips for Personalization
Personalizing your DIY pencil case adds a unique flair that makes it truly yours. Here’s how you can do it:
Fabric Choices
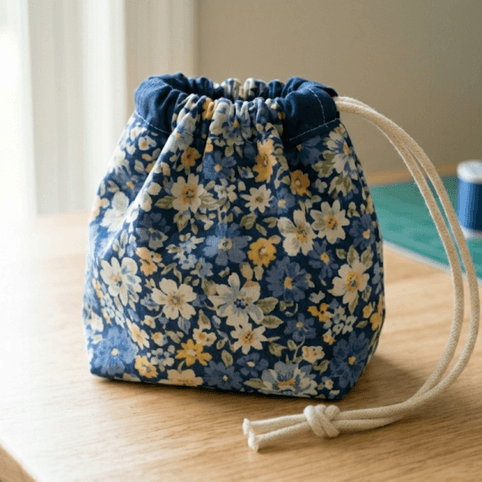
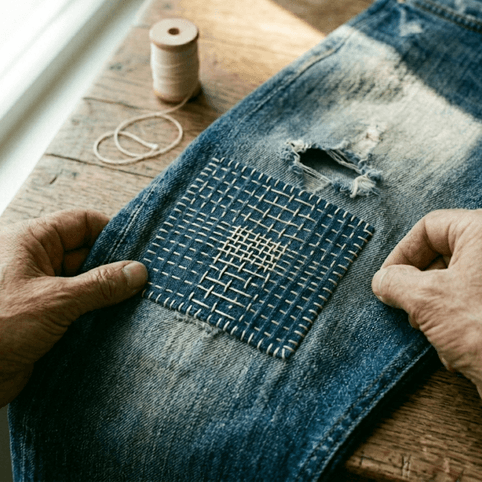
Try different fabrics to give your pencil case a unique look. Cotton, canvas, and denim are great options. Just remember that some fabrics might need extra attention on the edges to prevent fraying.
Decorations
Get creative with your DIY pencil case! Add a personal touch with fabric paint, embroidery, or iron-on patches. This way, it reflects your style and stands out.
Size Variations
Adjust the size to fit your needs, whether it’s a larger case for art supplies or a compact one for lipsticks or small gadgets.
Matching Sets
Expand your creativity by using the same fabric to create matching items like a backpack or makeup bag. These coordinated sets make fantastic gifts for friends and family.
Why Make a DIY Pencil Case?
Making your DIY pencil case provides many benefits beyond just holding your pens. Here are some of the advantages:
Customization
A DIY pencil case lets you choose the exact size, color, and style that matches your preferences, offering a level of personalization that store-bought cases can’t match.
Sustainability
Crafting this project from fabric scraps and repurposed materials helps reduce waste and makes it an eco-friendly choice.
Skill Building
For beginners, this project is a great way to build skills. It’s quick, simple, and provides a sense of accomplishment.
Gift Giving
It’s a thoughtful and practical gift. Fill it with quality pens or art supplies to make it even more special. It’s a present that shows care and effort, making it truly unique.
Creating a DIY pencil case with your child isn’t just another craft project; it’s a wonderful chance to bond and craft something special together. Pick fun fabrics, add those personal touches, and watch as you create a pencil case that reflects your child’s unique style. So, gather your materials, set up the sewing machine, and jump into this fun and rewarding activity with your little one!
Make a personalized DIY pencil case now! Explore our easy guide and start crafting a fun back-to-school project today! Explore more fun DIY ideas and step-by-step guides!