

Learn the best sewing hacks to make your sewing hobby a lot easier and even more fun! With these creative and genius sewing tricks, hacks, and hand sewing tips, you'll be sewing like a pro in no time. Time to head into your sewing room and try these tips!
RELATED: The Ultimate Sewing Cabinet Guide
39 Genius Sewing Hacks to Make Your Life Easier
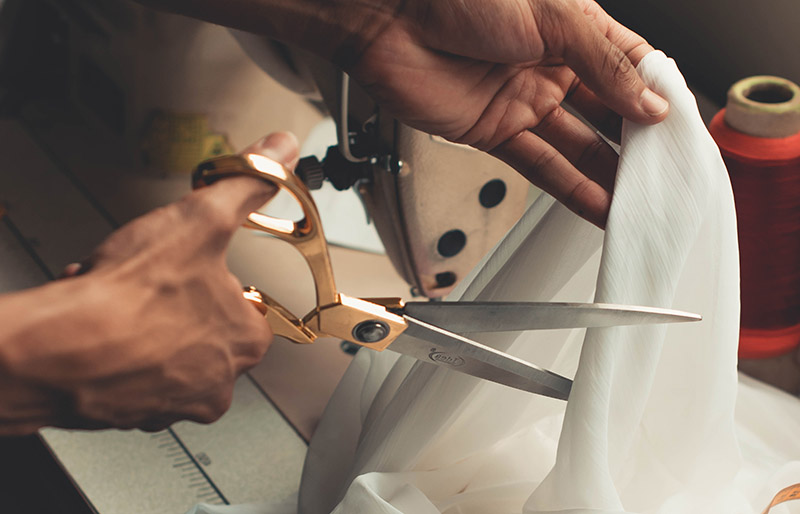
1. Use Muslin in Cutting Slippery Fabrics

To help you out, place a layer of muslin under it. You can pin the layers together to make cutting easier.
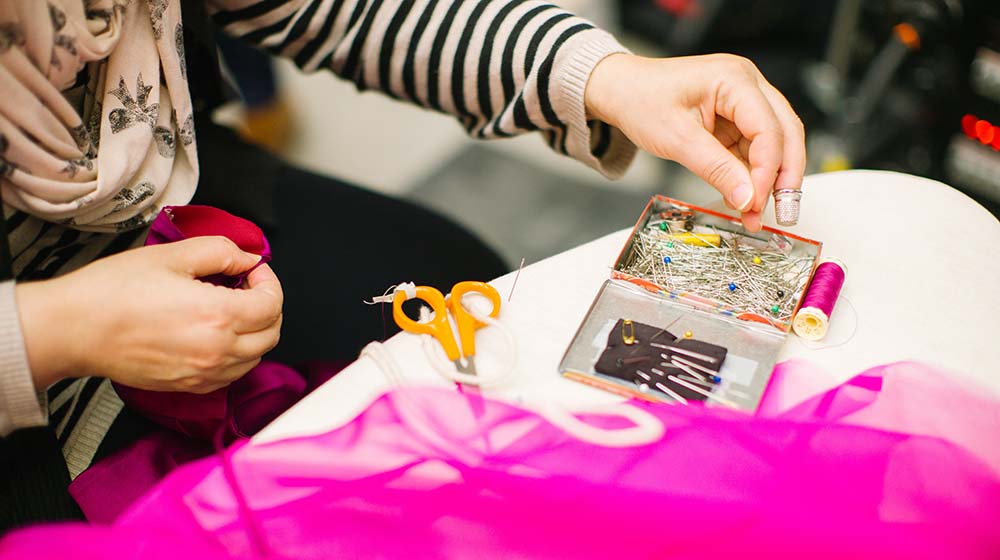
2. Keep Your Scissors Sharp
This is a really important and fabric-saving sewing hack you always have to remember.
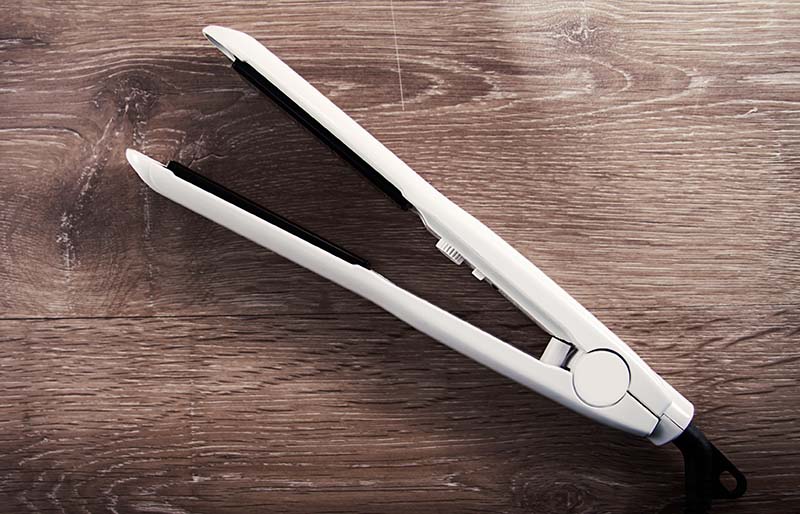
3. Press Buttons Using Hair Straighteners
4. Sew the Perfect Corners
Easy-peasy! You don't even need a sewing table to do this.
5. Use Binder Clips in Applying Your Binding
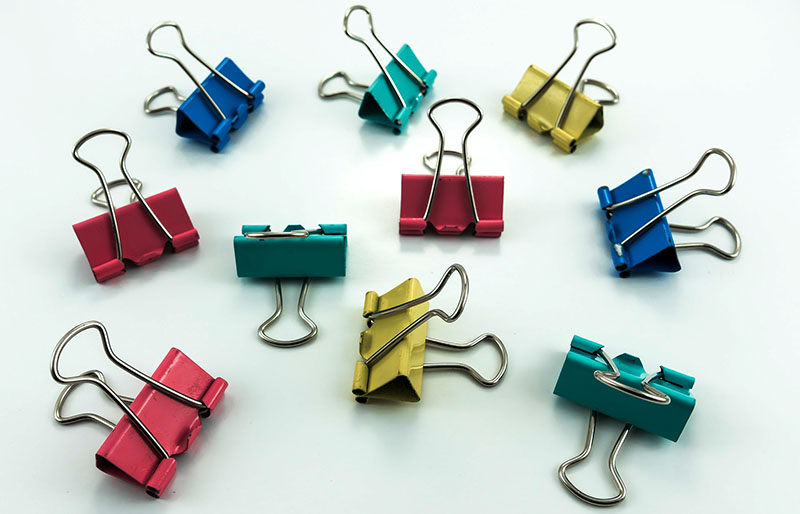
It's like you have your own little helping hands. Talk about handy sewing tips and tricks!
6. Gather Your Fabric the Easy Way

Yarn won't easily snap unlike your regular thread, so it's easier to gather the fabric.
7. Sew Buttons on the Inside of Your Coat Sleeve
8. Use Freezer Paper to Cut Patterns

Press freezer paper to your fabric. It sticks to your fabric, and you'll be able to cut it according to your pattern, without weights and unnecessary errors.
And even more wonderful, it doesn't leave any residue!
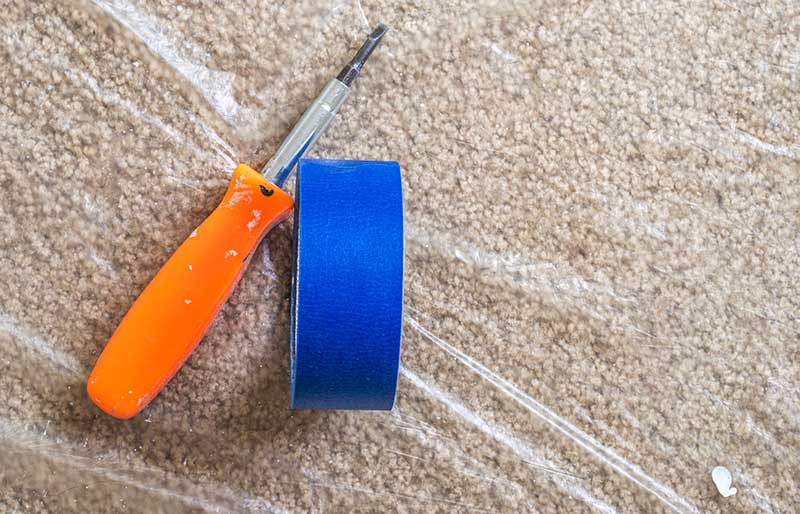
9. Use Painter's Tape
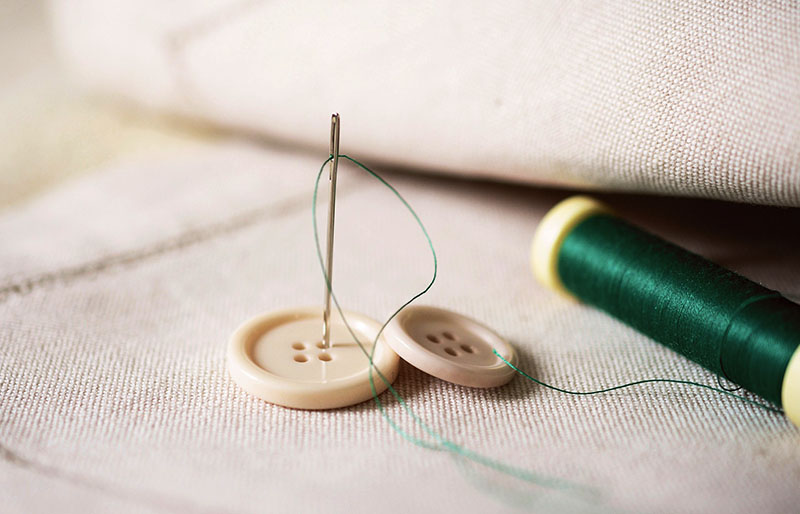
10. Use Dental Floss to Sew Buttons
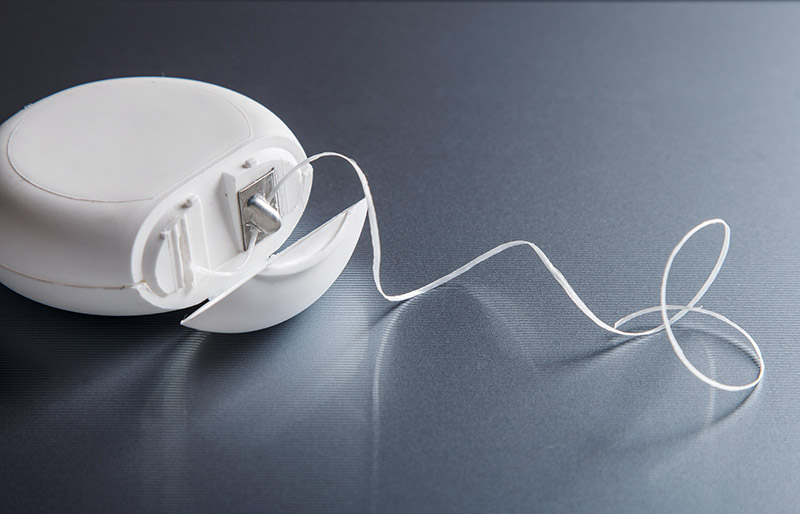
My children used to pop buttons off all the time. As a result, I kept sewing buttons back on all the time, too!
Here's what I discovered: Using your dental floss as a thread, sew your buttons right back into place. Dental floss is stringier than your usual thread and can keep your buttons from popping off more than a regular thread.
Now with this trick, I won't have to keep on sewing buttons back all the time.
11. Use Wax to Strengthen Threads
Use this little gadget. It’s wax, and when you pull the thread through, it gets coated in wax.
This makes the thread nice and strong while you hand-sew. It's one of the best hand sewing hacks for shirts and jeans you'll learn today.
12. Get the Thread Through the Needle – the Easy Way!

It's so frustrating to thread through needle holes. It always seems like the thread refuses to go through the hole!
Until I discovered one genius sewing hack: hairspray! Spray the tip so it stays perfectly straight.
13. Sew Over Lumpy Fabrics Using Plastic
Next time you’re sewing over a lumpy fabric like terry cloth or fleece, use a plastic bag. Place it over the fabric you are sewing and watch that presser foot glide!
14. Sew in Your Zippers
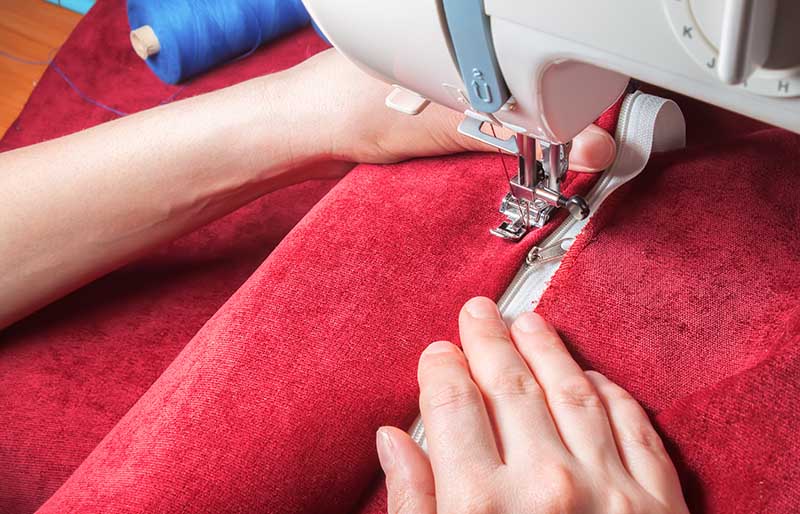
Note: Be sure to check out our easy step-by-step tutorial on How To Sew A Zipper In Two Ways.
15. Take Advantage of Your Stay Stitching

Stay stitching holds the shape of your material in place as you ease it around curves. Stay-stitch anything that isn’t cut on the grain or cross-grain to prevent it from becoming disfigured.
To stay stitch:
- Stitch within the seam allowance, try 3/8″ if your seam allowance is 5/8″, and follow the curve of the piece.
- Stitch symmetrically, start your line on the outside, and work your way in on both sides–if working on a centerfold.
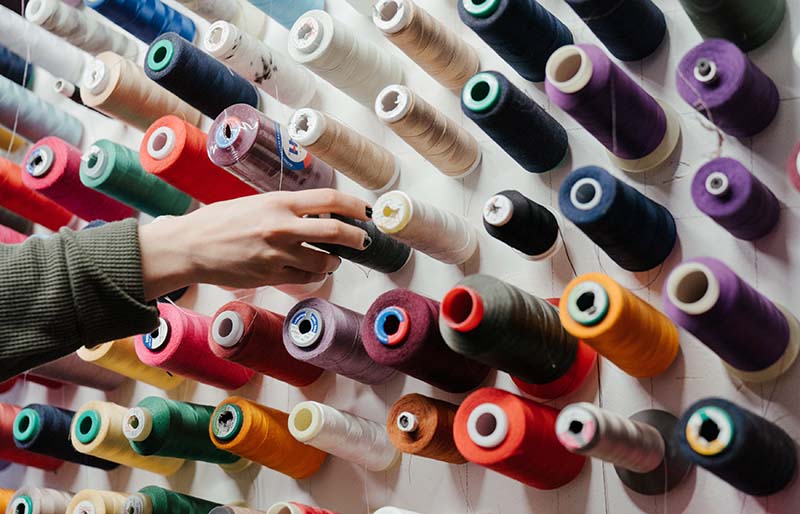
16. Sew Using Your Decorative Threads
17. Mark Your Seam Allowance

Rubberband three pencils together for 5/8″, or two pencils for 1/2″. Trace the edge of your pattern piece for a perfect seam allowance every time.
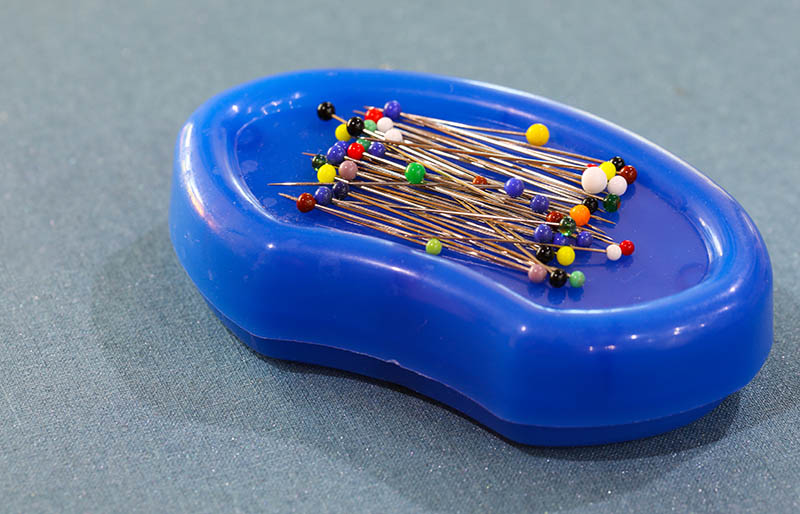
18. Use Wool Stuffing to Sharpen Your Pins
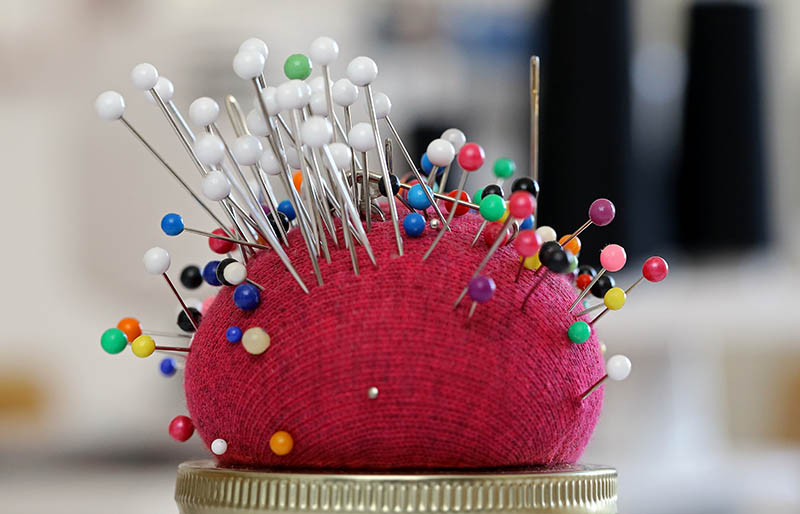
Stuff it even fuller with rice, which will help absorb any moisture.
RELATED: 15 Must-Have Sewing Supplies Items You Can't Do Without
19. Find the Grain Without a Fuss

Clip into your selvage just a tad, and pull on a loose thread. It will tug at your fabric and gather a little; gently pull it all the way out.
The line this thread left behind is your cross-grain, which is perpendicular to your grain line. When you fold your fabric in half, this line should match up on both sides.
20. Sew Without a Sewing Machine
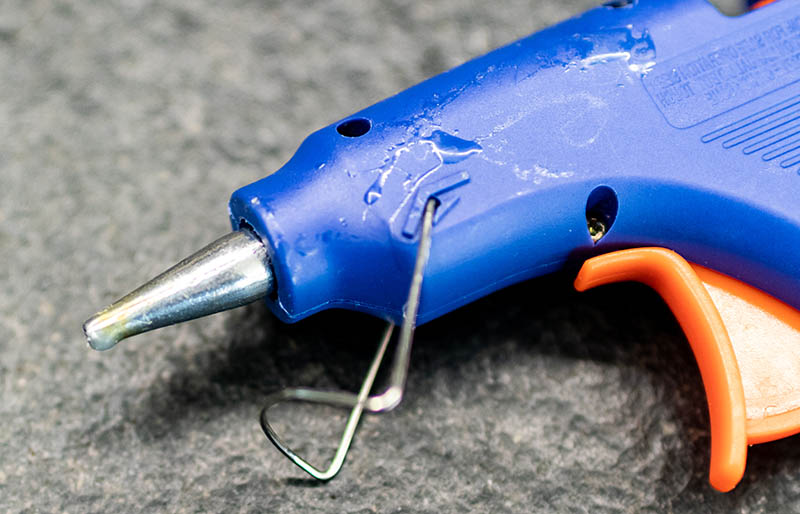
A glue gun is a messy and clunky way to “sew”. However, if you’re not interested in making anything fancy — perhaps just a new table runner for the next party or a quick pant hem — break out the glue gun!
Just keep the same rules of sewing in mind, and don’t forget your seam allowance.
21. Thread Your Drawstring In
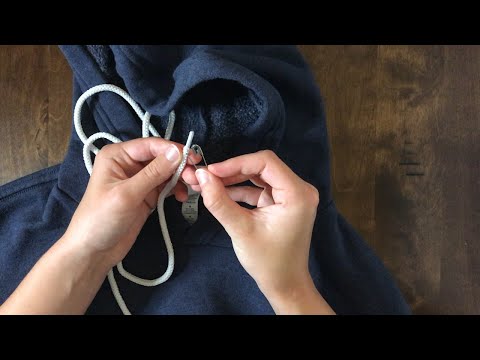
This technique is technically done with a bodkin, but those aren’t just laying around the house by the dozens now, are they?
22. Turn Thin Projects Inside Out

Turning a small bag, or in this case, a small tail? Use a straw and a chopstick or skewer, and poke one side into the other.
23. Use a Rubber Band to Make Non-Slip Paddle Bands

Slippery paddles are my worst enemy. That is, until I found this genius and cool sewing hack!
Slip a rubber band into your sewing machine paddle. No more slipping ever again!
24. Use Nail Polish to Keep Your Buttons from Popping

Too late? Learn how to sew on a button here.
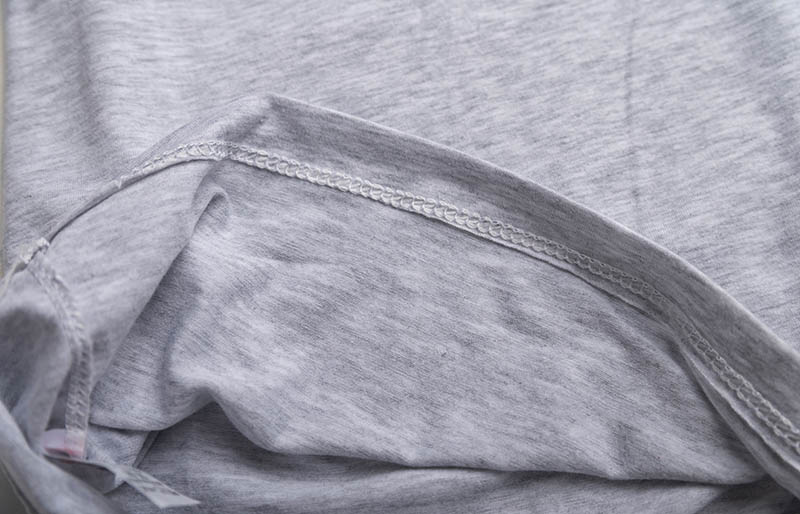
25. Alter Your Shirt Sizes the Easy Way
Turn your clothes inside out and sew up the sides to make them fit better. If your clothes are made of stretchy material, use the zigzag stitch on your machine.
To truly get the perfect fit, wear the clothes inside out, and pin on the sides. Mark your fabric where the pins are, remove them so you don’t stab yourself, then remove your clothes, and sew up the sides.
Do this for basic shirts, dresses, and pants. You’ll find all your clothes fit much better in no time.
26. Sew Your Elastics
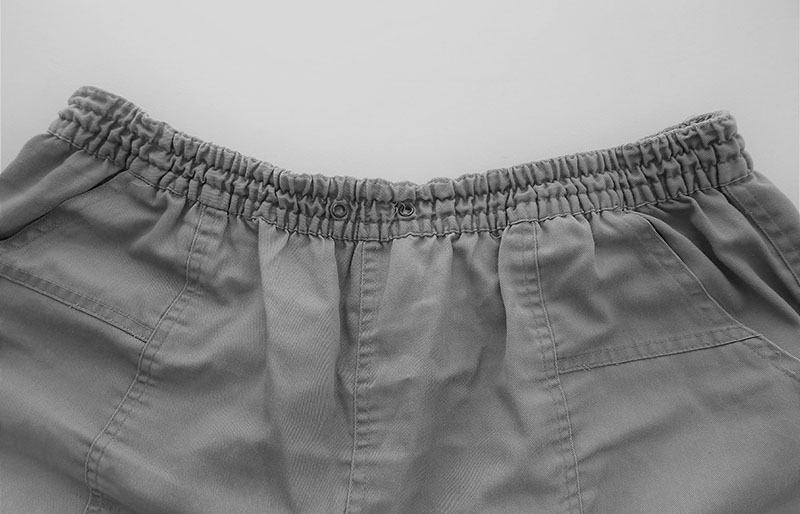
In need of a quick elastic stitch fix? Or maybe you want to attach elastic to something but don’t want to bother gathering it, or dragging it through the casing?
Just stretch out your elastic over the area you want to cover and sew it in place. Be sure to hold the stretch elastic over the flat garment. The garment will pucker as you sew, but the elastic will remain taut as long as you hold it in place.
27. Keep Your Pattern Pieces Down Using Nuts and Bolts
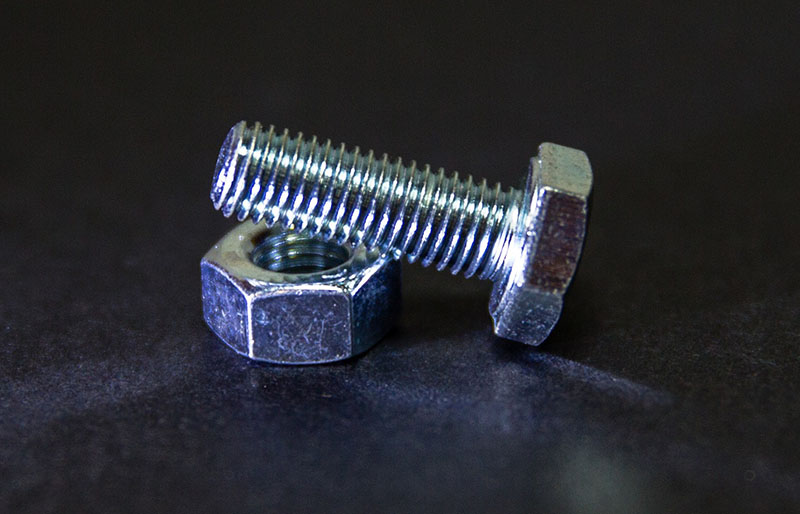
It is recommended to pin your pattern pieces in place over the fabric. But, you can also use anything with a bit of weight to it.
Examples include nuts and bolts, washers, spare change, and river rocks. Get creative–as long as your pattern pieces stay in place, you won’t have anything to worry about.
28. Fake a Hem
Viola! It's a perfectly fitted hem, no weird puckering or unforgiving stitches.
Read this tutorial on how to hem pants to overcome that final step.
29. Keep Your Needles and Pins in Order
30. Keep Your Fabric from Fraying
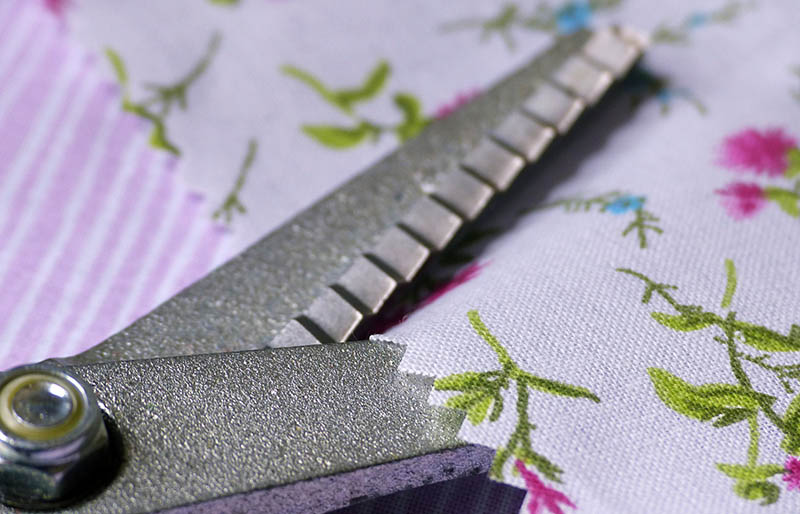
Cut your fabric out with pinking shears to keep it from fraying while you sew. This will also save you a step when you’re finishing your garment (if you’re in a hurry).
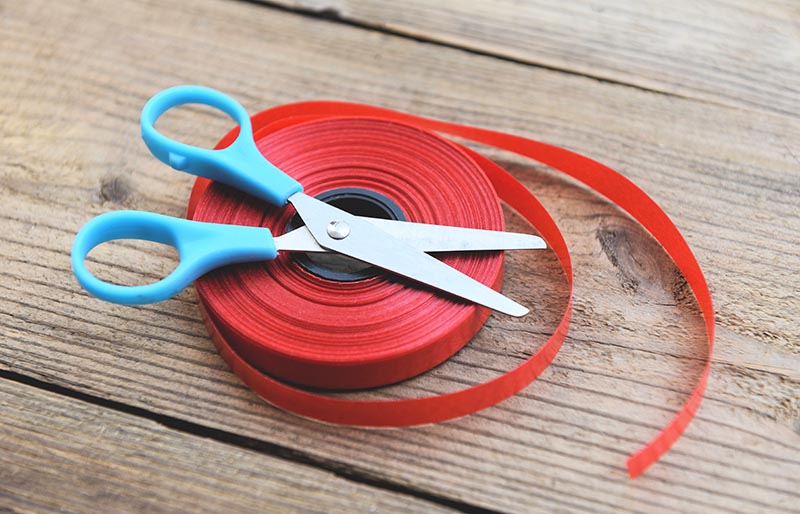
31. Use Ribbons to Prevent Losing Your Scissors
32. Pre-Wash Your Clothes to Keep Them from Shrinking
To learn more about your fabrics, check out this article: Types Of Knit Fabric: What You Need To Know.
Tips:
- Use hot water and a hot dryer when pre-treating fabrics like flannel and knits.
- Treat your silk with hand wash and baby shampoo in the bathroom sink.
- Wash your linens in a hot bath and dryer. It will soften up after washing.
33. Find the Right and Wrong Side of Your Fabric

Did you know that all fabrics have a RIGHT and a WRONG side? This terminology might sound a bit odd while sewing: “Sew the wrong side? That can’t be right!”
Just keep in mind, the right side is typically the side where the pattern is at its best, or the side you want people to see. If your fabric is truly the same on both sides, like a muslin, just try to keep your sides consistent so you don’t get confused.
34. Use a Serger Thread to Keep Your Thread from Ever Running Out
If it doesn’t fit over your spool pin, invest in a spool stand.
35.

Maybe it’s just me, but I love bias tape. Use this to add a crisp, even finish to any raw edge.
It might take a while, but I prefer it over rolling under hems or fiddling with lining.
36. Use a Double Needle for a Super Crisp Double Line
Here's what you need to do:
- Cut a dowel small enough for the spool to slide onto, and tape it vertically on the side of your machine.
- Slide a spool onto the dowel to give height to the spool color you'll use, which you'll place on top.
- Given that you've already placed your other spool color to the machine's spool pin, pull the threads from the two spool colors you'll use and thread them through your sewing machine.
- Follow the instructions on the label on how to use the double needle on your machine. Be sure to get a double needle that fits the opening of your zigzag presser foot.
37. Pin the Button Hole to Avoid Damaging It
It's so simple! You just need to slide a needle across the end of the hole and that's it.
Doing this allows you to see the buttonhole easily and prevents you from going too far when you're sewing. It also helps you sew as fast as you can without worrying about having to cut the hole open.
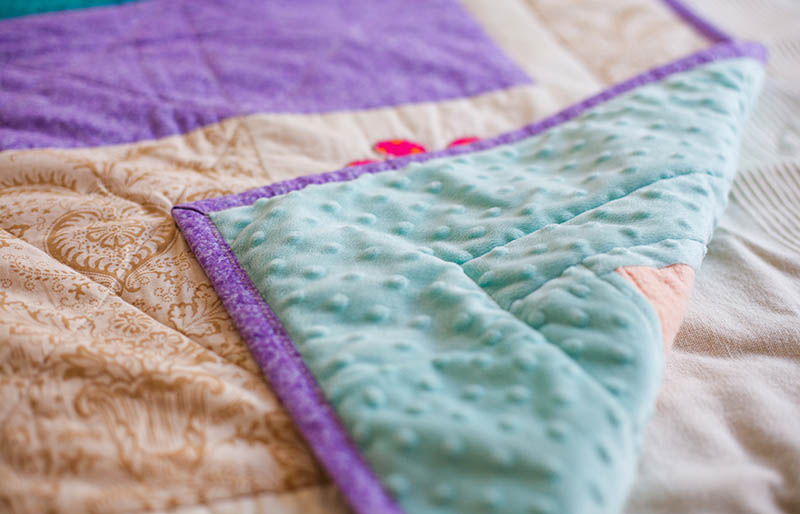
38. Quilt Perfect Lines to Look More Creative

Is your quilting wonky? I've got something for you to achieve that perfection you've been looking for!
Quilting Definition: The process of sewing multiple fabric layers together to create a thicker material.
What you can do for this sewing pattern is arrange the small pieces of cloth you'll quilt, and then place them on top of a cotton sheet as your base.
The key in this hack is to diagonally run a strip of masking tape from one corner to another on the arranged pieces. This makes sure the small fabrics don't move as you sew them together.
Sew either side of the tape, following the diagonal line, and peel away the tape when done. Lay another strip of tape along the stitched line and repeat the process, working your way from the center outwards.
Do the same procedure crossways and trim the piece when finished. For the edges, you can use colorful bias binding to beef up the newly-stitched cloth.
39. Sew a Circle Easily Using a Tin and Sandpaper
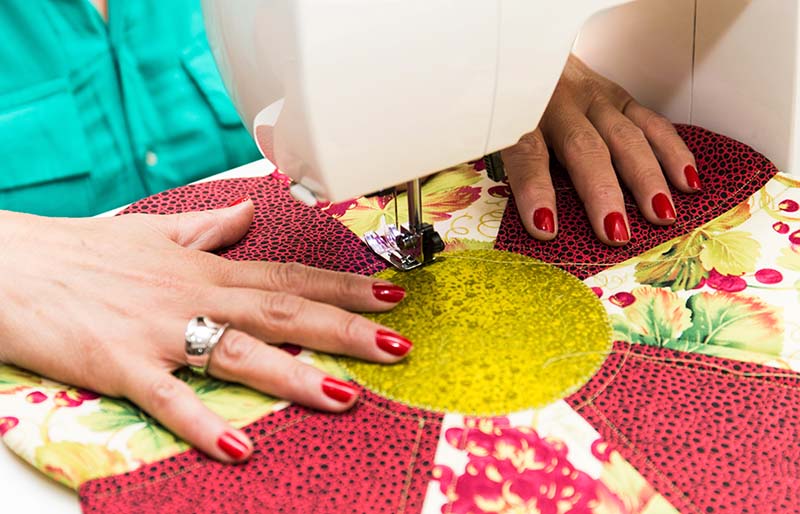
- Find a shallow, round object that's the same size as what you want to sew; a flat-topped lid is a good example. Use the tin as a guide to draw your circle on the sandpaper and use double-sided tape to attach the paper to the tin after cutting it out.
- Position the fabric where you want the needle to start, using the circumference of the tin as your guide. Lower the presser foot, hold the tin with the sandpaper side-down, and then begin sewing.
- The sandpaper holds the tin to the fabric, while the tin serves as a template. The combination of these two helps you rotate sewing easily, achieving a perfect circle.
- Just make sure to sew slowly to avoid fabric puckering.
These genius sewing hacks are so good yet so simple! I can't believe simple, everyday items can be used to make sewing (and life) easier.
I'm so excited to use some of these embroidery hacks on my next sewing projects!
What other sewing hacks and tricks do you know? Share them with us in the comments below!
UP NEXT:
- 21 Quick and Easy Sewing Patterns You Can Sew This Weekend!
- 20 Free Embroidery Patterns You Can Recreate For Every Occasion
- What Is The Best Portable Sewing Machine?
We aim to feature the hottest trends in the sewing world, so get in touch if you can contribute! WRITE FOR US!
Stay connected with us on Facebook, Twitter, Instagram, and Pinterest!
Editor’s Note: This article was originally published 0n January 31, 2020, and has been updated for quality and relevancy.