

Sewing your own DIY laptop sleeve is one simple and easy way to take better care of your laptop. Dust particles can cause damage to your laptop that’s why dressing them up with a sleeve is a must! Learn how to make a laptop sleeve using this simple step-by-step tutorial.
RELATED: How To Sew Your Own Silk Pillowcase
DIY Laptop Sleeve You Can Sew at Home
Materials Needed:
- Fabric
- Thread
- Fabric Shear
- Fabric Chalk
- Measuring Tools
- Adhesive Velcro or Snap Press (optional)
- Sewing Machine
Step 1: Measure Your Laptop

Use any measuring tools to get the dimensions of your laptop. First, measure your laptop diagonally from the top corner to the bottom edge. A standard or mid-sized laptop typically measures 15.5 inches (39.37 cm) long for the length.
Then, place your measuring tool at the bottom left corner of the laptop and drag it to the bottom right of the laptop to measure the width. For a standard laptop, the width typically measures about 13.05 inches (33.15 cm) long.
Step 2: Cut the Fabric
Measure how much fabric you’ll need to cover your laptop. Add a 1″ 1/4 (3 cm) seam allowance to all measurements; width and length. Don't forget to also add an extra material measuring just about 4 inches (10.16 cm) long for the flap closure.
Fold up the fabric to the size of your laptop then create chalk markings on the edges. Cut the fabric accordingly.
Step 3: Start Sewing!

Sew your seams all the way around your laptop sleeve leaving a 1/2” seam allowance then flip your sleeve inside out.
Step 4: Attach the Velcro/Snap Press (Optional)


Attach the adhesive velcro to the flap closure of your fabric laptop sleeve. You can also sew the velcro to make sure they won’t fall down over prolonged use. If you're going to use a snap press, attach them to the flap closure and to the area of the sleeve parallel to it.
This step is optional but doing so will make your DIY laptop sleeves more clever. Plus, the velcro/snap press will make sure your device is safely tucked inside.
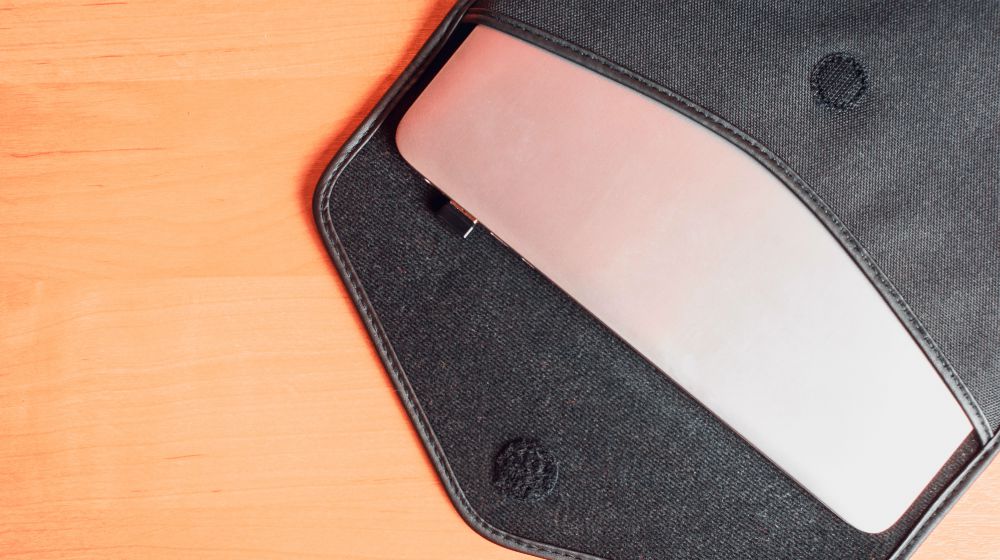
Finally, you’re done! You now have a simple laptop case that will prevent your device from possible damage caused by dust and other harmful objects!
Here’s another step-by-step guide on how to sew a simple DIY laptop sleeve courtesy of ZathuNation:

We hope you enjoy this simple laptop sleeve tutorial! You can simply sew a beautiful DIY laptop sleeve in minutes using only the simplest sewing materials you already have in your craft room. Make your own laptop sleeve at home and have fun playing with colorful patterns and clever designs. Happy sewing!
Have you ever tried sewing a DIY laptop sleeve before? Share your experience with us in the comments section below!
UP NEXT:
- Crafty And Adorable Quilted Lunch Bag For Your Kids
- 21 Quick and Easy Sewing Patterns Perfect For Beginners
- 8 Free Sewing Patterns You Can Make With Your Kids
We aim to feature the hottest trends in the sewing world, so get in touch if you can contribute! WRITE FOR US!
Stay connected with us on Facebook, Twitter, Instagram, and Pinterest!