

Here's a snowflake throw pillow tutorial to keep your space sparkling all season! Now you can be sure your holiday decor won't lack the sparkle you want. Keep on reading to learn how to make your own!
RELATED: Christmas Ornaments To Sew | 61 Fabric Crafts And Sewing Projects
DIY Snowflake Throw Pillow to Spruce up Your Home
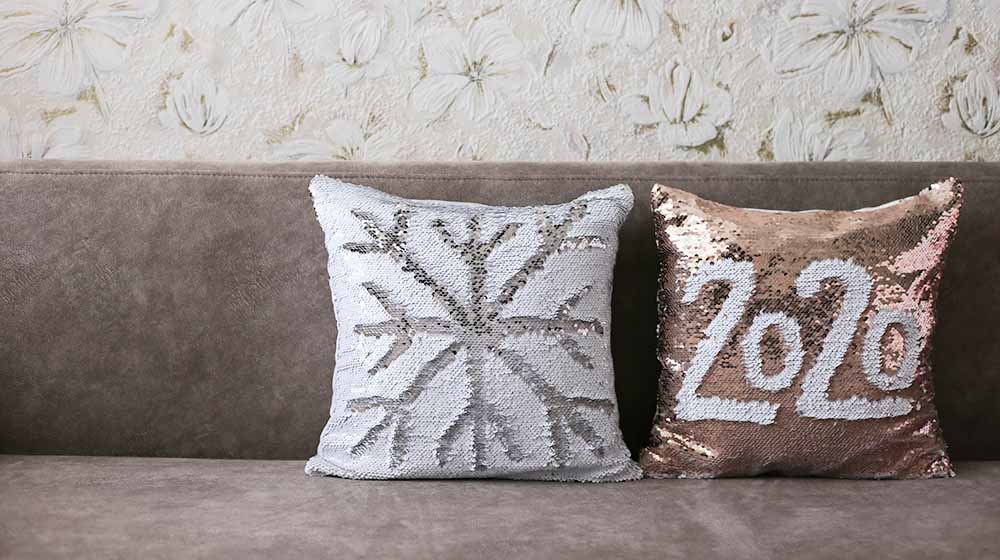
Let This Snowflake Throw Pillow Add Sparkles to Your Space

While decorating my home for Christmas, I realized my throw pillow didn't match the theme. There's no way I'm going to stash away my throw pillows, so I looked for tutorials on how to DIY a throw pillow.
Instead of buying holiday-themed throw pillows, I decided to make my own. Why not? It’s easy, plus I can make the right size using fabrics I have stored.
This tutorial perfectly matches my white Christmas holiday theme. The snowflakes pattern gives life to my winter-inspired decor. So, let’s get ready and sew!
Materials:
- 1-yard white canvas fabric
- A pair of scissors
- Wax paper
- Plastic wrap
- Spray adhesive
- Rustoleum paint titanium silver
- Sewing machine
- Sequins and crystal seed beads
Instructions:
- Get the dimension of your snowflake throw pillow form. If you have 16×16 inches, you need to add 1 inch for the seam allowance.
- Cut 17×17 inches fabric for the front piece. Then, for the back piece, you need to add another 5 inches to one of the ends only, so you'll have 17×22 inches back piece. Cut the back piece in half to create an envelope at the back of your pillow cover.
- Cut out a piece of wax paper and make a square.
- Fold the square diagonally in half to make a triangle. Then, fold the triangle in half to make a smaller triangle. Next, fold the left section of the triangle towards the front. Fold the right section of the triangle towards the back. Lastly, get your scissors and make little cuts and trim on the two edges to make a snowflake pattern.
- Unfold the paper to reveal the snowflake and spray with adhesive. Set aside for 3 minutes. Be patient, your snowflake throw pillow is slowly coming together!
- Put the snowflake stencil on the center of the front piece fabric. Make sure to position the stencil with adhesive facing the right side of the fabric. Let it dry by pressing them together.
- Use a plastic to wrap around the outer edges of the stencil, so the outer fabric won't get painted. Then spray the stencil snowflake area. Set aside for 3-5 minutes or until dry.
- Once dry, remove the plastic wrap and the stencil to reveal the snowflake pattern on your fabric. Just a little bit more, and you'll have your snowflake throw pillow!
- Starting with the back piece, fold the bottom edge of the other half about 1/2 an inch. Then sew along to create a finished edge. Repeat the same step on the other half of the back piece.
- Pin the front and back piece all the way around and sew your pillow with a 1/2 inch seam using a regular stitch. Turn your pillow cover right side out and add your pillow form. Now you're done!
TIPS:
- If you want to add sequins to your snowflake throw pillow, you'll need to hand sew them.
- Place all the sequins and beads on the snowflake pattern to create your desired layout.
- Snap a photo so you won't forget the pattern. Then hand sew the sequins and seed beads using your photo as a layout guide.
You can also watch the full video tutorial from Christine Kodzeff below:

If you also went with a white Christmas theme this year, this is certainly the best DIY throw pillow for you. Seasonal decor can be very expensive in stores. So, instead of purchasing high-priced throw pillows, it's great to make your own.
I shared this snowflake throw pillow tutorial with my friends. So go ahead and share this too!
Do you think we can use another color aside from silver for the snowflakes? Let me know by leaving your comment below!
UP NEXT:
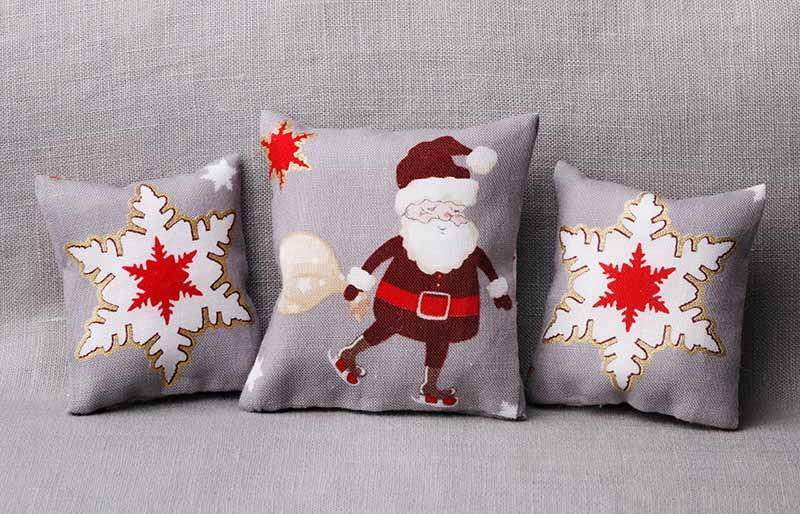
- 25 Decorative Christmas Pillows For Cozy And Festive Holiday Furnishing
- 15 Hand Embroidered Pillowcases For Your Next Project
- 10 DIY Roman Shades – Sewing Tutorials And Ideas
We aim to feature the hottest trends in the sewing world, so get in touch if you can contribute! WRITE FOR US!
Stay connected with us on Facebook, Twitter, Instagram, and Pinterest!
Editor’s Note: This article was originally published 0n December 14, 2016, and has been updated for quality and relevancy.