

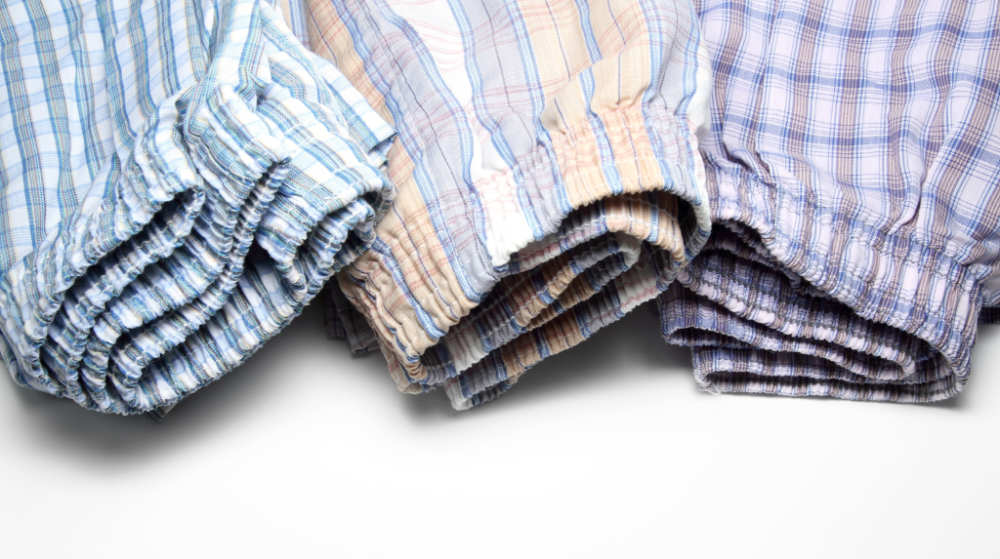
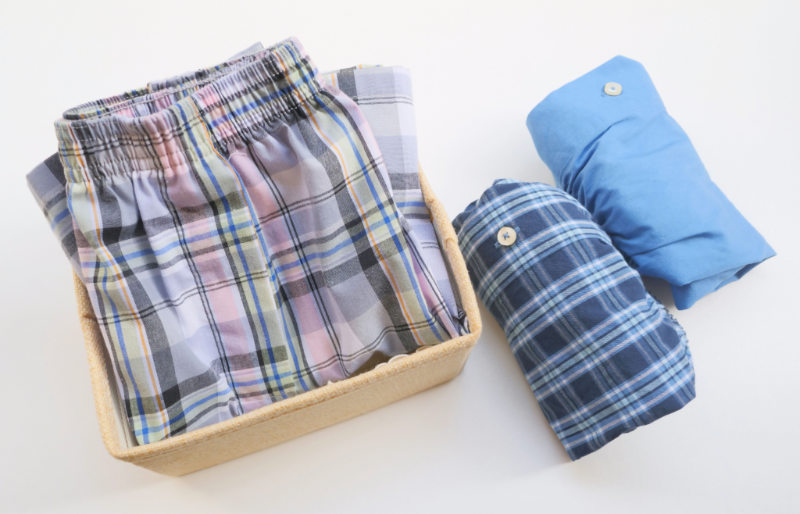
Learn how to make your own boxer shorts and you will never have to buy this garment ever again! Sewing DIY boxer shorts is also super easy, fun, and cost-efficient. So what are you waiting for? Let's get started with sewing a pair for everyone in the family!
RELATED: 17 Cute Pants And Summer Shorts To Sew | Sewing Projects
How to Make DIY Boxer Shorts From Scratch
Here's What You'll Need to Make Boxer Shorts

For this DIY boxer shorts tutorial, we will learn how to make boxers without a pattern. We will use some old boxer shorts instead as a pattern for the DIY shorts. Take out a pair of boxer shorts with some wear and tear because we are are going to cut it up.
Materials:
- 1-yard cotton fabric
- 1 pair of old boxer shorts
- 1″ wide elastic
Tools:
- Flatiron
- Pinking shears
- Ruler (2″ wide)
- Straight pins
- Fabric pencil
- Matching threads
- Sewing machine with zigzag stitching
Instructions for Making Boxer Shorts:
- First, lay the shorts on your working table. Cut the boxers down the center front seam. Then cut up to the center back along the inseam before cutting off the waistband along the stitches.
- Lay your shorts fabric flat on your working table and iron to press.
- Fold your fabric in half so you have 2 layers of fabric back to back. You can now start measuring and outlining your cut short pattern into the new fabric.
Bring Out Your Sewing Materials!
- Using your fabric marker and ruler, start with the waistline and measure 2 inches from the top or the waistline of the cut shorts pattern. Work down the center back and leg seam, adding half an inch. Also, add a half-inch allowance to the center front and leg seam. Down the hem, add an inch as you outline and mark the pattern.
- Now for the easiest part, simply cut straight along your marked outlines.
- Measure your waistband with the same length as the shorts you used, adding 1 and a half inch.
RELATED: Re-purpose Your Skirts Into Stylish Summer Shorts
Let's Get to Stitching:
- Overlap three-fourths of an inch on both ends of the elastic. Run the overlapping part of the elastic under the machine to stitch and join.
- Start with the center front and center back. Match the right sides together, and sew straight up the marked outline.
- Trim the seams with pinking shears. You can also reinforce your stitches with a serger stitch, but that will require a serger sewing machine.
- Now, match the inseams as perfectly aligned as you possibly can and stitch them together. Also, cut along the inseams with your pair of pinking shears.
You're Almost Done!
- Slide your elastic waistband into the wrong side of what is to be the waistline in the fabric. Align the part where the elastic connects to the front center of the waist. Then, tuck a straight pin to join.
- Do the same for the back center of the elastic and the fabric. Stitching the elastic to the waistline can be a bit tricky. You will need to stretch the elastic as you maneuver it with the fabric under the sewing machine.
- Sew a zigzag stitch through the top of the elastic. Once done, you will need to fold the stitched elastic inwards. Stitch again using the same sewing technique. You can now do a straight stitch on the top and bottom of the waistband.
- Fold the hem inwards at half an inch from the wrong side of the bottom of the fabric. Fold another half an inch and do a straight stitch around the leg opening.
Enjoy your DIY Boxer Shorts!
Now, wasn't that simple, fun, and easy? With a bunch of boys in the house, I needed to learn how to make boxer shorts from scratch. Now I can make several pairs for my hubby, the kids, and even for me!
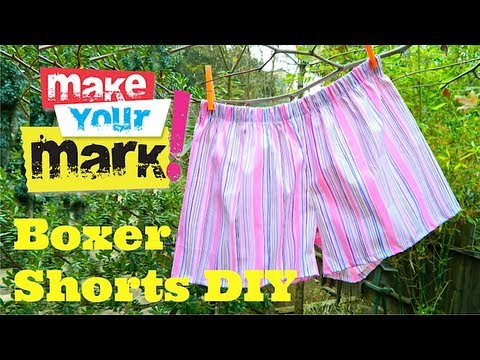
Here's the full video tutorial on Easy DIY | How To Make Boxer Shorts by Mark Montano. Enjoy!
This easy DIY guide should also work for you. You can even make some extra cash from this project if you want.
This weekend, have a fun time making these DIY sewing projects for everyone in the family!
Did you enjoy this latest sewing tutorial? Do you already have your tools and materials ready for your next boxer shorts sewing project? Let us know in the comments section below!
Up Next:
- How To Sew Your Old Jeans Into Comfy And Stylish Denim Shorts
- 101 Clever Sewing Projects To Upcycle Fabric Scraps
- How To Sew Kids Bean Bag Chairs | Step By Step Tutorial
We aim to feature the hottest trends in the sewing world, so get in touch if you can contribute! WRITE FOR US!
Stay connected with us on Facebook, Twitter, Instagram, and Pinterest!
Editor’s Note: This post was originally published on May 11, 2016, and has been updated for quality and relevancy.