
Sewing Buttonholes Guide At a Glance:
- Pick the right buttonhole for the fabric: machine for light/medium wovens, keyhole/bound for thick coats and denim, hand-sewn for delicate silks and lace.
- Stabilize first to stop stretching and puckers: fusible interfacing for stretch; tear-away for lightweight wovens.
- Mark placement and spacing carefully before you sew; accuracy beats guesswork.
- Use the buttonhole foot and set your machine’s buttonhole program; it sizes the hole to the button.
- Sew a test on scrap, then adjust stitch width/length or tension before touching the real garment.
- Size it right: make the buttonhole slightly longer than the button so it slides through easily.
- Open safely: place pins at both ends, then use a seam ripper so you don’t cut past the bartacks.
- For hand work, blanket stitch around the slit and add extra stitches at each end for strength.
- Use strong thread (poly or buttonhole twist) and a fresh, sharp needle for clean, even stitches.
- Fix common issues fast:
- Uneven buttonholes → add interfacing and sew at a steady speed.
- Puckering → lower thread tension and re-stabilize.
- Fraying → apply Fray Check or a narrow zigzag along the edges.
- Skipped stitches → change the needle and fine-tune tension.
- Bound or keyhole buttonholes give the most durable finish on thick fabrics and outerwear.
- Practice makes perfect: a 2-minute test stitch saves a ruined placket.
Sewing buttonholes can sometimes feel frustrating. If they turn out uneven, too tight, or frayed, they ruin the project immediately. With the right methods, however, sewing buttonholes becomes a smooth process. This guide will show you the best techniques, common mistakes, and simple ways to master this technique.
Sewing Buttonholes You’ll Actually Be Proud Of: Here’s the Secret

Sewing buttonholes doesn’t have to be your sewing project’s weak link. You know what I’m talking about: the wonky, messy buttonholes that ruin your otherwise great project. Let’s fix that! We’ll show you how to sew buttonholes better.
Choosing the Right Buttonhole for Your Fabric
The fabric you use affects how the buttonhole will turn out. Some fabrics need extra support, while others stretch easily. For example, thin fabrics like cotton can pucker if not stabilized. Meanwhile, stretchy fabrics need stabilizers to prevent stretching. On the other hand, thick fabrics, like wool, work best with keyhole or bound buttonholes since they add strength and prevent fraying.
Types of Buttonholes
There’s a specific buttonhole for each fabric. Choosing the right one makes your project look better and last longer.
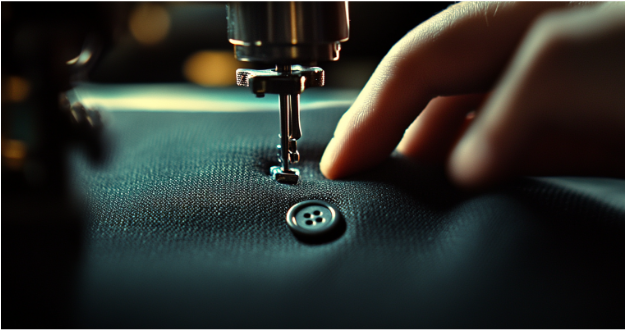
1. Machine-Sewn Buttonholes
Most sewing machines have a built-in buttonhole function. Machine-sewn method is a fast and easy method that is great for shirts, dresses, and lightweight fabrics.
2. Hand-Sewn Buttonholes
For delicate fabrics like silk or lace, hand-sewn buttonholes give better control. The hand-sewn method takes more time but makes buttonholes stronger and neater.
3. Bound Buttonholes
Bound buttonholes use fabric strips to create a clean opening. They’re great for coats and blazers because they look polished and hold their shape well.
4. Keyhole Buttonholes
Thick fabrics like denim and wool need strong buttonholes. Keyhole buttonholes have a round end, which keeps fabric from tearing.
Sewing Buttonholes by Machine (Step-by-Step)
Machine-sewn buttonholes are the easiest and most common. Follow these steps to get great results.
Step 1: Mark the Placement
Use a fabric marker or chalk to mark where each buttonhole should go and ensure even spacing.
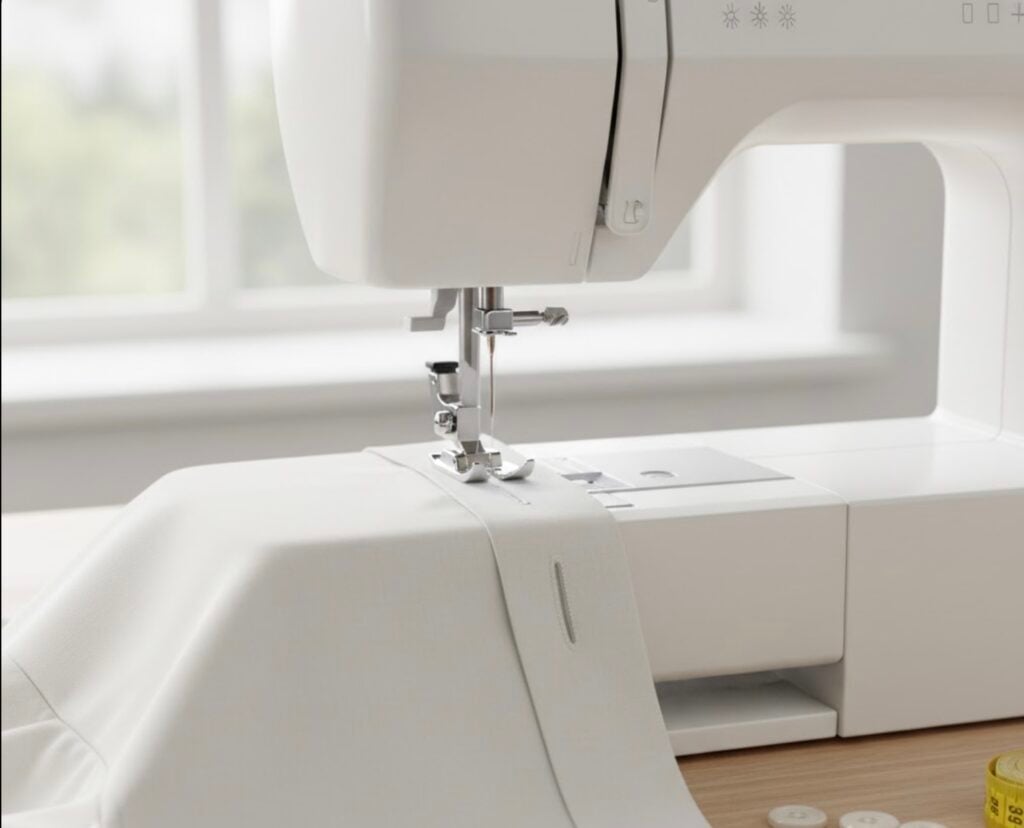
Step 2: Attach the Buttonhole Foot
A buttonhole foot helps create the right size. Most sewing machines come with this foot, which makes it easier to achieve even results.
Step 3: Stabilize the Fabric
Adding interfacing prevents stretching and puckering. For delicate fabrics, use a tear-away stabilizer to keep the fabric in place.
Step 4: Sew the Buttonhole
Set the machine to the buttonhole stitch. Then, lower the presser foot and start sewing. Some machines sew the whole buttonhole automatically, while others need you to guide the stitches manually.
Step 5: Open the Buttonhole
Carefully cut the buttonhole with a seam ripper. Afterward, place pins at both ends to avoid cutting too far.
Fixing Common Buttonhole Problems
Even with practice, buttonholes won’t always turn out right. Here’s how to fix the most common problems.
🛑 Uneven Buttonholes – If the fabric keeps moving while sewing, this might lead to uneven buttonholes. To stabilize the fabric, use interfacing and sew at a steady pace.
🛑 Fabric Puckering – High thread tension can make fabric bunch up. Instead, lower the tension to keep the buttonholes smooth.
🛑 Frayed Edges – Some fabrics fray easily. To avoid fraying, use Fray Check or a narrow zigzag stitch along the edges.
🛑 Skipped Stitches –This is caused by a dull needle or wrong thread tension. Avoid skipped stitches by changing to a sharp needle and adjusting thread tension.
Sewing a Hand Buttonhole
For some projects, a hand-sewn buttonhole works best. This method takes longer but gives buttonholes a strong and custom look.
Steps for a Hand-Sewn Buttonhole:
✔ Mark the Buttonhole – Use a fabric marker for accuracy.
✔ Reinforce the Area – Add interfacing to prevent fabric stretching.
✔ Cut the Slit – Use sharp scissors for a clean cut.
✔ Stitch Around the Edge – Do a blanket stitch to strengthen the edges.
✔ Secure the Ends – Add extra stitches at the edges to prevent fraying.
Pro Tips for Sewing Buttonholes
✨ Test on Scrap Fabric – Practicing lets you adjust machine settings before sewing the actual buttonholes.
✨ Use Strong Thread – Polyester thread works for most projects, but buttonhole twist thread is much stronger.
✨ Apply Fray Check – A small amount keeps buttonholes from fraying over time.
✨ Measure Carefully – Even spacing makes buttonholes look neat and professional.
✨ Size Matters – Buttonholes should be slightly longer than the button so they close easily.
From Wobbly to Wow: Mastering the Art of Sewing Buttonholes
Sewing buttonholes may seem hard at first, but the process gets easier with practice. Using the right tools, fabric stabilization, and effective methods will help you sew neat and sturdy fabric closures. So, take your time and test different strategies as you go. Soon, you’ll be sewing perfect buttonholes on every project!
🔹 FAQs About Sewing Buttonholes 🔹
- Why do my buttonholes look uneven?
The fabric may be shifting. Use interfacing and sew at a steady speed. - How do I keep buttonholes from fraying?
Apply Fray Check or sew a narrow zigzag stitch along the edges. - What’s the best stitch for hand-sewn buttonholes?
A blanket stitch works best for strong, neat edges. - Why is my machine skipping stitches in buttonholes?
A dull needle or incorrect thread tension may be the cause. Switch to a sharp needle and adjust tension. - How do I choose the right buttonhole size?
Make the buttonhole slightly longer than the button’s diameter for easy fastening. - What stabilizer should I use for buttonholes?
For lightweight fabrics, use tear-away stabilizer. For stretch fabrics, use fusible interfacing. - How can I open a buttonhole without cutting too far?
Place pins at each end before using a seam ripper to prevent over-cutting. - Why is my fabric puckering around the buttonhole?
High thread tension can cause puckering. Lower the tension and add stabilizer. - Can I sew buttonholes without a buttonhole foot?
Yes, but it’s harder. Use a narrow zigzag stitch and sew carefully around a marked opening. - What’s the strongest type of buttonhole?
Keyhole and bound buttonholes are the most durable, especially for thick fabrics.
For more sewing skills and techniques, check out this page.