

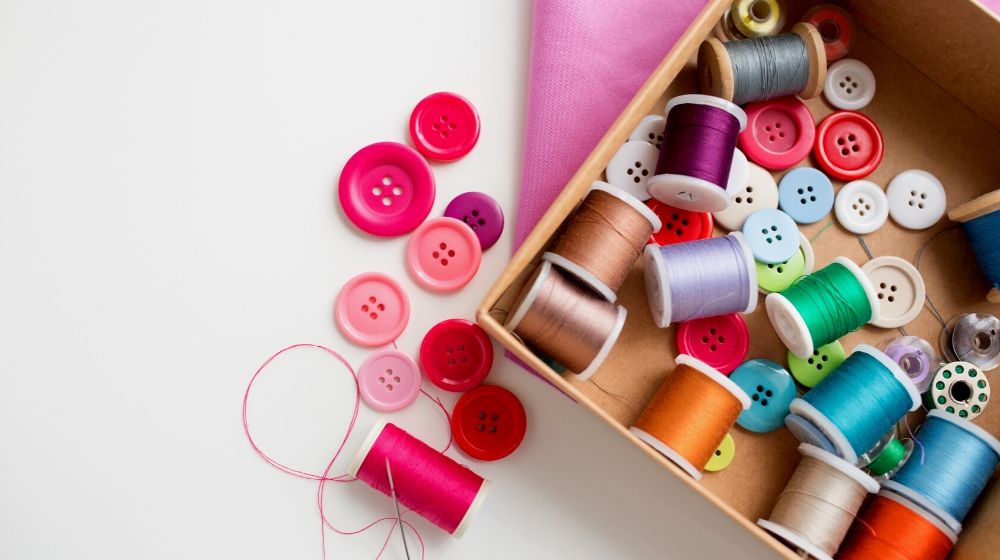
A DIY sewing box is a handy container you can customize depending on your preferences and needs. Here are four ways you can create your own sewing box.
RELATED: What Is The Best Portable Sewing Machine?
In this article:
DIY Sewing Box | Three Ways To Make One
Shoe or Decorative Box
A shoe or decorative box makes a great container for your sewing tools because it is sturdy and spacious. You can also put layers or divisions according to your liking. Here's how you can make a DIY sewing box using either of these boxes.
What you need:
- Shoebox
- Small boxes
- Glue
- Spray paint (optional)
- Extra shoe box lid
- Decorations (optional)
- Measuring tape
Step 1: Fortify the Box (Optional)
Paint the whole box with acrylic or spray paint to give it a nice and clean look.
Step 2: Find Small Boxes
Find small boxes of the same height to maximize the space of the shoe box. Doing this lets you add another layer of storage on top of these boxes.
You can also paint these boxes so the whole thing will have a clean, uniform look. You may want to use different box sizes so it could hold different sized items.
Step 3: Glue the Small Boxes
Put glue on the bottom of the boxes and the sides of boxes that will make contact with the shoe box. A school glue should do the trick.
Let it dry for a while and if you want to secure it further, you can always use a stronger glue.
Step 4: Use a Shoe Box Lid as the Top Layer
Use a shoebox lid as a container for your fabric or other space-consuming items. No need to glue this one since you want to easily access the bottom layer containing your smaller tools.
Give the lid a nice paint job, too! Let everything dry and you should be done.
You can decorate the top of the box if you want.
Metal Tin
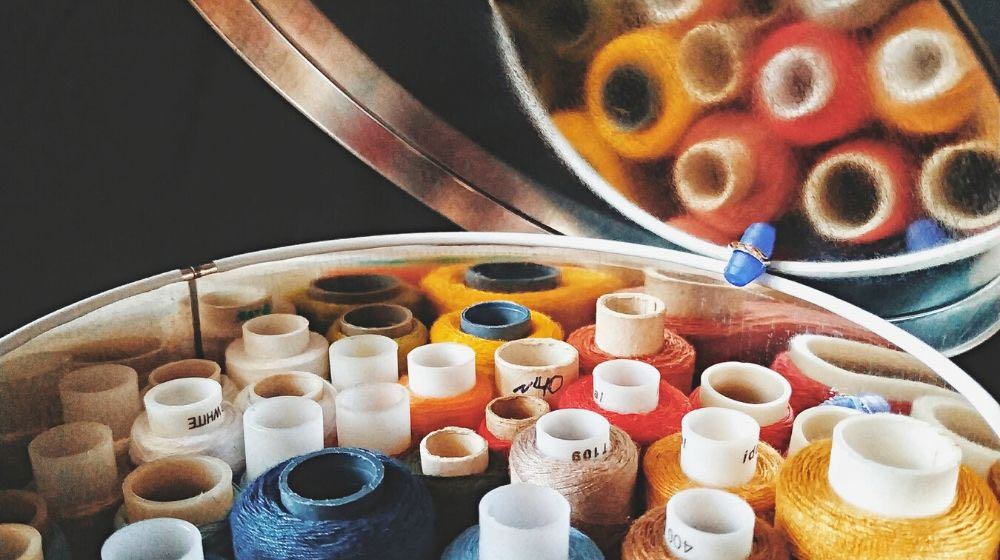
Do you have some empty metal cookie containers lying around your house? Now, you can transform it to a beautiful sewing box if you follow these steps.
What you need:
- Metal tin
- Cardboard
- Spray paint (optional)
- Glue
- Scissors
- Measuring tape
Step 1: Clean the Box
Wash the container since you don't want any food residue mixing with your tools. You may want to paint the exterior but first, wipe it off with cotton ball soaked in alcohol.
You need to remove any unwanted oil that will prevent the paint from sticking.
Step 2: Measure the Height and Diameter of the Box
Give the container a quick measure so you'll know the length and size of the divider you'll be using. Cut two strips of cardboard according to your measurements.
The thicker, the better. Paint the pair of cardboard for a better look.
Step 3: Putting the Divider Inside the Box
Cut one strip of cardboard in half and glue it to the long one. It is ideal to form a cross-shaped pattern so the compartments will be equally divided.
Glue it down on the container and wait for it to dry. You might be wondering what tools will fit in this container since it's too small.
We got you covered.
- The first compartment can be dedicated to needles, sewing pins, and pin cushions
- Lace, ribbon, and hem tape can occupy the second compartment
- Place the hooks, buttons, and clasps in a third compartment
- Zippers and elastic can occupy the last compartment
RELATED: Basic Sewing Machine Parts Every Beginner Should Know
Egg Carton
|
This is probably one of the most unconventional but creative ways to make a DIY sewing box. The material needed, safe to say, is always available in your home so let's put it to good use!
What you need:
- Egg carton
- Fabric
- Elastic
- Glue
- Scissors
- Measuring tape
Step 1: Paint the Egg Carton
Take note that you should be using a carton made of cardboard instead of foam. It is sturdier and won't fold easily.
Paint the egg carton with either spray, acrylic, or tempera paint. The hinge may eventually fall apart so it's best to reinforce it.
Gluing a ribbon on the inside and outside should do the trick.
Step 2: Measure the Length and Width of the Lid
Measure the length and width of the lid to determine the size of the fabric and batting you will use. You also want to sew a wide elastic on this fabric.
This will serve as the scissor holder. Once done, use fabric glue and stick it down the lid.
This will give your pins and needles a nice cushion.
Step 3: Wait For Everything to Dry
Once everything is dry, you can begin placing your tools inside the egg carton. A small pincushion will fit on any egg carton slot.
For bigger items like ribbon, elastic, zippers, and lace, you need to roll it up before stuffing them into the compartments.
Here's a step-by-step guide on how you can make a DIY sewing box out of shoebox courtesy of Anikó Dóbiász:

As you progress in sewing, there comes a time where your stuff becomes harder to organize. That's where a DIY sewing box comes in.
Now, you don't need to go to Walmart or your local store to buy an expensive sewing box or container. These DIY sewing boxes are easy to make and should make your work process a lot more convenient.
Which DIY sewing box do you find most practical to make? Share your thoughts in the comments section below!
UP NEXT: