
Learning how to sew placket can be overwhelming for someone new to this hobby. Take the plunge, and learn how to make a placket with this easy tutorial and pattern! A sleeve placket is the opening or slit on your sleeve which helps the cuffs and bands fit snugly around the wrist. Sewing a sleeve placket has many different methods. You'll find the easiest sewing placket tutorial here. Get your things ready and let's get started!
Learn How to Sew Placket for Well-Tailored Sleeves
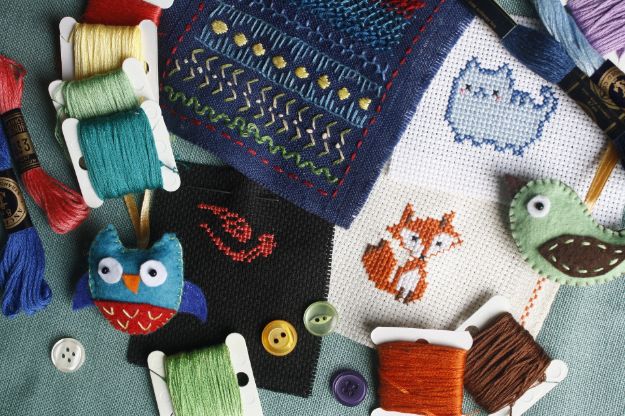
What You Will Need:
- Sleeve placket pattern
- Pieces of fabric
- Sewing thread and needle
- Pair of Scissors
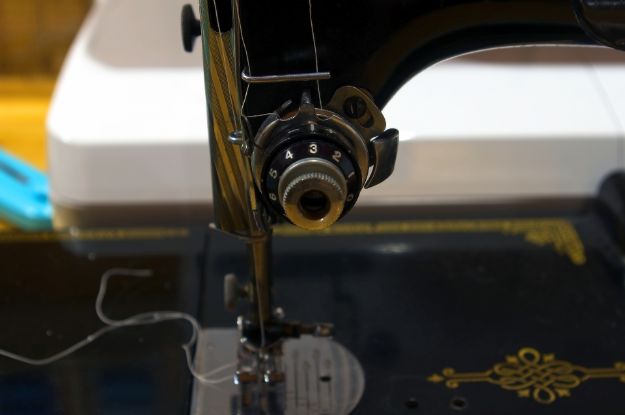
- Sewing machine
How to Sew Placket
Step 1. Print the Pattern
Print out the sleeve placket pattern and it onto the folded fabric, to create the right and left sleeve pattern.
Tips:
- To trace the pattern on the fabric, poke the dots with a pin and use a fabric marker to stamp your point. Mark the end of the line too.
- Remove the pattern from the fabric, and then connect all the marks on the fabric according to the pattern.
Reminder: It is best to use a muslin fabric while practicing how to sew a placket.
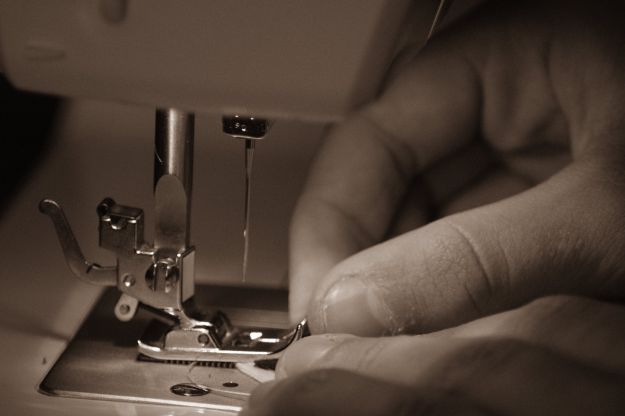
Step 2. Sew the Placket
Place the right side of the placket together with the wrong side of the fabric. Pin it, and sew the rectangle box labeled as “stitch line” from the pattern using a straight stitch. Don't forget to back stitch. Place the needle down on both corners of the box before lifting the presser foot.
Step 3. Cut the Lines in the Fabric
Following the three lines, cut through both layers of the fabric (be careful not to cut the stitches).
Step 4. Iron the Fabric

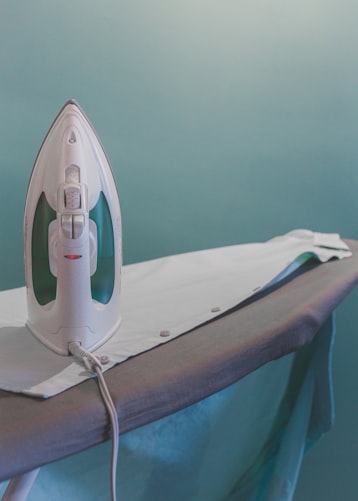
Iron the fabric to make the stitches crisp. It will also help you sew faster and easier.
Step 5. Turn the Placket to the Right Side
Bring the placket to the right side of the sleeve by pulling it through the slit. Iron one side of the placket so it's easier when folding down the edges. Iron the corners so they're nice and sharp.


- Taunton Press
- 499991615285
- TA-DVD-58000
- Cutting, Louise (Author)
- English (Publication Language)
Step 6. Fold the Short Side of the Placket
Starting with the shorter side, fold the line you drew and iron. Then fold in the edge, about 1/4″.
Step 7. Fold the Longer Side of the Placket
For the longer side, fold on the fold line, and fold in the edge about 1/4″ too.
Reminder: The dots you marked earlier should line up.
Step 8. Fold the Top Edge
You can fold the top edge, either into a square or at an angle to form a triangle. Make sure the angles line up evenly.
Step 9. Sew the Short Side
After all your marks are folded, get ready to sew. Sew a straight stitch along the edge of the short side of the placket and lock your stitches.
Step 10. Sew the Longer Side
Pin the longer side of the placket, sew along the edge, and up to the tip of the triangle, then down to the sewing line till you meet the edge. Sew as close to the edge as possible using a straight stitch.
Now You're All Done!
You can watch the video from Crafty Amy for the tutorial:

Sewing the sleeve placket may sound intricate, but once you try it, you'll soon get the hang of it. Practice with your fabric scraps, and once you're confident, I'm sure adding a placket to your sewing projects will be a piece of cake.
Have you tried sewing a placket to your sleeve? Share us your experience by leaving a comment below!
Up Next: How to Sew French Seams Correctly | Sewing Tutorial
Follow us on Facebook, Twitter, Instagram, and Pinterest
Editor’s Note: This post was originally published on April 4, 2017, and has been updated for quality and relevancy.